FCFG3062AWB Electrolux Range - Overview

Diagrams for FCFG3062AWB

See every part. Know exactly what you need.

Enter a part description. DIY Heroes keep it simple, eg. "belt" or "pump".

Search filter:
Clear Filter
Your search term must have 3 or more characters.
IGNITOR,BAKE – Part Number: 5304534663
$129.84
In Stock
IGNITOR,BAKE
★★★★★
★★★★★
(13)
Part #5304534663
If your oven isn’t heating up or takes forever to preheat, the igniter might be the problem. This part heats up and lights the gas so your oven can bake properly. It’s a common fix for ovens that won’t start or bake evenly. Swapping it out is a great way to get your oven working again—just make sure to turn off the power and gas first.
LP Conversion Ki – Part Number: GRLP5
$53.95
In Stock
LP Conversion Ki
★★★★★
★★★★★
(3)
Part #GRLP5
This LP Conversion kit, complete with instructions, allows you to convert your natural gas range to use liquid propane. Easy to install, it ensures optimal performance of your appliance
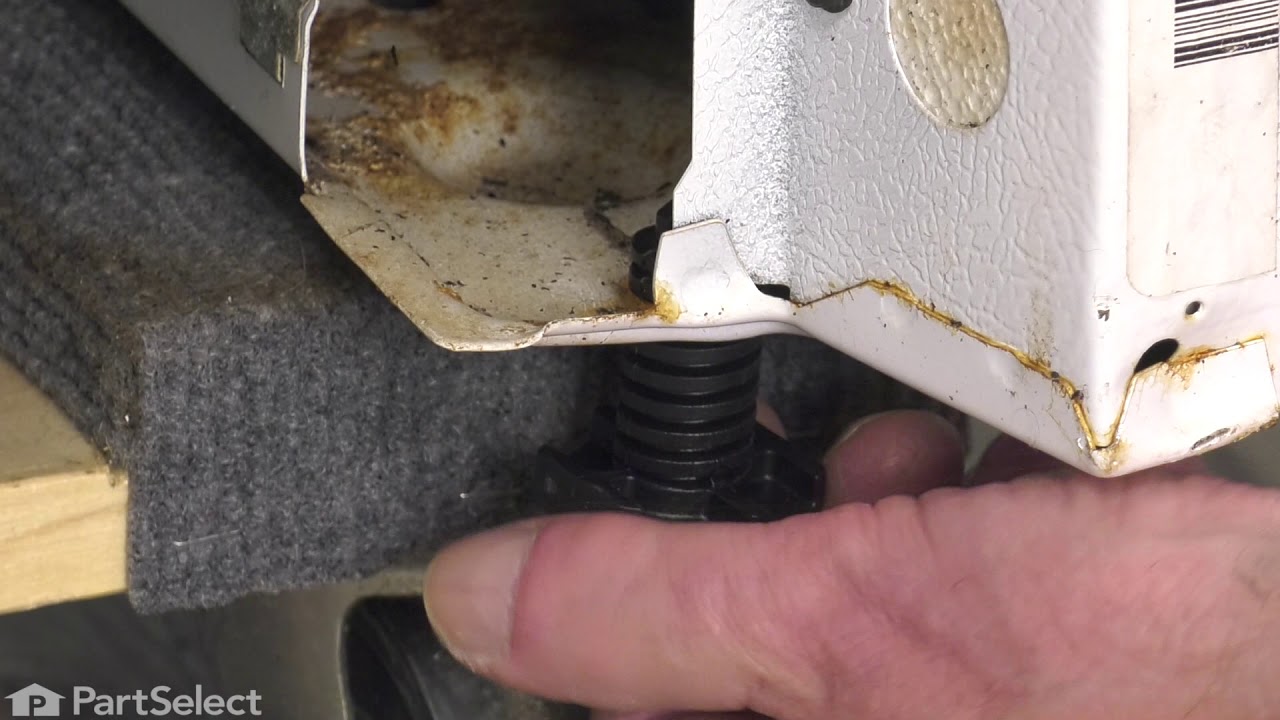
Leveling Leg – Part Number: 316272900
$29.95
In Stock
Leveling Leg
Part #316272900
Sold Individually.
REGULATOR – Part Number: 316091711
$113.66
In Stock
REGULATOR
★★★★★
★★★★★
(3)
Part #316091711
This is a genuine use wci regulator, which works with ranges.
SPARK MODULE – Part Number: 808608804
$106.34
In Stock
SPARK MODULE
★★★★★
★★★★★
(1)
Part #808608804
This part sends enough current to the igniter to create a spark to the bottom of the burner cap.
SWITCH – Part Number: 808136601
$57.27
In Stock
Rack – Part Number: 5304531722
$73.36
In Stock
Rack
★★★★★
★★★★★
(1)
Part #5304531722
Measurements: approximately 22 7/8" x 16 1/4"
Control Knob - White – Part Number: 5304507387
$39.30
Special Order
Control Knob - White
Part #5304507387
This is a replacement burner knob for your range. It is made of plastic. The knob allows you to turn on and adjust the heat level of the range. If the knob is stripped so badly that the shaft will not turn when you turn the knob, or if the knob is damaged, it will need to be replaced. To replace the knob, carefully remove it from the shaft and replace it with a new knob. This part is sold individually and is a genuine OEM part from the manufacturer.
Range Knob – Part Number: 5304507386
$82.13
In Stock
Range Knob
Part #5304507386
This surface burner control knob allows you to easily adjust heat levels on your cooktop for precise cooking control. Designed with a secure D-shaped fit, it provides smooth operation and reliable performance for everyday use. Replacing a worn or damaged knob helps restore accurate temperature control and safe operation of your range.
Range Valve – Part Number: 5304506547
$85.07
In Stock
Range Valve
Part #5304506547
This gas valve regulates the flow of gas to the range burners, ensuring safe ignition and consistent flame control during cooking. It plays a vital role in appliance safety and performance and is commonly replaced when burners fail to ignite, operate inconsistently, or shut off unexpectedly.
SCREW – Part Number: 316282700
$21.95
In Stock
SCREW
Part #316282700
Range Valve – Part Number: 5304506548
$101.96
In Stock
Range Valve
Part #5304506548
This surface burner valve controls the flow of gas to the burner, allowing for precise flame adjustment and consistent heat output. It connects to the control knob and gas line to ensure safe and steady operation. Replacing a faulty valve can resolve issues like poor flame control, ignition problems, or uneven heating.

Common Symptoms of the FCFG3062AWB

How this model fails, and the parts that fix it.

Watch our pros, then fix it yourself.

See how others fixed this model. Time, tools, difficulty, and steps that lead to victory! View More

Search repair tips from other customers using simple keywords like "replace", "fit", "remove", "inspect". DIY doesn't mean you have to do it alone!

Search filter:
Clear Filter
Your search term must have 3 or more characters.
Oven wouldn't heat - broiler and burners worked fine-Bake Burner Igniter didn't work
190 of 229 people found this instruction helpful.
  • Debbie from Rockford, MI
  • Easy
  • 15 - 30 mins
  • Nutdriver, Screw drivers
It was the week before Thanksgiving and we didn't know what to do without an oven. I did some research on Google and of all the websites out there, I found a decent price here at Parts Select and ordered it on Friday. I was shocked when FEDEX pulled up to the door on Saturday afternoon. I went online to youtube and found a step by step video specifically for this part. It's posted by the Repair Clinic. http://www.youtube.com/watch?v=cLxKoF16gac. I was able to fix the part and probably saved at least $150.00 for a service call and repair time. The part cost about $90 and I was done in less than 15 minutes. We just got this stove about 2 years ago and I'm thinking maybe we could have saved my old stove since it had the same problem. Great job Parts Select - I got just what I needed and saved a ton of money in the process. Thanks also for their great informative video online. We had a great Thanksgiving and were very thankful for all our hot food fresh from the oven.
Was this helpful?
Thank you for voting!
The oven would not ignite on bake setting
19 of 20 people found this instruction helpful.
  • Michael from NOBLESVILLE, IN
  • Really Easy
  • 15 - 30 mins
  • Nutdriver, Screw drivers
After reading a lot of reviews online, I came to the conclusion it was the bake igniter. The "glow rod" would glow but would not ignite the oven. The broiler would ignite and the top burners would work. I removed the racks, took a screwdriver and removed the 2 screws in the back corners. I then slid the bottom shield towards the back then lifted up and the shield came off and exposed the flame shield. I removed the screws the hold that in place on the front of the oven with my 6 way screwdriver. I used the nutdriver part. Lifted that off which exposed the the actual flame tube and bake igniter. There were two screws, used the nutrdiver on the 6 way screwdriver, holding the bake igniter on. The screws are on the side of it. Removed those and the igniter came free. I pulled out the warming drawer and followed the wire from the igniter to a wiring harness. Pulled that apart and pulled the whole thing out through the oven. Got the new part, reversed order of removal. Fired right up. Pretty pricey part. But, saved 500+ dollars for a new range. Actual removal and install of new part, maybe 20 minutes if that. Super easy.
Was this helpful?
Thank you for voting!
Oven would not ignite, gas smell, igniter glows
11 of 13 people found this instruction helpful.
  • John from PORT JEFF STA, NY
  • Really Easy
  • 30 - 60 mins
  • Nutdriver, Screw drivers, Socket set
Disconnected power, I removed the igniter from oven. Measured the resistance (275 ohms) and then the current draw. DO NOT ATTEMPT THIS UNLESS YOU ARE ABLE TO ACCOMPLISH THIS SAFELY. I made a harness and connected the old igniter to 110 V ac, Current draw thru the meter settled at 2.7 Amps. Too weak to fully open gas valve. Valve require s 3.2 - 3.6 amps to fully operate properly. New igniter measured 300 ohms and current draw was 3.4 amps. Installed new part and everything works fine. Correct part and good service from this site
Was this helpful?
Thank you for voting!