EWA5600G0WW General Electric Washer - Overview

Enter a part description. DIY Heroes keep it simple, eg. "belt" or "pump".

Search filter:
Clear Filter
Your search term must have 3 or more characters.
DAMPENING STRAP 2PACK – Part Number: WH01X39337
No Longer Available
DAMPENING STRAP 2PACK
★★★★★
★★★★★
(9)
Part #WH01X39337
The tub dampening straps support the wash tub and reduce vibration by keeping the tub at the center of the cabinet. If your washer shakes and moves, or is making a loud banging noise during the wash cycle, the washing machine tub could be off-balance, meaning one or more of these straps may be loose, or broken. Other symptoms include: the washer leaking, not agitating, or pumping but not spinning. These straps are sold individually. However, we recommend that you replace all 4 straps at the same time. It is also recommended that you check the tub for cracks where these straps mount.
Tub Seal – Part Number: WH02X10383
$27.58
Special Order
Tub Seal
★★★★★
★★★★★
(4)
Part #WH02X10383
The main tub seal is located between the transmission and the outer tub. It's the primary water seal in the outer tub for the transmission-shaft. This seal is difficult to replace and should probably be installed by a qualified technician.
Dual Action Agitator – Part Number: WH43X10034
$142.92
Special Order
Dual Action Agitator
★★★★★
★★★★★
(21)
Part #WH43X10034
This does not come with the fabric dispenser - must order separately or use original part.
Tub Bearing – Part Number: WH2X1198
$47.16
Special Order
Tub Bearing
★★★★★
★★★★★
(4)
Part #WH2X1198
This tub bearing goes in your washing machine. You will find it on the bottom of the outer tub, where the transmission goes through the tub. If you hear metal on metal when the washer is spinning, you may need to replace the tub bearing. This bearing is made of metal, and is approximately 3 inches wide and 2 inches tall.
Tub Bearing Washer – Part Number: WH2X1197
$13.95
Special Order
Tub Bearing Washer
Part #WH2X1197
Split Ring – Part Number: WH02X10265
No Longer Available
Split Ring
Part #WH02X10265
This split ring is two inches in diameter.
Drain Hose – Part Number: WH41X10096
$79.66
Special Order
Drain Hose
★★★★★
★★★★★
(4)
Part #WH41X10096
This drain hose is a replacement part for your top-loading washer. The hose measures 57 inches in length.
Drain Pump and Motor Assembly – Part Number: WH23X10030
$137.13
Special Order
Drain Pump and Motor Assembly
★★★★★
★★★★★
(8)
Part #WH23X10030
This pump helps expel water from the washing machine and is activated after the spin speed is maintained for a specific period of time.
6-Rib Drive Belt – Part Number: WH01X10302
$49.38
Special Order
6-Rib Drive Belt
★★★★★
★★★★★
(4)
Part #WH01X10302
This drive belt is made to slip on the motor pulley to bring the basket up to the speed required and this makes the belt get wear and tear.
Lid Switch with Wire Harness – Part Number: WH12X10334
$73.00
Special Order
Lid Switch with Wire Harness
★★★★★
★★★★★
(4)
Part #WH12X10334
The pin on the lid pushes on the lever of the lid switch to tell the machine that the lid is closed.
Agitator Coupling – Part Number: WH43X10032
$92.82
Special Order
Agitator Coupling
★★★★★
★★★★★
(5)
Part #WH43X10032
Bolt not included. This part connects the transmission drive shaft to the agitator base.
Dual Water Inlet Valve – Part Number: WH13X10024
No Longer Available
Dual Water Inlet Valve
★★★★★
★★★★★
(2)
Part #WH13X10024
This water inlet valve attaches the water lines to the back of your appliance. The attaching solenoids on the valve open and close according to the desired temperature, or amount of water needed.

Manuals & Care Guides for EWA5600G0WW

Click to download

Common Symptoms of the EWA5600G0WW

How this model fails, and the parts that fix it.

Watch our pros, then fix it yourself.
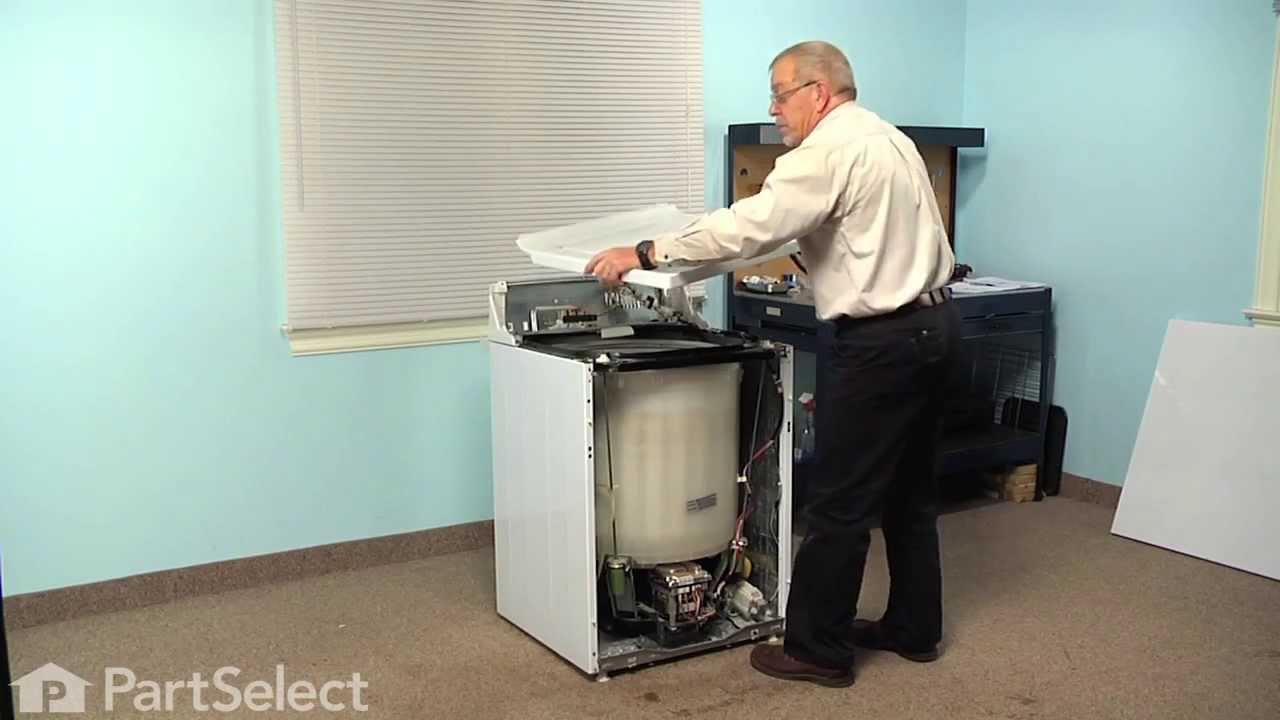
See how others fixed this model. Time, tools, difficulty, and steps that lead to victory! View More

Search repair tips from other customers using simple keywords like "replace", "fit", "remove", "inspect". DIY doesn't mean you have to do it alone!

Search filter:
Clear Filter
Your search term must have 3 or more characters.
washing machine would not go through all cycles or agitate
230 of 294 people found this instruction helpful.
  • Brian from Millerplace, NY
  • Easy
  • 15 - 30 mins
After removing frt panel which prys off I checked for anything obvious like a loose belt. Then I jiggled the magnet switch located on the inside of the loading cover. I saw the machine start agitating the it stopped again when I stopped touching it. I ordered the new part and spliced it in with the wire crip tool. Now the machine is A ok.
Was this helpful?
Thank you for voting!
machine would not drain all other functions seemed o.k
88 of 92 people found this instruction helpful.
  • douglas from danby, VT
  • Easy
  • 30 - 60 mins
  • Socket set
Aside from getting the wet clothes and most of the water out,the toughest part of the job for me was to figure out how to get inside the machine. I nearly wrecked the thing trying to lift the top panel. After some frustration I removed the star-type screws on back of the control panel and found, tucked away neatly, the documentation/parts list complete with instructions on how to remove the FRONT panel. Once I got inside it was easy to locate the pump. I ran the drain cycle for a moment to see if the pump turned at all. The original had an exposed fan so it was easy to see that indeed the motor was not turning. I inspected all the hose and electrical connections to make sure I had the tools I'd need and the savvy to replace the part(s) if I could locate them. I'm not much of a web-head, so I was a little surprised when I typed G.E. appliances and the search took me to partselect.com where I was pretty much coached through the procedure before I even ordered the part. The box arrived ahead of schedule (yay) and when I looked at the pump it didn't look much like the one I was replacing. But then I realized it was the same thing just ten years more advanced. I used a small pair of vise grips to pinch and lock the pipe clamps open. I know there is a plier made for this, but... Anyways, after loosening the clamps and sliding them away from the pump I pulled the hoses off and let the last of the rinse water still in them run down my shirt sleeve to my elbow. (optional, not recommended) Thus refreshed I then rummaged through my socket set and found what I needed to remove the 2 sheet metal mounting screws and disconnected the 2 power leads. I removed the faulty pump and proudly showed it to my wife. Unimpressed, she asked how much longer. I quickly reversed the procedure to install the new unit and confidently piled in a load of laundry. The cycle completed just fine and has done so since. I will and have recommmended partselect.com to friends and will use it again for sure.
Was this helpful?
Thank you for voting!
broken drive belt
96 of 120 people found this instruction helpful.
  • jon from barry, IL
  • A Bit Difficult
  • 15 - 30 mins
  • Nutdriver
To diagnose, first I unhooked the washer: power, water supply, and drain pipe. I then slid the washer out, laying it on its front. With nutdriver, I unscrewed two screws that held the other end of the drain tube and removed it completely. Then, again with the nutdriver removed 4 screws from the back near the legs, two in between the leg s in the middle, and approx. 4 to 6 on the bottom. This let me pull the bottom off partially to access the motor area. (I did did not take the bottom completely off, only about 2/3 off and let it bend over, as it was flexible tin) The belt was broken. After receiving the new belt, I positioned it between the pulley and the motor and between the drum and the big pulley. Then I rotated the big pulley, pulling the belt onto it as I rotated. At the same time, as I rotated, I pulled the other end of the belt on to the little pulley. Once it was on, I would put pressure on it as I turned the pulley, to jump the belt to the appropriate grooves on the little pulley. Note: the replacement belt had been modified, so it had one less groove than the pulley. I would have known this if I had read the insert that came with the belt first! Anyway, this was not a problem, only a design change. Also it was important to start the belt on the inside, so if it slipped, you didnt loose your bite. Total diagnostic, repair, and reassembly time: 30 minutes plus or minus. I had read other online forums that said you had to loosen the motor, etc. And I do know some type of a belt installation tool was offered on line, but I got along fine with my installation method. An extra set of hands would have been helpful, but not necessary.
Was this helpful?
Thank you for voting!