


 My Orders


EW30DS80RSC Frigidaire Range - Overview
Diagrams for EW30DS80RSC
See every part. Know exactly what you need.


Enter a part description. DIY Heroes keep it simple, eg. "belt" or "pump".
Search filter:
Clear Filter
Your search term must have 3 or more characters.

$62.31
In Stock
Temperature Sensor
Part #5304504897
This oven temperature sensor, also known as an oven probe, monitors the internal temperature of the oven cavity to ensure accurate and consistent heating. Measuring 6 inches in length and made of durable metal, it’s designed to replace faulty sensors that may cause overheating, uneven baking, or F3/F4 error codes. This genuine replacement...Read more part is compatible with select models. Always disconnect power to the appliance before beginning installation for safety.
Read less

$135.91
In Stock

$43.07
In Stock
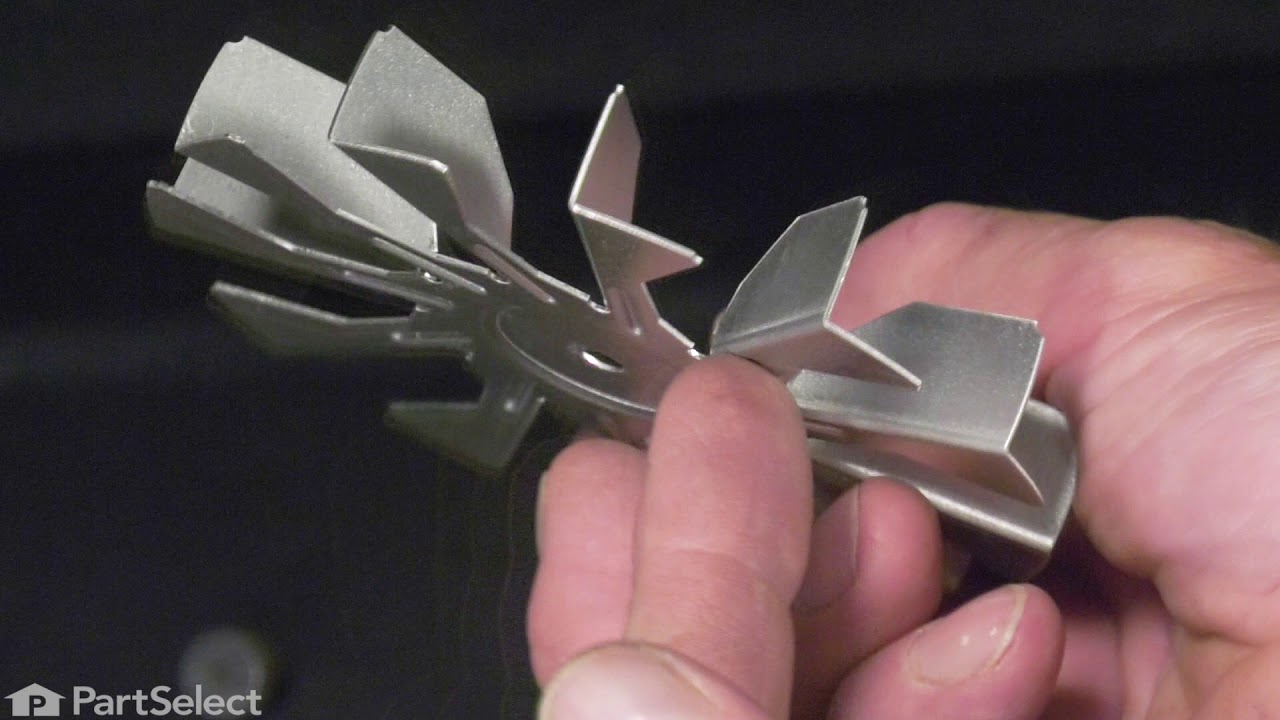
Convection Fan Blade
Part #318398302
This convection fan blade is designed for use with various makes and models of range and oven and is sold as an individual part. Made of metal and measuring approximately 4.75-inches in diameter, this genuine OEM fan blade works with the convection motor to circulate and distribute heat evenly throughout the oven. If your oven is not gett...Read moreing hot enough or the heat is not circulating properly, or if the fan blade in your oven has become warped, damaged, or chipped, it needs to be replaced immediately. To replace the fan blade, disconnect your range from the power and locate the fan assembly. With the appropriate screwdriver and wrench, remove any assembly covers and the securing nut from the blade. Once the nut is removed, install the new blade and secure it and re-install the cover.
Read less

$52.38
In Stock
CAP
Part #5304508441
Sold individually. This part helps the flame to spread for even heat. Also protects your burner head from spills.

$48.69
In Stock
CAP
Part #5304508442
Sold individually. This part helps the flame to spread for even heat. Also protects your burner head from spills. The surface burner cap is located on the top of the burner head and is used in ranges and ovens. The burner cap helps spread out the burner flame for even heating, and protects the burner head from cooking spills. Without the ...Read morecap you can have a burning gas torch. If your cap is missing or is discolored, replacing this part can solve the issue. This part comes in the color black. Remember to unplug your range from the power source and allow surface to cool before installing this part. Refer to the manual provided by the manufacturer for further installation instructions.
Read less

$483.09
In Stock

$39.95
In Stock

$189.86
Special Order
RACK
Part #5304514983
This is an OEM oven rack, which works with ranges, wall ovens and microwave oven combos.

$9.95
In Stock
Screw
Part #5303288565
This is an authentic mounting screw, which works with ranges, wall ovens, cooktops and warming drawers.

$36.95
In Stock
Door Spacer
Part #318165800

$38.00
In Stock
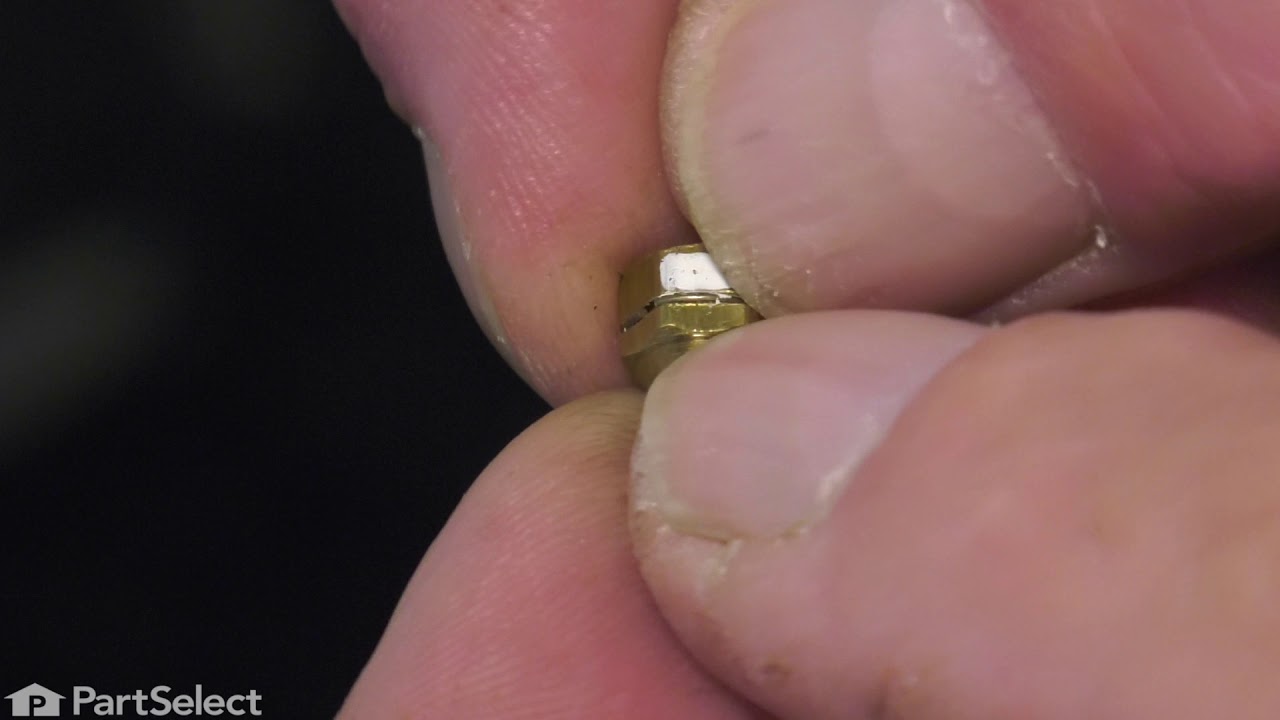
Left Front Orifice - 9.5K
Part #316527500
This orifice is a replacement fuel-delivery component designed to regulate gas flow to a burner. It plays a critical role in maintaining proper flame size and efficiency and is commonly replaced when flow becomes restricted or uneven.

$245.40
In Stock
Common Symptoms of the EW30DS80RSC
How this model fails, and the parts that fix it.
Oven is too hot
Fixed by
these parts
these parts


Show All
Oven not heating evenly
Fixed by
these parts
these parts
Show All
Little to no heat when baking
Fixed by
these parts
these parts
Show All
Element will not heat
Fixed by
these parts
these parts

Show All
Will Not Start
Fixed by
these parts
these parts

Show All
Watch our pros, then fix it yourself.
See how others fixed this model. Time, tools, difficulty, and steps that lead to victory!
View More