


 My Orders


EI30ES5CJSB Electrolux Range - Overview
Diagrams for EI30ES5CJSB
See every part. Know exactly what you need.


Enter a part description. DIY Heroes keep it simple, eg. "belt" or "pump".
Search filter:
Clear Filter
Your search term must have 3 or more characters.

$62.31
In Stock
Temperature Sensor
Part #5304504897
This oven temperature sensor, also known as an oven probe, monitors the internal temperature of the oven cavity to ensure accurate and consistent heating. Measuring 6 inches in length and made of durable metal, it’s designed to replace faulty sensors that may cause overheating, uneven baking, or F3/F4 error codes. This genuine replacement...Read more part is compatible with select models. Always disconnect power to the appliance before beginning installation for safety.
Read less

$116.36
In Stock

$162.93
In Stock
Radiant Element with Limiter - 1200W
Part #318178110
The 6” radiant cooking element with limiter fits under the glass cooktop and supplies heat to the cooking area. If your element is not heating, you can test the element for continuity with a multimeter. If the element doesn’t have continuity you will need to replace the element. If it doesn’t have continuity it is suggested to check the e...Read morelement switch because it could be defective and need to be replaced. This element is 1200 watts and is a genuine OEM part. The manufacturer suggests making sure the cooking element is cooled before starting the repair. Please remember to disconnect the power to the appliance before starting the repair.
Read less

$135.91
In Stock

$43.07
In Stock
Convection Fan Blade
Part #318398302
This convection fan blade is designed for use with various makes and models of range and oven and is sold as an individual part. Made of metal and measuring approximately 4.75-inches in diameter, this genuine OEM fan blade works with the convection motor to circulate and distribute heat evenly throughout the oven. If your oven is not gett...Read moreing hot enough or the heat is not circulating properly, or if the fan blade in your oven has become warped, damaged, or chipped, it needs to be replaced immediately. To replace the fan blade, disconnect your range from the power and locate the fan assembly. With the appropriate screwdriver and wrench, remove any assembly covers and the securing nut from the blade. Once the nut is removed, install the new blade and secure it and re-install the cover.
Read less

$139.21
In Stock
Convection Element - 2500W
Part #318255511
This convection element generates heat to support even air circulation and consistent cooking performance. Its high-output design allows for efficient temperature recovery and uniform results. Replacing a damaged element can restore proper heating and baking performance.

$68.42
In Stock

$296.57
In Stock
Cooling Fan Motor
Part #318575600
This cooling fan and motor assembly is designed to maintain safe operating temperatures in electric ranges and wall ovens. By circulating air around the control board and internal components, it prevents overheating and ensures consistent airflow for reliable performance. Ideal for replacing a worn or noisy fan, this durable assembly help...Read mores protect electronics and maintain proper temperature regulation. Installation is straightforward—disconnect power, remove the old unit, and secure the new assembly following your appliance’s manual.
Read less

No Longer Available

$232.05
In Stock
Bake Element
Part #318254916
This bake element provides the primary heat source for baking and roasting in electric and dual-fuel ranges. Positioned at the bottom of the oven cavity, it converts electrical power into radiant heat for consistent cooking performance. Featuring an 8-pass design for even heat distribution, the element is rated at 2500 watts and operates ...Read moreat 240 volts. It measures approximately 20" x 15" x 3.5" and includes straight spade terminals for easy installation. Common signs of failure include slow preheating, uneven baking, or visible damage such as breaks or burn spots.
Read less

$333.10
In Stock

$39.95
In Stock
Manuals & Care Guides for EI30ES5CJSB
Click to downloadInstall
Installation Instructions
(9.27MB)
Install
Installation Instructions
(9.56MB)
Install
Installation Instructions
(4.15MB)
Manual
Owner's Manuals
(1.57MB)
Manual
Owner's Manuals
(1.63MB)
Manual
Owner's Manuals
(11.51MB)
Specs
Product Specifications Sheet
(0.83MB)
Wiring
Wiring Diagram
(0.35MB)
Common Symptoms of the EI30ES5CJSB
How this model fails, and the parts that fix it.
Element will not heat
Fixed by
these parts
these parts


Show All
Oven is too hot
Fixed by
these parts
these parts

Show All
Little to no heat when baking
Fixed by
these parts
these parts


Show All
Oven not heating evenly
Fixed by
these parts
these parts
Show All
Will Not Start
Fixed by
these parts
these parts
Show All
Watch our pros, then fix it yourself.
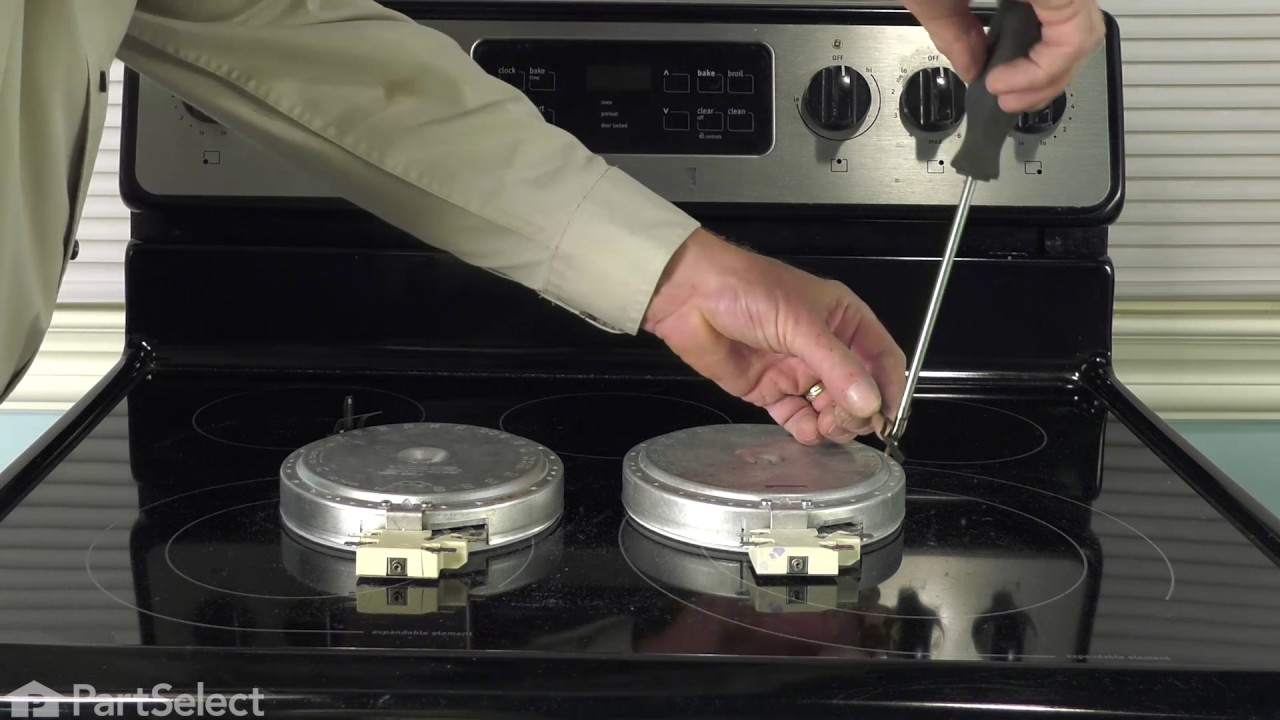
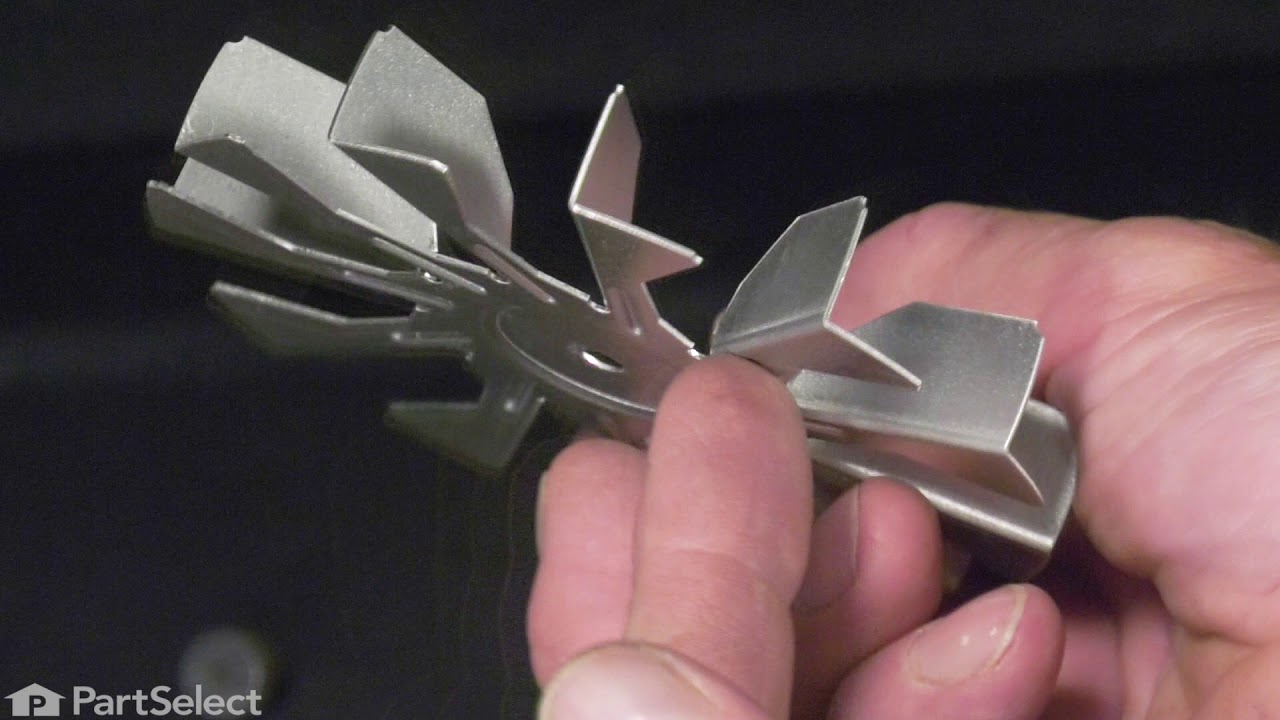
See how others fixed this model. Time, tools, difficulty, and steps that lead to victory!
View More