EI27EW35KW1 Electrolux Wall Oven - Overview

Diagrams for EI27EW35KW1

See every part. Know exactly what you need.

Enter a part description. DIY Heroes keep it simple, eg. "belt" or "pump".

Search filter:
Clear Filter
Your search term must have 3 or more characters.
Main Terminal Block Kit – Part Number: 5304409888
$48.78
In Stock
Main Terminal Block Kit
★★★★★
★★★★★
(11)
Part #5304409888
Terminal blocks (also called terminal boards or strips) provide a convenient means of connecting individual electrical wires.
Temperature Sensor – Part Number: 5304504897
$62.31
In Stock
Temperature Sensor
★★★★★
★★★★★
(27)
Part #5304504897
This oven temperature sensor, also known as an oven probe, monitors the internal temperature of the oven cavity to ensure accurate and consistent heating. Measuring 6 inches in length and made of durable metal, it’s designed to replace faulty sensors that may cause overheating, uneven baking, or F3/F4 error codes. This genuine replacement part is compatible with select models. Always disconnect power to the appliance before beginning installation for safety.
Convection Fan Blade – Part Number: 318398302
$43.07
In Stock
Convection Fan Blade
★★★★★
★★★★★
(5)
Part #318398302
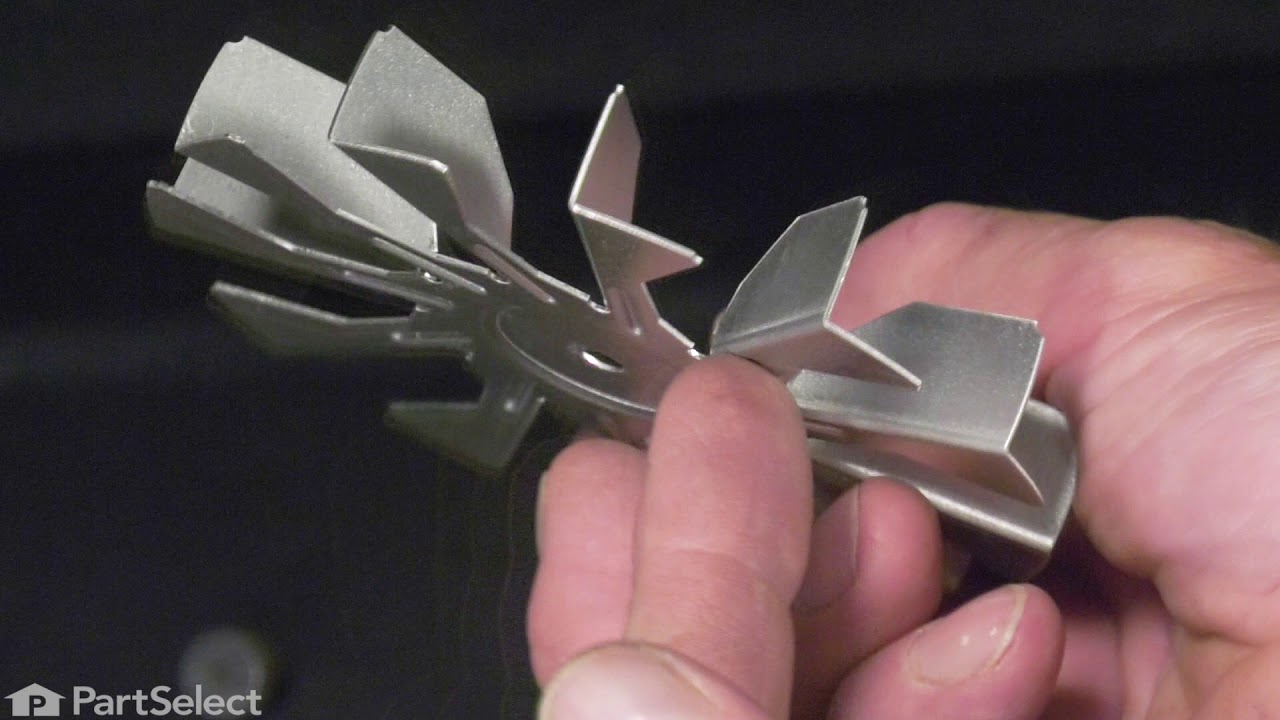
This convection fan blade is designed for use with various makes and models of range and oven and is sold as an individual part. Made of metal and measuring approximately 4.75-inches in diameter, this genuine OEM fan blade works with the convection motor to circulate and distribute heat evenly throughout the oven. If your oven is not getting hot enough or the heat is not circulating properly, or if the fan blade in your oven has become warped, damaged, or chipped, it needs to be replaced immediately. To replace the fan blade, disconnect your range from the power and locate the fan assembly. With the appropriate screwdriver and wrench, remove any assembly covers and the securing nut from the blade. Once the nut is removed, install the new blade and secure it and re-install the cover.
Convection Element - 2500W – Part Number: 318255511
$139.21
In Stock
Convection Element - 2500W
★★★★★
★★★★★
(2)
Part #318255511
This convection element generates heat to support even air circulation and consistent cooking performance. Its high-output design allows for efficient temperature recovery and uniform results. Replacing a damaged element can restore proper heating and baking performance.
Convection Motor – Part Number: 5304463302
$333.10
In Stock
Fan Blade Retainer Nut – Part Number: 316136600
$39.95
In Stock
Bake Element - 1450W – Part Number: 318902502
$234.97
In Stock
Bake Element - 1450W
★★★★★
★★★★★
(3)
Part #318902502
This hidden bake heating element provides the primary heat source for baking in electric wall ovens and ranges. Concealed beneath the oven floor, it delivers even heat distribution while allowing for easier cleaning of the oven cavity. Rated at 1450 watts, this durable element is designed for 27-inch built-in ovens and compatible appliance types, including wall ovens, microwave/oven combos, and electric ranges. Common signs of a failing element include weak heating, uneven baking, or the oven not heating at all. Installation is straightforward and can typically be completed with basic tools.
LAMP ASSEMBLY – Part Number: 139001800
No Longer Available
LAMP ASSEMBLY
Part #139001800
BULB – Part Number: 318946400
$63.37
In Stock
BOARD – Part Number: 316443918
$457.19
In Stock
BOARD
★★★★★
★★★★★
(3)
Part #316443918
This relay control board regulates and distributes power within the oven, helping control key functions such as the bake and broil elements to maintain consistent cooking temperatures. Acting on signals from the main control system, it ensures reliable heating performance during operation. Replacement is recommended if the oven fails to heat, experiences power interruptions, or shows related control errors, helping restore normal function and dependable cooking results.
Screw - 8-18 x 1/2 - Black – Part Number: 5304436875
$32.04
In Stock
Screw - 8-18 x 1/2 - Black
Part #5304436875
Sold individually.

Manuals & Care Guides for EI27EW35KW1

Click to download

Questions And Answers for EI27EW35KW1

Ask our experts a question about this model and we'll get back to you as soon as possible!

Sort by:
  • 1
Sorry, we couldn't find any existing answers that matched.Try using some different or simpler keywords, or submit your new question by using the "Ask a Question" button above!
Kent - For model number EI27EW35KW1
July 25, 2021
Is stuck key refer to keyboard touch pad? Do you have to change the whole front panel?
Chris Boyle Profile
Hello Kent, Thank you for the question. The Stuck Keypad is the Touch Pad on the front. The Keypad on this model is only sold as part of the Control Panel, PartSelect Number PS3633429. We hope this helps!
Was this helpful?
Thank you for voting!
  • 1

Common Symptoms of the EI27EW35KW1

How this model fails, and the parts that fix it.

Watch our pros, then fix it yourself.

See how others fixed this model. Time, tools, difficulty, and steps that lead to victory! View More

Search repair tips from other customers using simple keywords like "replace", "fit", "remove", "inspect". DIY doesn't mean you have to do it alone!

Search filter:
Clear Filter
Your search term must have 3 or more characters.
Cord was not tightened enough by delivery crew.
109 of 174 people found this instruction helpful.
  • Timothy from Spring Valley, AL
  • Really Easy
  • 15 - 30 mins
  • Screw drivers, Socket set
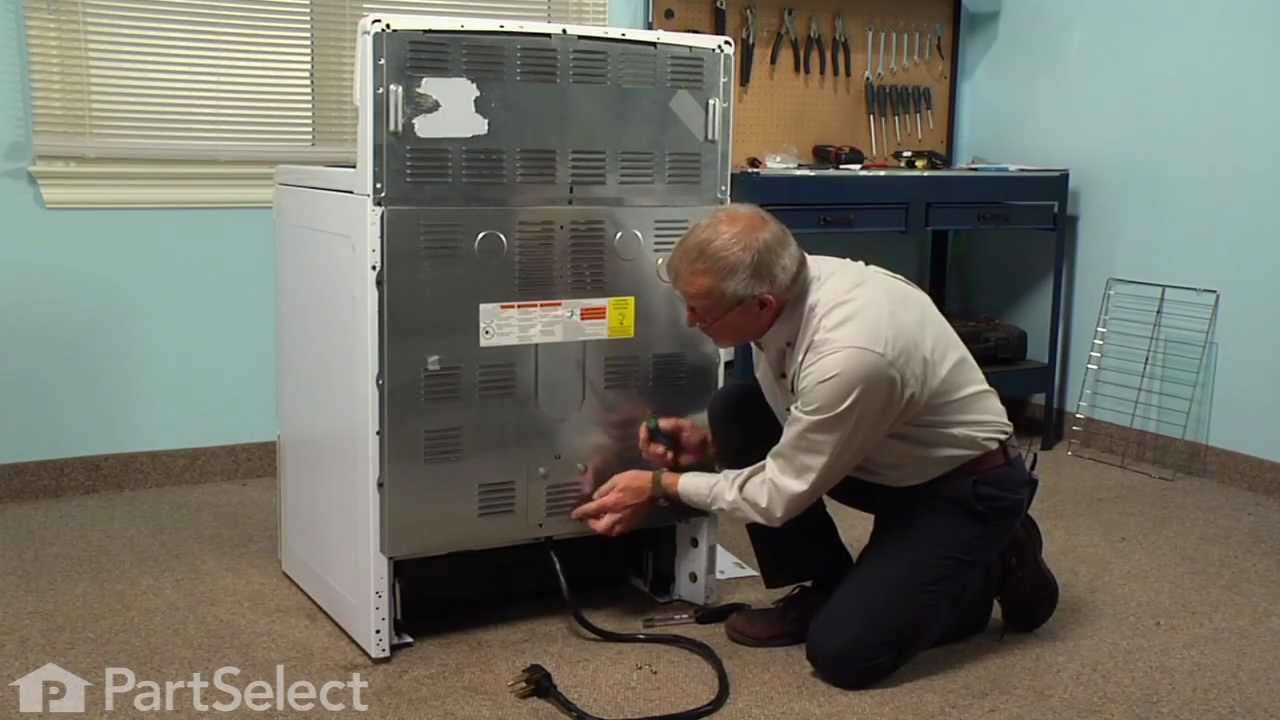
PF alarm appeared on display. Noticed clicking when cord was moved. Had arced for some time and melted original block. New part slightly different. Only has 3 lugs, old one had six. Stack using washers provided. Take note of colors before disassembly. Use caution while working through access opening. The edges are sharp. Only tools neede d are phillips screwdriver, deep socket for lug nuts. Nut driver optional. Hope this is helpful.
Was this helpful?
Thank you for voting!
replacing the fan on a convection oven (fan was making a vibration noise)
17 of 26 people found this instruction helpful.
  • John from Stevensville, MD
  • A Bit Difficult
  • 30 - 60 mins
  • Pliers, Screw drivers, Socket set
This was the first time replacing the fan. It is a lot easier to work in the oven compartment with the oven door removed, only two screws on the door and the hinges were released. I found that a couple of the screws were either rusted or stripped so I used a pair of pliers to remove the screws that were holding the diffuser in place. O nce there was access to the fan I found that the fan was warped and that the blades were scraping against the back wall of the oven. The next challenge was to remove the retaining nut. I used a sheet metal screw to secure the warped fan to keep it from spinning. once I figured out that you have to turn the retaining nut to the right to loosen, it came off easily. 1/2" socket with extension. When I replace the fan I used two washers for spacers to make sure that the fan would not scrape the wall of the oven. Its been tested many times and the oven does not make that horrible sound anymore.
Was this helpful?
Thank you for voting!
Top oven overheating
8 of 12 people found this instruction helpful.
  • Ronald from NEVADA, MO
  • Very Easy
  • Less than 15 mins
  • Screw drivers
Have a double wall oven and the top oven would not shut off or broiler part would stay on and burn tops of food. Since bottom oven was not having any issues felt like it could
Not be control panel so decided to try the temp sensor. Since replacing oven has worked properly.
Was this helpful?
Thank you for voting!