


 My Orders


EI23CS55GB4 Electrolux Refrigerator - Overview
Diagrams for EI23CS55GB4
See every part. Know exactly what you need.


Enter a part description. DIY Heroes keep it simple, eg. "belt" or "pump".
Search filter:
Clear Filter
Your search term must have 3 or more characters.

$45.61
In Stock
Air Filter
Part #EAFCBF
This manufacturer-approved air filter system for refrigerators eliminates odors and any impurities. It does this by neutralizing and removing odor-causing molecules. For best results, it is important to change the filter every 6 months to ensure that food is kept fresh, and the humidity is controlled. This part measures about 7 inches wid...Read moree and 5 inches deep. Follow installation instructions provided by the manufacturer when installing this part to ensure accurate results and further guidance. Remember to unplug the refrigerator from the power source before starting this project. The air filter may be located in different places depending on your appliance, but is usually on the inner right or left side. See your manual for exact location. Our customers rated this as a very easy repair that takes only a few minutes; just locate and remove the old air filter and insert the new one to complete the repair, which requires no tools.
Read less

$16.27
In Stock
Crisper Cover Support - Front
Part #241993101
This crisper cover front support is used to keep the crisper shelf in place and may need replacing if the door will not open or close. This white, OEM part measures roughly 1 inch in diameter and can be used for the front and the rear support, as designed by the manufacturer, and mounts to the inside cabinet wall. Replacing this part is a...Read moren easy repair, and will require a small flat blade screwdriver, a putty knife, and a soft hammer. Remove the crisper and shelf from the refrigerator before replacing the support. The crisper cover front support is held in place with a locking pin. To remove the old part, you will first need to push the pin into the interior of the cabinet using the screwdriver, and then you can pull the support out with a putty knife. If you cannot get the pin out you can use a flat-blade screwdriver to push it down and out of sight and it will not harm anything in your refrigerator After removing the pin and attaching the new support, simply use the soft hammer to lock the new pin in place.
Read less

$22.95
In Stock
Crisper Support - Rear
Part #241993001
This authentic rear crisper support is a white, plastic part which is rated as "easy" to install by our customers. This OEM part replaces the rear crisper cover support in your fridge and mounts to the inside cabinet wall. If there is visible damager or your crisper stops fitting properly, it may be time to replace the part. Check your us...Read moreer manual and model number to ensure this part is what you need. Replacing the rear crisper support in your refrigerator is an easy job. This part is made from plastic and mounts on the inside of the wall. To complete this repair you will need a small putty knife, a punch or a short flat blade screwdriver, and a small hammer. You may need to replace your rear crisper support if you find that the door will not open or close. In order to complete this repair, you will need to remove all the shelves above the crisper in order to have ample room to work. It is also good to have duct tape on hand, which can be used to protect the liner around the support. This part is sold individually. Please note that the rear and front crisper support are different parts; this is the one you are looking for if it is your rear support that needs replacing.
Read less

$104.89
In Stock
Refrigerator Water Inlet Valve
Part #242252702
This part releases water from the supply line when it's activated. NOTE: This part may appear different than the original, but is an authorized manufacturer replacement.

$35.95
In Stock
Light Bulb
Part #316538904
This 40-watt appliance light bulb is a reliable replacement for use in select ranges, refrigerators, freezers, and microwaves. It provides bright, consistent lighting to help you see clearly inside your appliance. Installation is simple—just unscrew the old bulb and replace it with the new one. If the existing bulb is broken, disconnect p...Read moreower and use needle-nose pliers to safely remove the remaining base. Sold individually, this bulb is a commonly replaced part—consider keeping a spare on hand.
Read less

$48.80
In Stock

$99.12
In Stock
ELUX H20 FILTER FRENCH-DR REFR
Part #EWF01C
This water filter reduces contaminants to improve water clarity, taste, and overall quality. Clean water supports appliance performance and user satisfaction. Regular replacement helps maintain optimal filtration and protection.

$88.98
In Stock
Refrigerator Light Bulb
Part #5304517886
This 3.8-watt LED light bulb is designed to illuminate the interior of select refrigerator models, providing bright and efficient lighting when the door is opened. If your current bulb is dim, flickering, or no longer functioning, replacing it will restore visibility and convenience. Installation is simple—unplug the refrigerator, unthrea...Read mored the old bulb, and screw in the new one. This bulb is sold individually and does not include additional components.
Read less

No Longer Available
Front Slide Clip
Part #241993701
This is a replacement front slide clip for your refrigerator. The clip is sold individually, and is made of white plastic. It is approximately 1-inch wide and 1-inch long. The clip mounts the drawer slide rail to the side of the refrigerator wall. If the clip is damaged, the slide rail can hang, and the drawer will not be able to slide in and out properly. This is an OEM part sourced directly from the manufacturer.

$36.73
In Stock
Freezer Basket Slide Clip
Part #297049500
The basket clip slide is commonly found in refrigerators and freezers. This part is made of high-quality plastic, and is used to connect the basket to the basket sliders. No tools are required when replacing this item. Simply remove the old part and snap the new one into place. This item is sold as an individual replacement part.

$229.16
In Stock
Refrigerator Ice Maker Assembly
Part #241798231
This 8-cube ice maker is used to create ice for your refrigerator. The ice maker receives water from the water inlet valve and will freeze until ice cubes are formed. Once the water has been frozen the cubes will be ejected from the mold in to the ice bucket. The ice maker will continue the process until the ice bucket has reached the l...Read moreimit. If your ice maker is not making ice you may need to replace this part. Please remember to disconnect the power and water supply before starting your repair. This ice maker is a genuine OEM part.
Read less

$30.95
In Stock
Manuals & Care Guides for EI23CS55GB4
Click to downloadInstall
Installation Instructions
(1.05MB)
Install
Installation Instructions
(2.46MB)
Manual
Owner's Manuals
(3.36MB)
Manual
Owner's Manuals
(8.60MB)
Wiring
Wiring Diagram
(0.79MB)
Common Symptoms of the EI23CS55GB4
How this model fails, and the parts that fix it.
Ice maker not making ice
Fixed by
these parts
these parts


Show All
Leaking
Fixed by
these parts
these parts


Show All
Not dispensing water
Fixed by
these parts
these parts

Show All
Fridge too warm
Fixed by
these parts
these parts


Show All
Ice maker won’t dispense ice
Fixed by
these parts
these parts

Show All
Fridge too cold
Fixed by
these parts
these parts

Show All
Noisy
Fixed by
these parts
these parts


Show All
Freezer not defrosting
Fixed by
these parts
these parts

Show All
Freezer section too warm
Fixed by
these parts
these parts
Show All
Door won’t open or close
Fixed by
these parts
these parts


Show All
Fridge and Freezer are too warm
Fixed by
these parts
these parts
Show All
Frost buildup
Fixed by
these parts
these parts
Show All
Light not working
Fixed by
these parts
these parts


Show All
Too warm
Fixed by
these parts
these parts
Show All
Ice maker dispenses too little ice
Fixed by
these parts
these parts

Show All
Freezer too cold
Fixed by
these parts
these parts
Show All
Ice maker dispenses too much ice
Fixed by
these parts
these parts
Show All
Won’t start
Fixed by
these parts
these parts
Show All
Clicking sound
Fixed by
these parts
these parts
Show All
Fridge runs too long
Fixed by
these parts
these parts
Show All
Leaks water
Fixed by
these parts
these parts
Show All
Doesn’t stop running
Fixed by
these parts
these parts
Show All
Watch our pros, then fix it yourself.
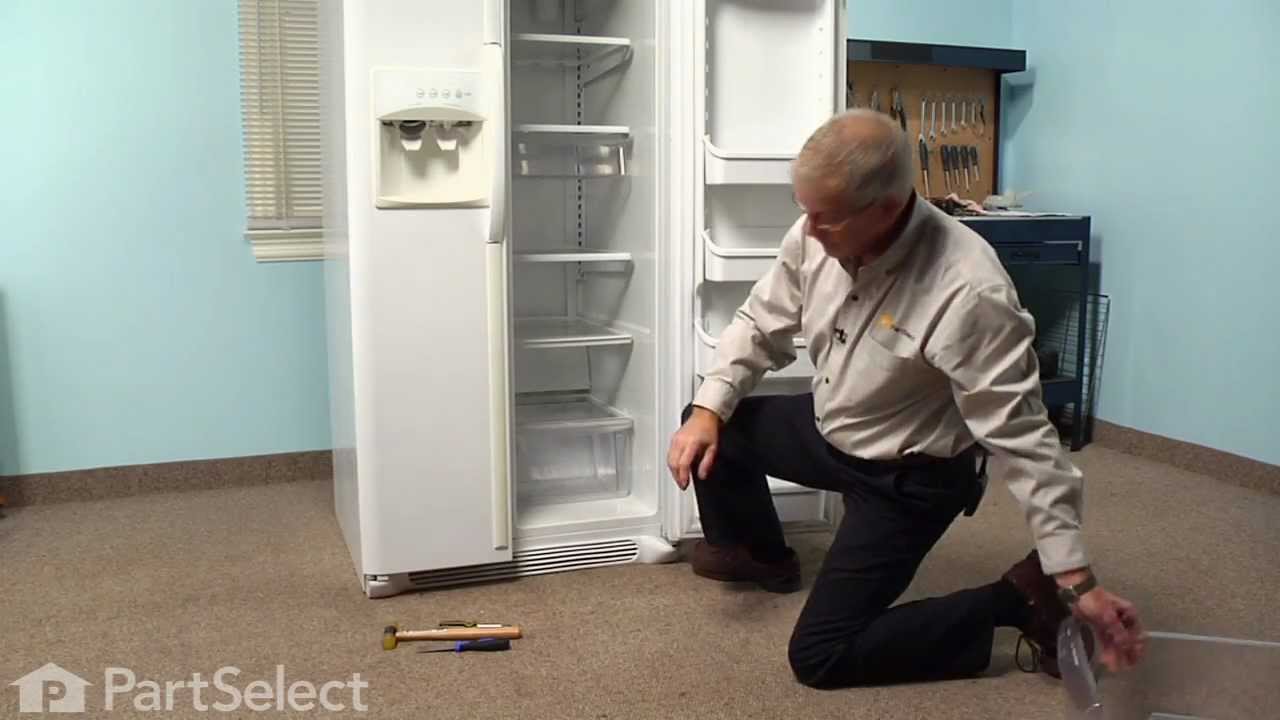
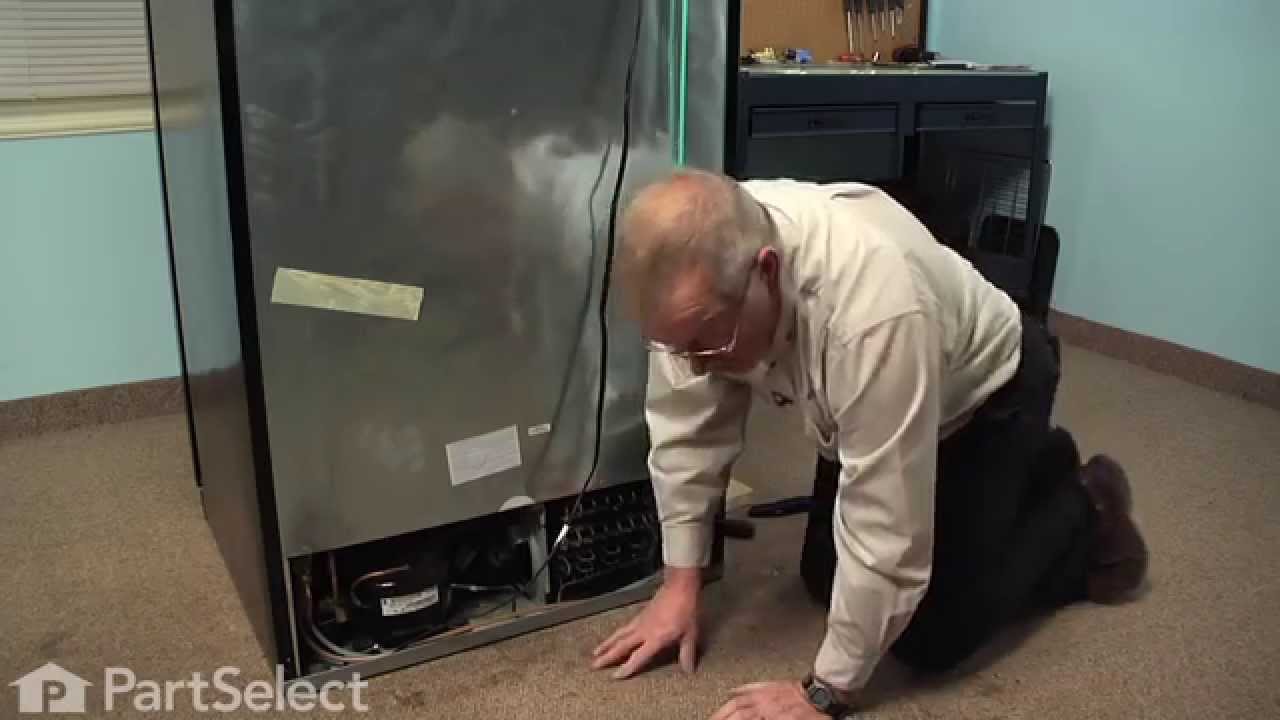
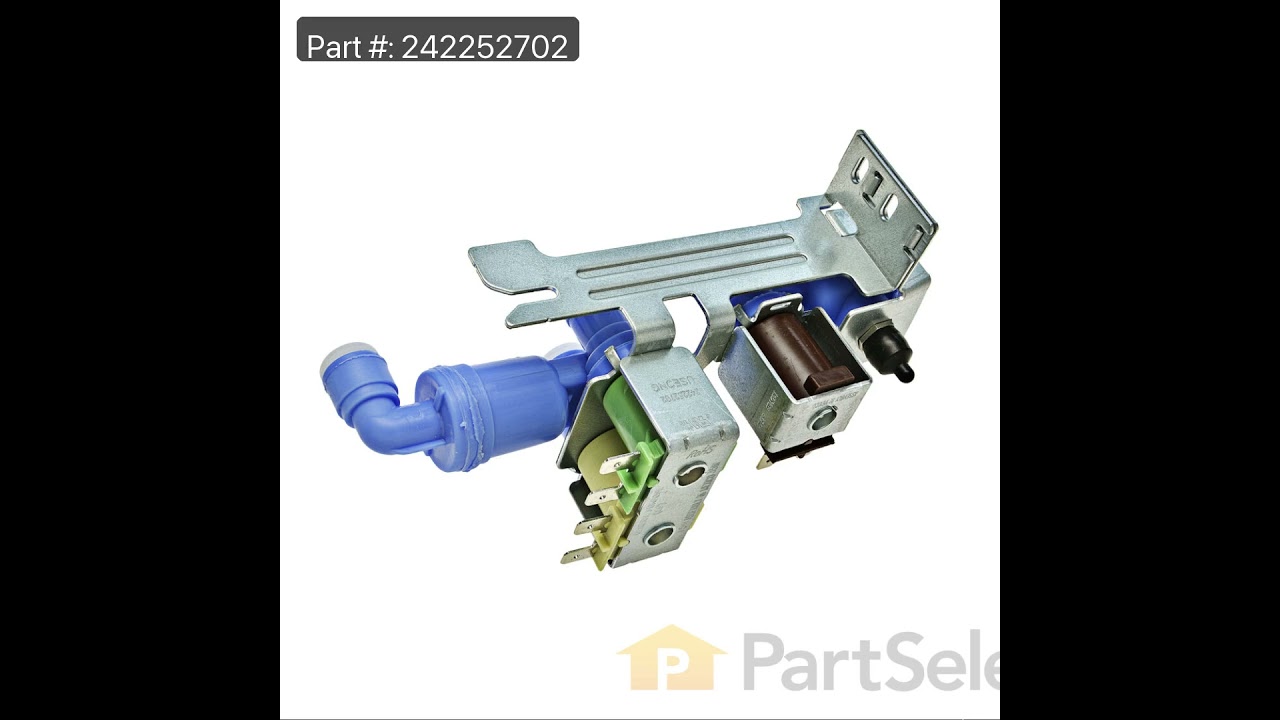
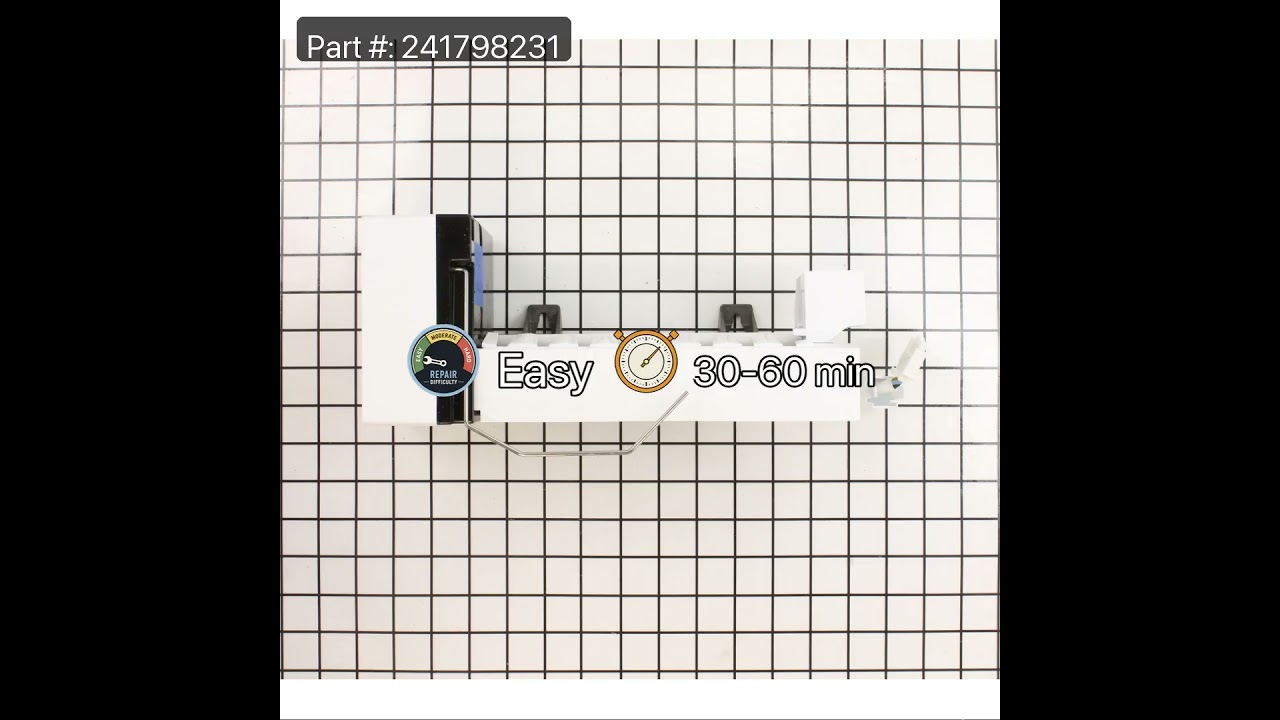
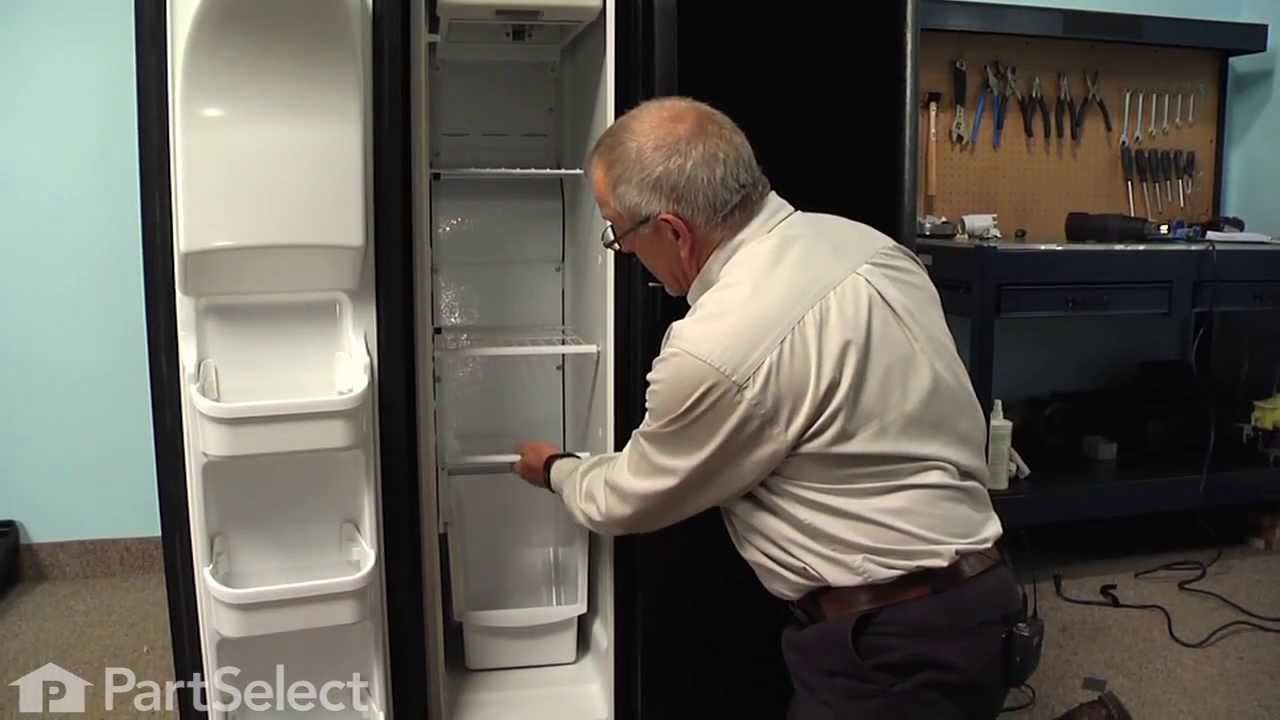
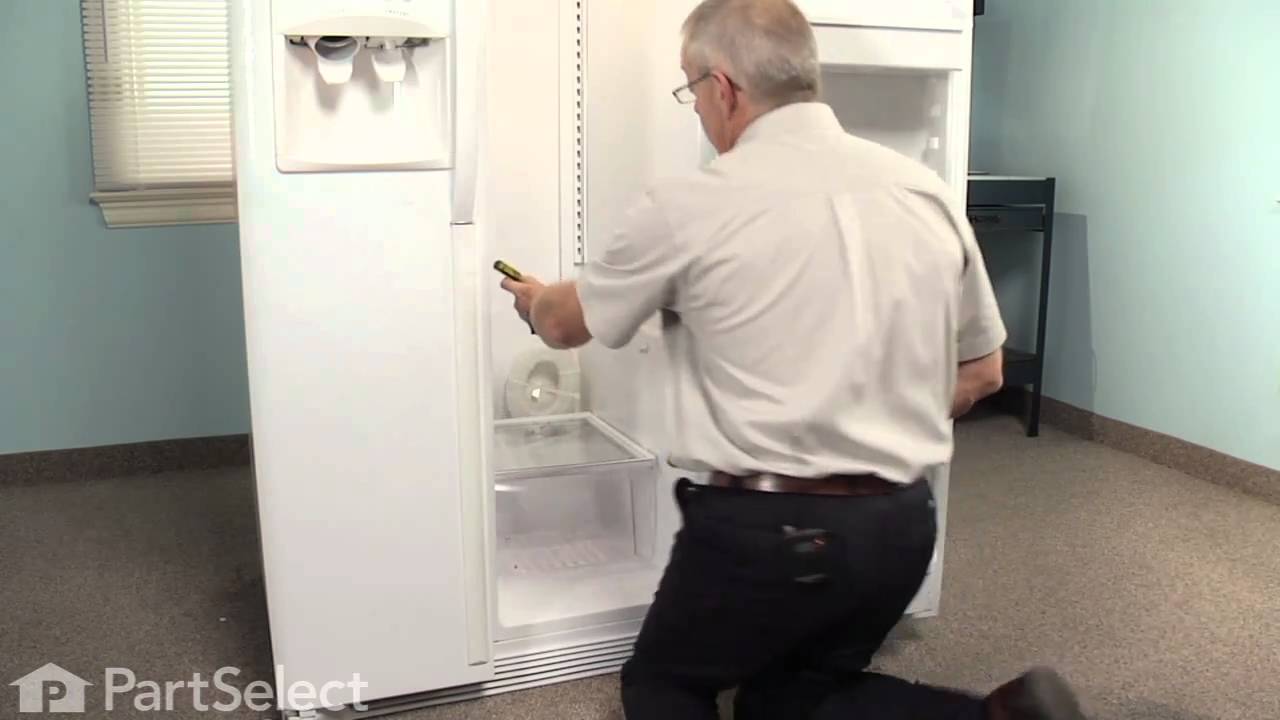
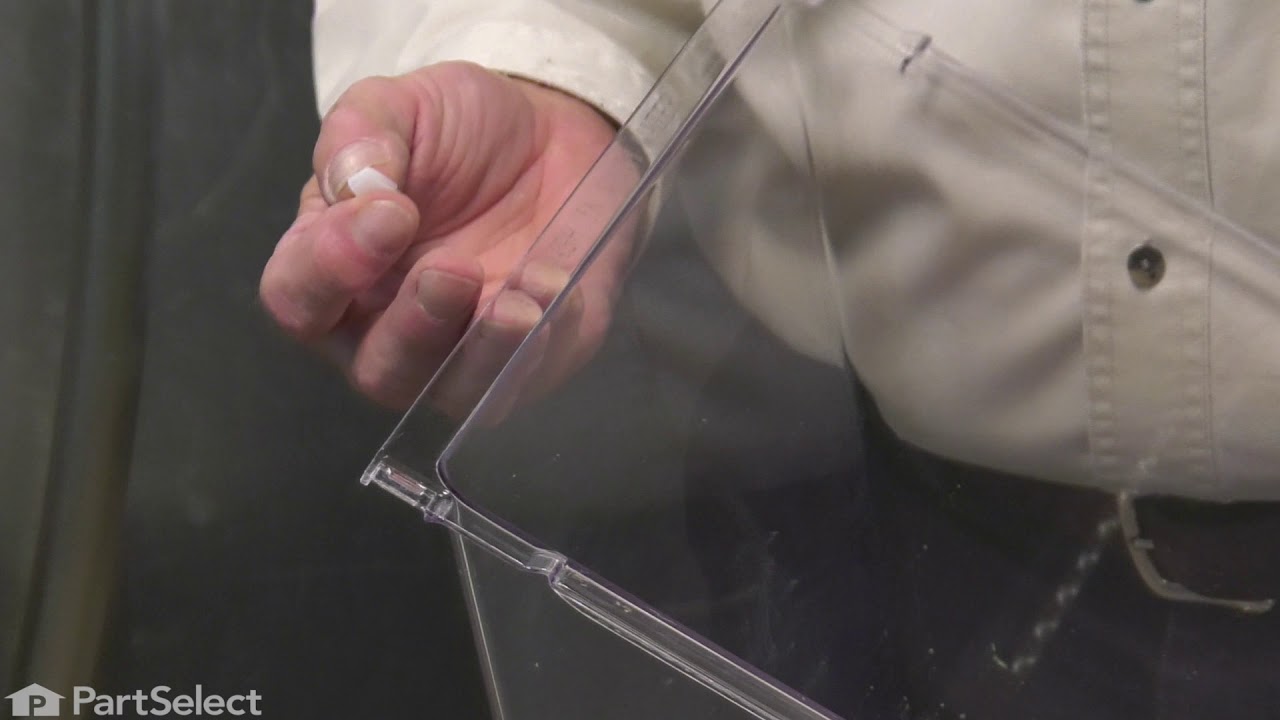
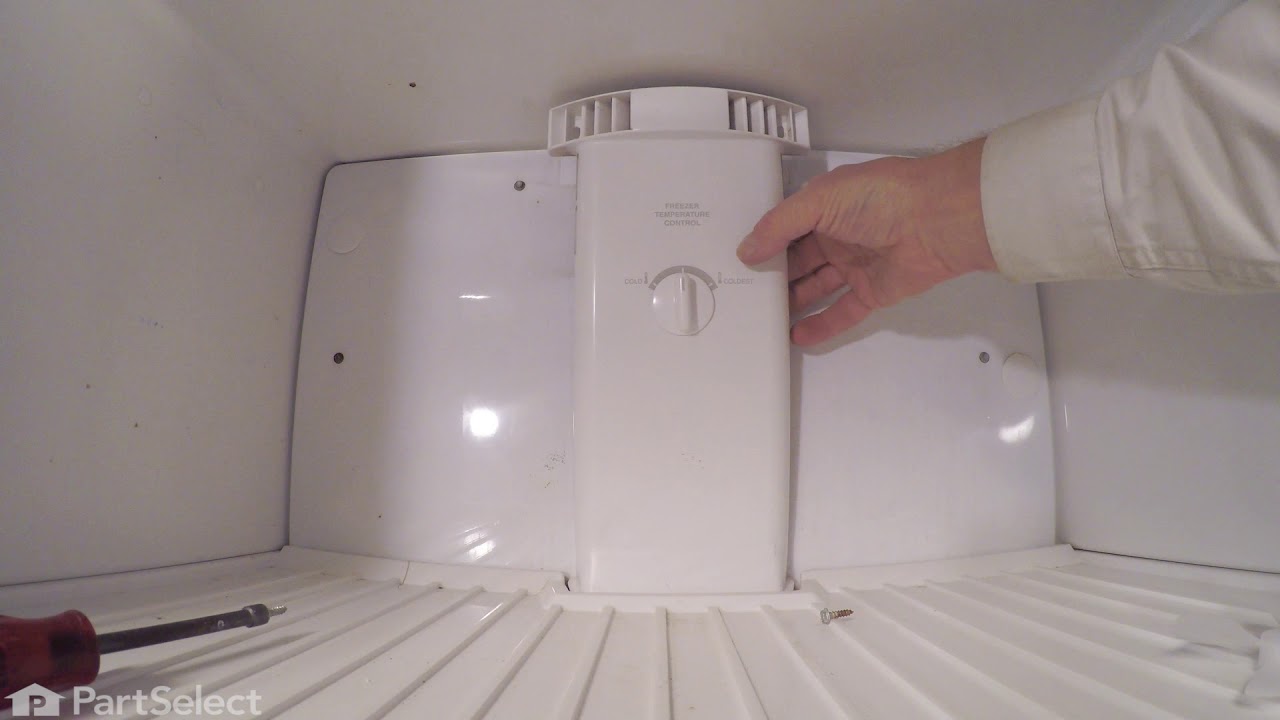
See how others fixed this model. Time, tools, difficulty, and steps that lead to victory!
View More
Search repair tips from other customers using simple keywords like "replace", "fit", "remove", "inspect". DIY doesn't mean you have to do it alone!
Search filter:
Clear Filter
Your search term must have 3 or more characters.
Support studs were broken
337 of 381 people
found this instruction helpful.
Used pliers to remove the residual broken stud that was still attached to the wall of the refrigerator, and then just pushed the new part in place. The longest time was spent in removing the food and crisper drawers.
Other Parts Used:


Was this helpful?
Thank you for voting!