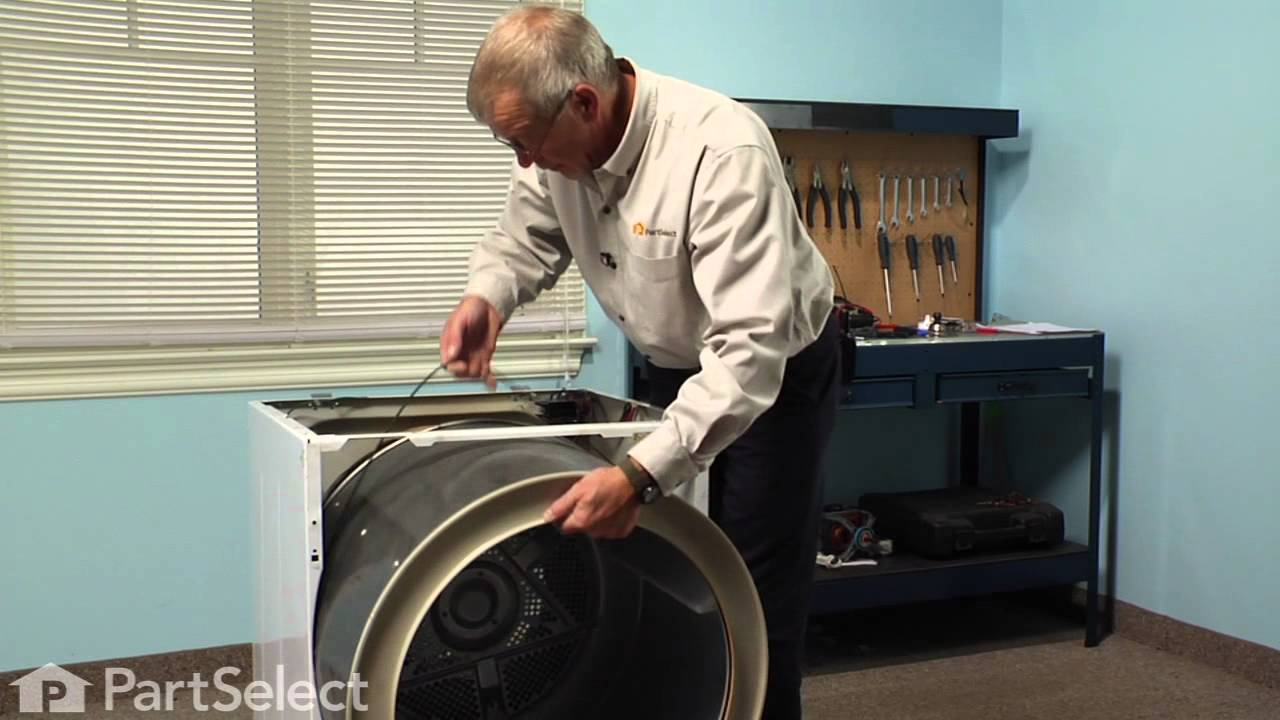
If your dryer drum has stopped spinning and your clothes are coming out damp, it might be time to replace the belt. This essential part helps the drum rotate, allowing warm air to circulate and dry your laundry properly. Made from sturdy material, it’s built to last but can wear out with frequent use. Replacing it is a manageable DIY proj...Read moreect—just grab a screwdriver and wrench to access the belt and swap it out. This part is sold individually, so you’ll only need one to get your dryer running smoothly again.
This high limit thermostat has a limit of 260 degrees Fahrenheit. Meaning that it will cut out when the internal dryer temperature reaches 260. This thermostat cuts back in when the temperature drops by 70 degrees Fahrenheit.
This is a replacement screw for your washer or dryer. The screw is approximately half an inch in length and is a Phillips-head screw. It screws in from the outside of the drum, into the vane/baffle. The main reason you would replace this screw is if the old screw is missing or damaged. This part is sold individually and is an OEM part sourced directly from the manufacturer.
This replacement drum support roller helps keep your dryer drum turning smoothly and quietly during operation. Designed for reliable performance, it supports the drum as it rotates to help reduce excess noise, vibration, and wear. Replacing a worn roller can help restore proper drum movement and improve dryer performance. For installation...Read more, unplug the dryer, access the drum support area, and replace the old roller with the new component. Always wear work gloves for added safety during repairs.
This dryer thermal fuse is a critical safety component designed to protect the appliance from overheating. It automatically shuts off power to the motor or heating system if excessive temperatures are detected, helping prevent damage or potential fire hazards. Once the fuse is triggered, it cannot be reset and must be replaced. A faulty t...Read morehermal fuse may cause the dryer not to start, run without heat, shut off prematurely, or operate at unsafe temperatures. Replacing this component helps restore safe and proper dryer operation.
This element is strung with a coiled wire made of a nickel and a chrome alloy. This wire receives, but resists, a controlled electric current and as a result, the wire heats up. The heat produced is used to dry the clothes in your dryer.
Are you tired of your dryer wobbling every time you use it? Our LEVELING LEG, an original equipment manufacturer (OEM) part, could be the solution you need. It's designed specially to make your dryer sturdier and keep it steady, stopping that annoying shake. The LEVELING LEG is totally genuine and made by respected brand Frigidaire, so y...Read moreou can trust its quality and durability. It's also adjustable, meaning you can make it the perfect height for your exact model of dryer. Installing it is safe and straightforward, but to protect yourself, always remember to switch off the power at the mains and wear work gloves during the installation. Once you've got it fixed in place, your dryer will feel as good as new - steady, secure and shake-free. The LEVELING LEG is compatible with certain Frigidaire models. So, go ahead, give your dryer the support it needs with this handy, straightforward fix. Enhance your laundry day with the Frigidaire LEVELING LEG.
If your dryer drum isn’t spinning or the airflow seems off, the drive motor might need replacing. This motor comes with the pulley already attached for the drum belt and has reverse threads to hold the blower wheel securely. It’s built to keep your dryer running smoothly and efficiently. Just make sure to unplug the dryer before starting the repair—it’s a simple safety step that makes a big difference.
Ask our experts a question about this model and we'll get back to you as soon as possible!
We may have answered a similar question already! Search questions and answers left by others using simple keywords like "fit", "broken", "easy", or "quality" to find questions that match.
Search filter:
Clear Filter
Your search term must have 3 or more characters.
Sort by:
Prev
1
Next
Sorry, we couldn't find any existing answers that matched.Try using some different or simpler keywords, or submit your new question by using the "Ask a Question" button above!
Deon - For model number EFMC617STT0
March 15, 2025
My Electroux dryer starts and stops 5/ 10 seconds later
Hi Deon,
Thank you for your question. If the lint filter, lint filter duct, the exhaust tube, and the exterior vent are clogged with lint, the dryer will overheat and the dryer will shut off. You will need to inspect these parts and give them a thorough cleaning if they are clogged with lint. We would also recommend checking the door switch and the the thermal fuses for continuity with a multimeter on the Rx1 setting. When testing the door switch, place both probes on each of the switch's terminals. You should receive a reading of infinity. While the probes are still touching the terminals, press in on and hold the switch. The reading should change to zero. If your switch fails either of the tests above, you will need a replacement door switch. When testing the thermal fuses, you should receive a reading of zero or infinity. If you get any other readings, you will need to replace the thermal fuses. We hope this helps!
My dryer knob would come On/light up, but not align the dry times to the options, it was stuck at 111 on the knob display, and stdby/start button flashing and would not turn On. Since then there is no time indicated on the dial knob, its blank, but the eco sign comes on when rotating the knob, dryer still flashing stdby/start and will not turn On. Is this a Knob Assembly PS11773329, Board Assembly PS1176615 or Main Board PS11766140 issue?
Hello Joe, thank you for the question. The issue seems to be with the main control board. We would suggest checking it. We hope this solves your problem!
1 personfound this instruction helpful.
Was this helpful?
Thank you for voting!
Deon - For model number EFMC617STT0
May 3, 2026
Error code 64
Hi Deon, thank you for reaching out. An E64 error code points to a heater circuit issue, which means your dryer is not heating up properly. We would suggest checking the heating element part number PS17219736. You may need to replace it to fix the issue. We hope this solves your problem!
I replace the heating element thermal fuse and thermostat but Dryer is still running for about 20 seconds and stop ot also getting extensively hot in that time frame could it be thermistor
Hi Deon, thank you for reaching out. Yes, a faulty thermistor is a likely culprit for your stated issue. It monitors air temperature; if it sends an inaccurate high-heat signal to the control board, the system triggers a safety shutdown. You may need to replace it to fix the issue. The part number is PS2349280. We hope this solves your problem!
I'm looking for a main circuit board for my dryer that caught on fire. Can you recommend the correct part number? Thank you.
Hello Roy, thank you for reaching out to us. According to our research, the main control board you are looking for is part number PS11766140. We hope this information helps!
See how others fixed this model. Time, tools, difficulty, and steps that lead to victory!View More
Search repair tips from other customers using simple keywords like "replace", "fit", "remove", "inspect". DIY doesn't mean you have to do it alone!
Search filter:
Clear Filter
Your search term must have 3 or more characters.
Internal vent inside the drum was coated in black (plastics from use)
11 of 13 peoplefound this instruction helpful.
Rich from New Albany, OH
Easy
30 - 60 mins
Screw drivers
1. Loosened the 3 screws inside of the drum 2. Removed the entire back of the dryer (lots of screws) 3. Removed the old vent (there are 2 screws at the bottom that hold it in) 4. Install new vent (put the screws back in) 5. Close up back and proceed to put all of the screws back
Was this helpful?
Thank you for voting!
Drum belt broke
7 of 8 peoplefound this instruction helpful.
Scott from PFLUGERVILLE, TX
Easy
1- 2 hours
Pliers, Screw drivers, Wrench (Adjustable)
I removed the front, top and back panels of the dryer, installed belt around drum and through the pulley system so the belt was snug, replaced all screws and panels, and done.
Was this helpful?
Thank you for voting!
dryer stopped in middle of cycle and would not restart
5 of 7 peoplefound this instruction helpful.
MICHAEL from HUDSON, NY
Easy
30 - 60 mins
Pliers, Screw drivers
followed the repair video and replaced thermal fuse and thermostat(recommend replacing both due to the problem could of resulted in either part being the cause),Repair went relatively easy.I also recommend to clean and vacuum the dryer while you have it all apart due to a lot of lint buildup and don't forget to unplug before servicing!Sta
... Read morey Safe!!!



 My Orders