


 My Orders


E32AF75FPS4 Electrolux Freezer - Overview
Diagrams for E32AF75FPS4
See every part. Know exactly what you need.


Enter a part description. DIY Heroes keep it simple, eg. "belt" or "pump".
Search filter:
Clear Filter
Your search term must have 3 or more characters.

$38.75
In Stock
Defrost Thermostat
Part #297216600
This authentic defrost thermostat is sourced directly from the original equipment manufacturer and is designed for use with Frigidaire freezers. It regulates the internal temperature to ensure the freezer operates within the proper range. Over time, the thermostat may develop electrical issues that lead to inconsistent performance, making...Read more replacement necessary to maintain optimal functionality.
To install the new thermostat, you’ll need a screwdriver to remove the old component and secure the replacement. Be sure to consult your owner’s manual and model-specific diagrams to ensure correct installation. This high-quality part is sold individually.
Read less

$44.34
In Stock

$88.98
In Stock
Refrigerator Light Bulb
Part #5304517886
This 3.8-watt LED light bulb is designed to illuminate the interior of select refrigerator models, providing bright and efficient lighting when the door is opened. If your current bulb is dim, flickering, or no longer functioning, replacing it will restore visibility and convenience. Installation is simple—unplug the refrigerator, unthrea...Read mored the old bulb, and screw in the new one. This bulb is sold individually and does not include additional components.
Read less

$229.16
In Stock
Refrigerator Ice Maker Assembly
Part #241798231
This 8-cube ice maker is used to create ice for your refrigerator. The ice maker receives water from the water inlet valve and will freeze until ice cubes are formed. Once the water has been frozen the cubes will be ejected from the mold in to the ice bucket. The ice maker will continue the process until the ice bucket has reached the l...Read moreimit. If your ice maker is not making ice you may need to replace this part. Please remember to disconnect the power and water supply before starting your repair. This ice maker is a genuine OEM part.
Read less

$83.50
In Stock

$226.46
In Stock
Refrigerator Door Gasket
Part #5304507200
This replacement door gasket forms a tight seal around the perimeter of the freezer door, helping maintain consistent internal temperatures and energy efficiency. By preventing warm air from entering and cold air from escaping, it supports optimal food preservation and reduces strain on the appliance. Over time, gaskets can wear, crack, o...Read morer lose flexibility, compromising the seal and leading to temperature fluctuations. This OEM part is designed for compatibility with select refrigerator and freezer models. Clamps or additional hardware are not included and must be ordered separately if required.
Read less

$92.00
In Stock
Water Inlet Valve
Part #242252603
When energized, the water inlet valve will release water from the supply line into the ice mold and the water dispenser in the refrigerator. If the ice maker is not making or dispensing ice, not dispensing water, or leaking, you may need to replace the water inlet valve. The water inlet valve is in the back section of your refrigerator ...Read moreand will need to be pulled out from the wall. Make sure to disconnect both the water and power supply before starting your repair.
Read less

$41.81
In Stock

$85.93
In Stock
Evaporator Fan Motor (115v)
Part #297309000
This evaporator fan motor is located in the back of the freezer, and circulates air over the refrigerator coils. These coils will convert the heat into cool air, which is then circulated.

$32.89
In Stock
Hinge Mounting Hexagonal Screw
Part #240578902
This genuine OEM hinge mounting screw is designed for use in Frigidaire and Electrolux refrigerators, providing a secure and reliable way to fasten door hinges to the cabinet. Built with a durable hex washer head and standard threading, it helps restore proper door alignment and maintain a tight seal to prevent cold air loss. Ideal for re...Read moreplacing worn, stripped, or corroded hardware, this heavy-duty screw ensures long-lasting stability and dependable everyday performance.
Read less

$32.04
In Stock
Screw
Part #218755504
Sold individually.
This is a genuine part. The handle mounting shoulder screw (no.10 ab) is made for use with many refrigerators. The metal screw helps to fasten the handle assembly to the outer door panel. The handle mounting shoulder screw is sold individually. For the repair, you will need a pair of pliers.

$67.04
In Stock
Manuals & Care Guides for E32AF75FPS4
Click to downloadCommon Symptoms of the E32AF75FPS4
How this model fails, and the parts that fix it.
Ice maker not making ice
Fixed by
these parts
these parts


Show All
Frost buildup
Fixed by
these parts
these parts


Show All
Too warm
Fixed by
these parts
these parts


Show All
Noisy
Fixed by
these parts
these parts


Show All
Fridge too warm
Fixed by
these parts
these parts
Show All
Leaking
Fixed by
these parts
these parts

Show All
Doesn’t stop running
Fixed by
these parts
these parts
Show All
Won’t start
Fixed by
these parts
these parts
Show All
Ice maker won’t dispense ice
Fixed by
these parts
these parts

Show All
Light not working
Fixed by
these parts
these parts


Show All
Freezer not defrosting
Fixed by
these parts
these parts
Show All
Freezer section too warm
Fixed by
these parts
these parts
Show All
Will Not Start
Fixed by
these parts
these parts
Show All
Fridge too cold
Fixed by
these parts
these parts

Show All
Fridge runs too long
Fixed by
these parts
these parts
Show All
Door Sweating
Fixed by
these parts
these parts
Show All
Freezer too cold
Fixed by
these parts
these parts
Show All
Fridge and Freezer are too warm
Fixed by
these parts
these parts
Show All
Not dispensing water
Fixed by
these parts
these parts
Show All
Clicking sound
Fixed by
these parts
these parts
Show All
Door won’t open or close
Fixed by
these parts
these parts

Show All
Too cold
Fixed by
these parts
these parts
Show All
Watch our pros, then fix it yourself.
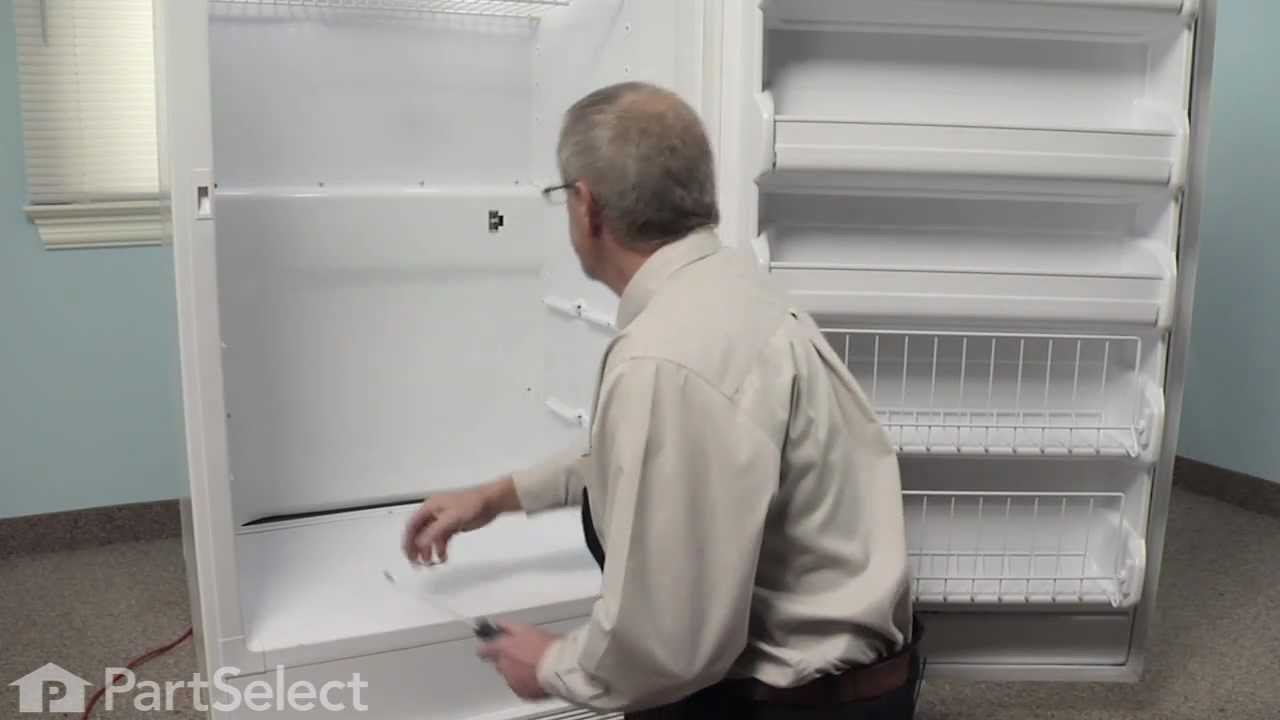
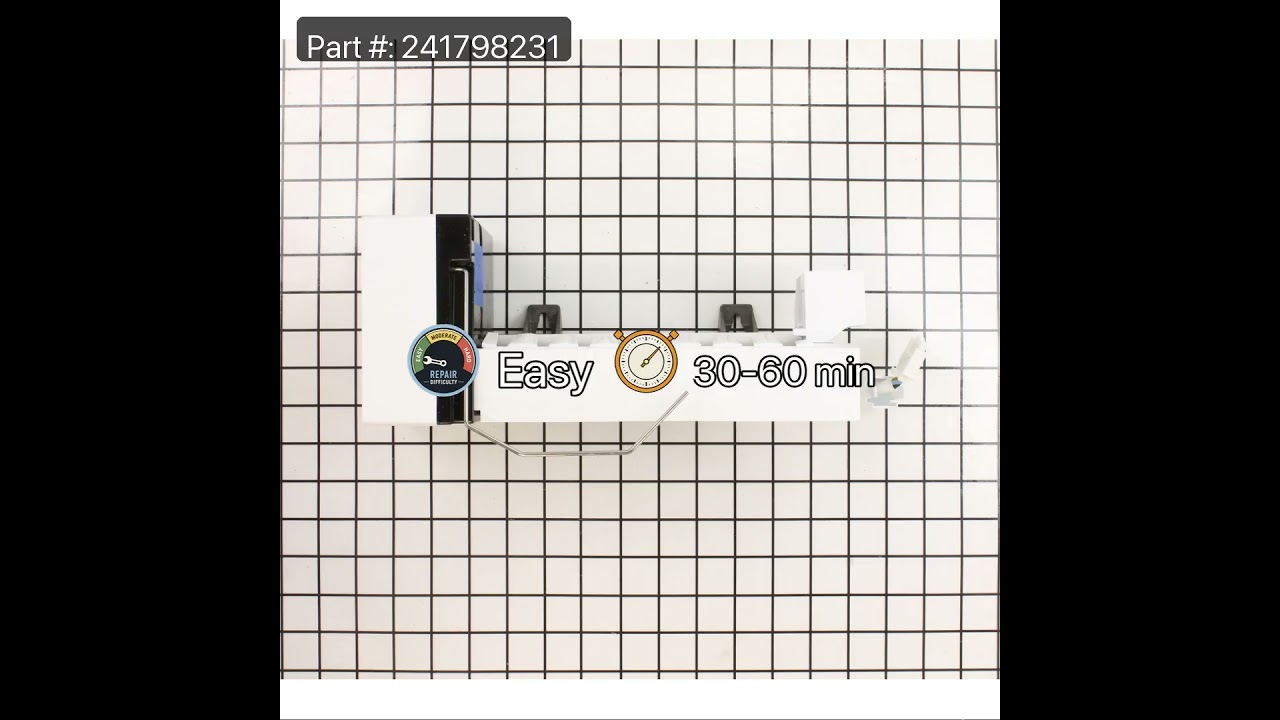
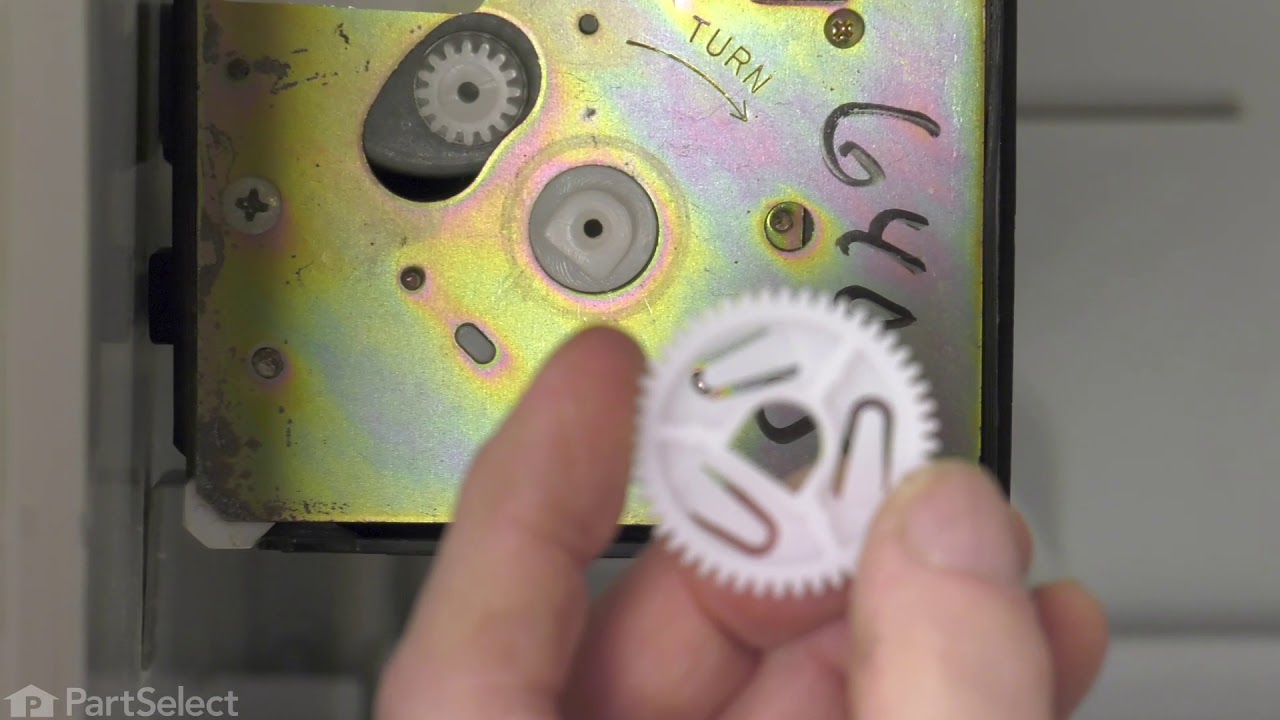
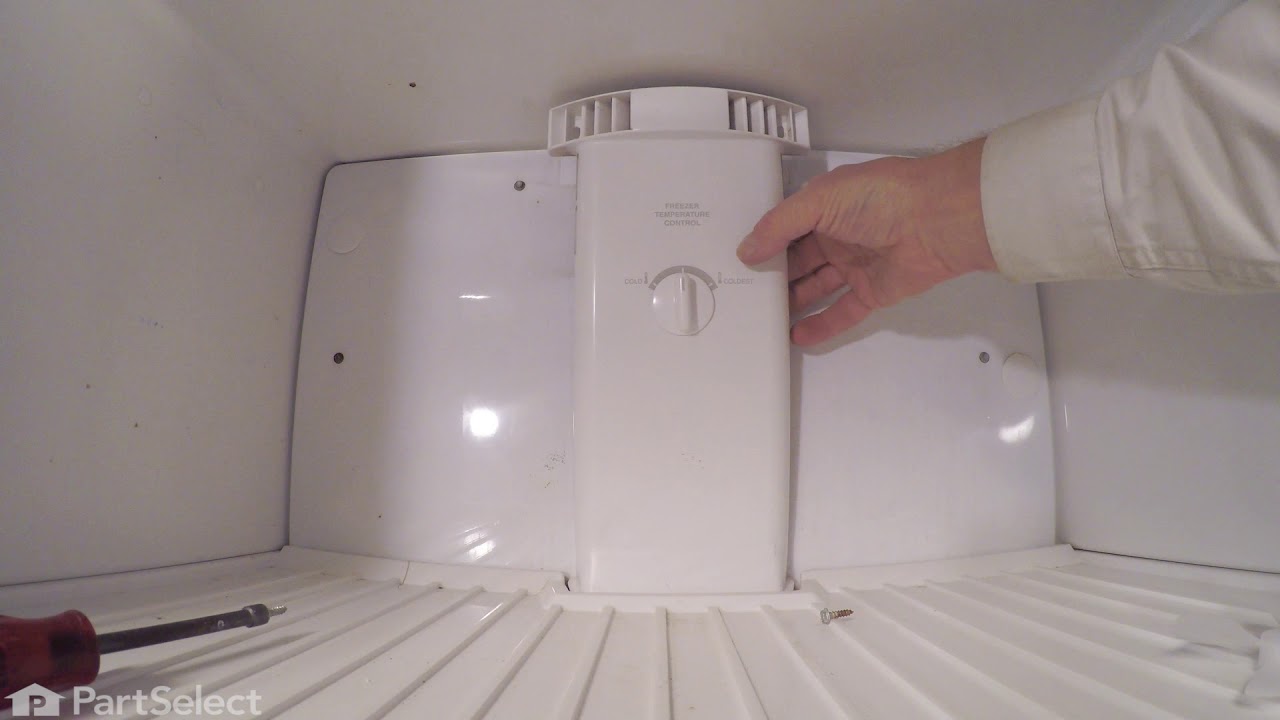
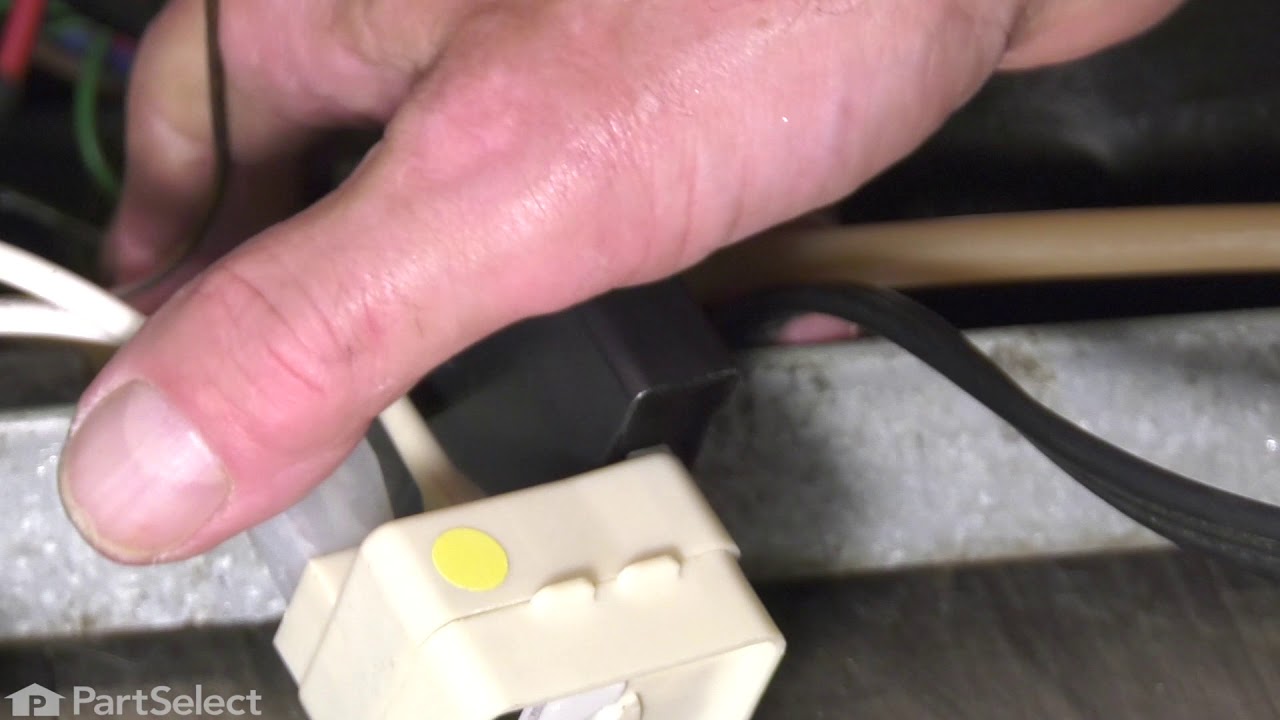
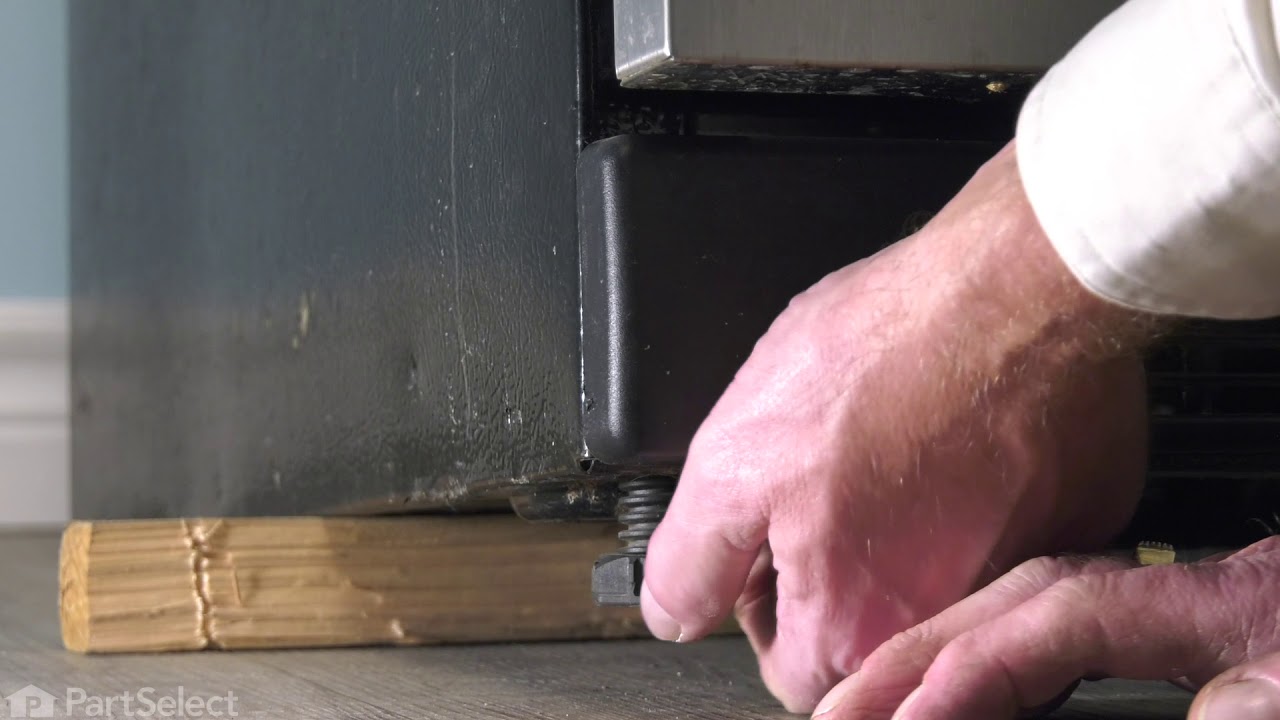
See how others fixed this model. Time, tools, difficulty, and steps that lead to victory!
View More