


 My Orders


DWUA200AAX Admiral Dishwasher - Overview
Diagrams for DWUA200AAX
See every part. Know exactly what you need.


Enter a part description. DIY Heroes keep it simple, eg. "belt" or "pump".
Search filter:
Clear Filter
Your search term must have 3 or more characters.

$86.47
In Stock
Door Gasket
Part #WP902894
This door gasket can be installed by simply pressing it into the channel around the door. This dishwasher door gasket, or door seal, allows the dishwasher door to have an airtight seal when closing the door. No tools are required for this installation, simply remove the existing gasket and press the replacement gasket into the channel aro...Read moreund the door. It is recommended to clean the channel while the gasket is removed. This part may need to be replaced if the existing one is cracked, broken, or hardened, possibly causing water to leak through the door while it is running. This part is sold individually, and is sourced from the original manufacturer.
Read less

$26.35
In Stock
White Dishrack Roller
Part #WP903093
This upper dishwasher dishrack roller is just over an inch in diameter. It is all white in color and is made entirely of plastic.

$16.08
In Stock

$39.55
Special Order
Dishwasher Inner Door Foam Insulation Strip
Part #WPW10117748
This inner door insulation seal is almost twenty-four inches long. It is gray in color and is made of a foam material.

$100.78
In Stock
Door Switches and Holder Assembly
Part #99002254
This part senses when the door is closed so the cycle can start.

$20.96
In Stock
Door Spring
Part #WP912652
This door spring is sold individually and is located on either side of the door. NOTE: The part may not be the same size as the original, and may differ in appearance, but will function the same.

$11.52
In Stock
Washer Hose Clamp
Part #WP596669
This hose clamp extends from half an inch to an inch in diameter. It is made entirely of metal and is intended for use with Maytag brand washing machines.

$14.41
In Stock
Soap Cup Door Latch and Gasket
Part #W10131752
Please Note: A bad gasket is one of the causes for a door leak.

$15.68
In Stock

$75.85
Special Order
Wax Motor for Detergent Cup Actuation
Part #WP902899
This wax motor is a little over two inches long. It is the rinse and detergent activator for some dishwashers.

$20.77
In Stock
Tub Wheel - NOT a Rack Wheel
Part #WP99002947
This wheel attaches to the inside of the tub to help guide the track and support the top rack.

$67.05
Special Order
Dispenser Door Latch Grommet
Part #WP99001553
This grommet for your soap dispenser door is just under an inch long.
Common Symptoms of the DWUA200AAX
How this model fails, and the parts that fix it.
Leaking
Fixed by
these parts
these parts


Show All
Will not dispense detergent
Fixed by
these parts
these parts


Show All
Door latch failure
Fixed by
these parts
these parts


Show All
Will Not Start
Fixed by
these parts
these parts

Show All
Not cleaning dishes properly
Fixed by
these parts
these parts


Show All
Will not fill with water
Fixed by
these parts
these parts


Show All
Door won’t close
Fixed by
these parts
these parts
Show All
Not draining
Fixed by
these parts
these parts
Show All
Lid or door won’t close
Fixed by
these parts
these parts


Show All
Door won’t close
Fixed by
these parts
these parts

Show All
Will not drain
Fixed by
these parts
these parts

Show All
Noisy
Fixed by
these parts
these parts

Show All
Watch our pros, then fix it yourself.
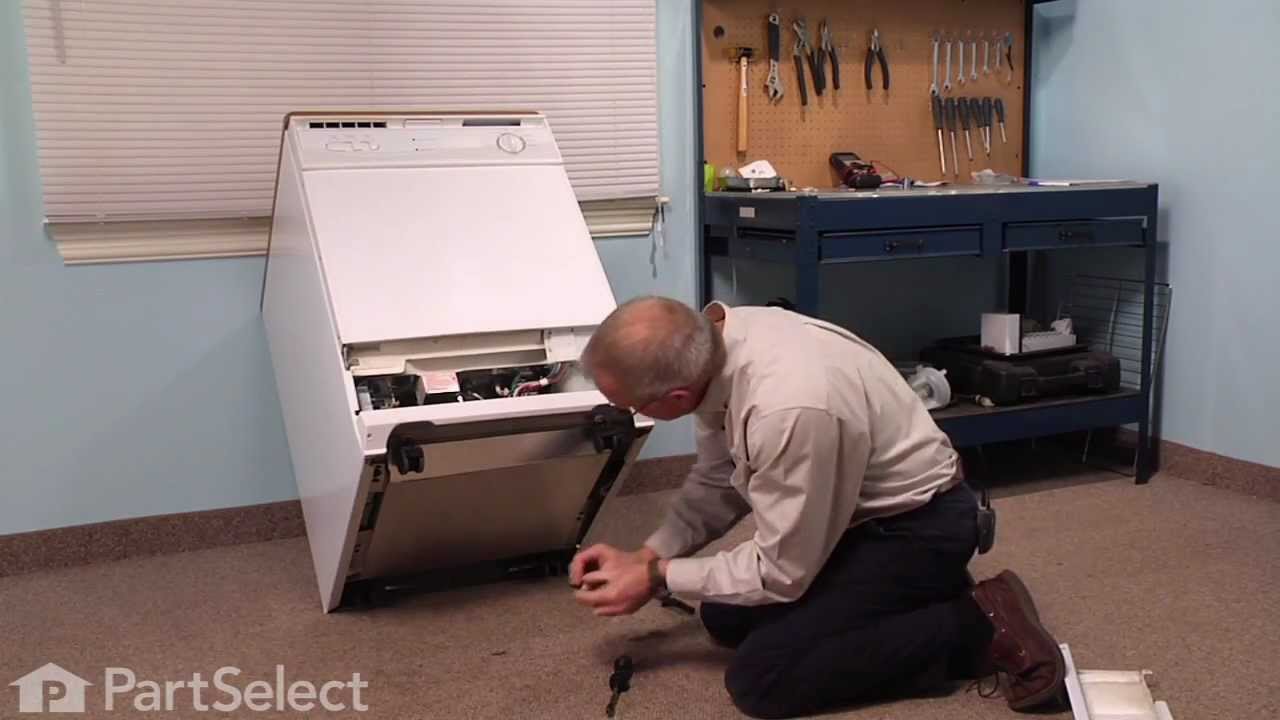
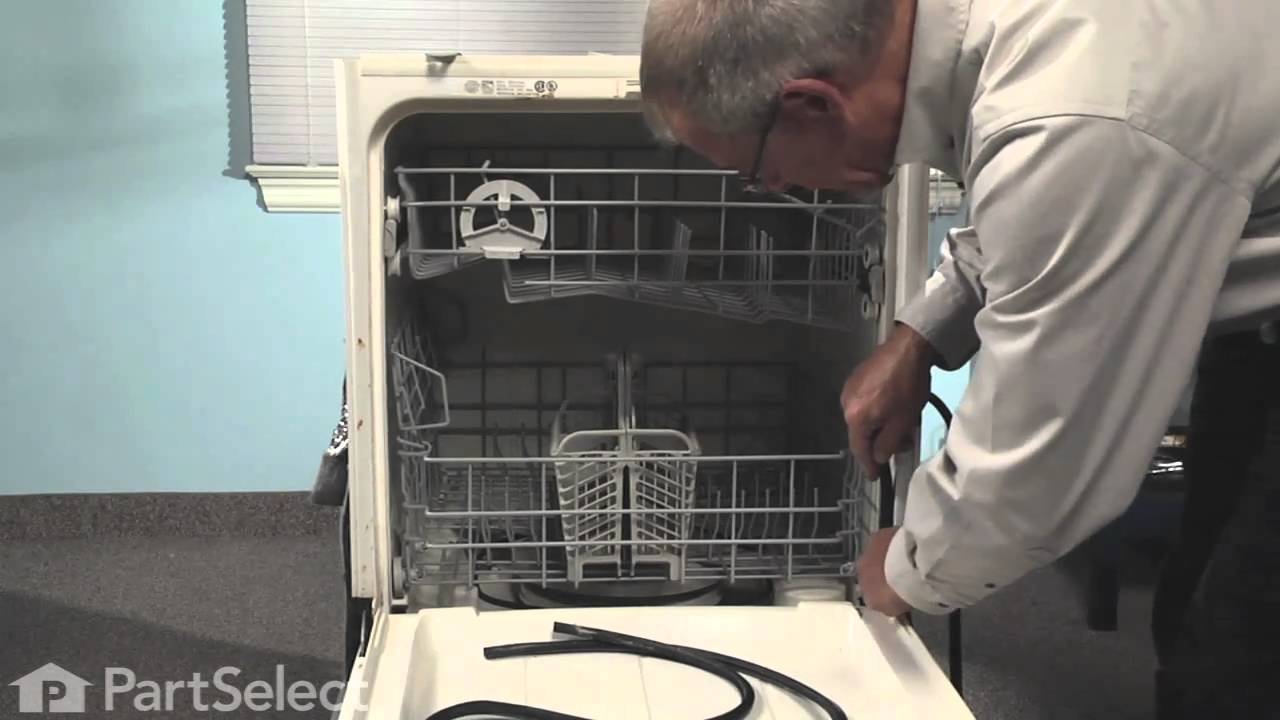
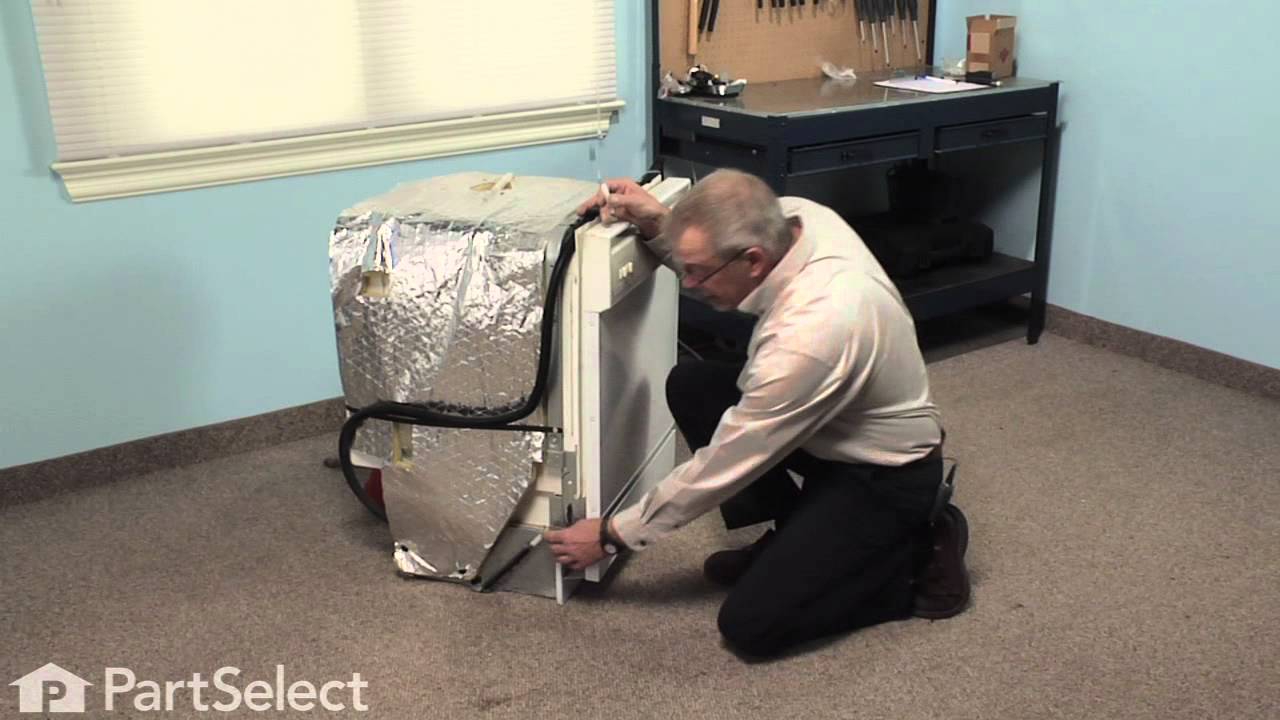
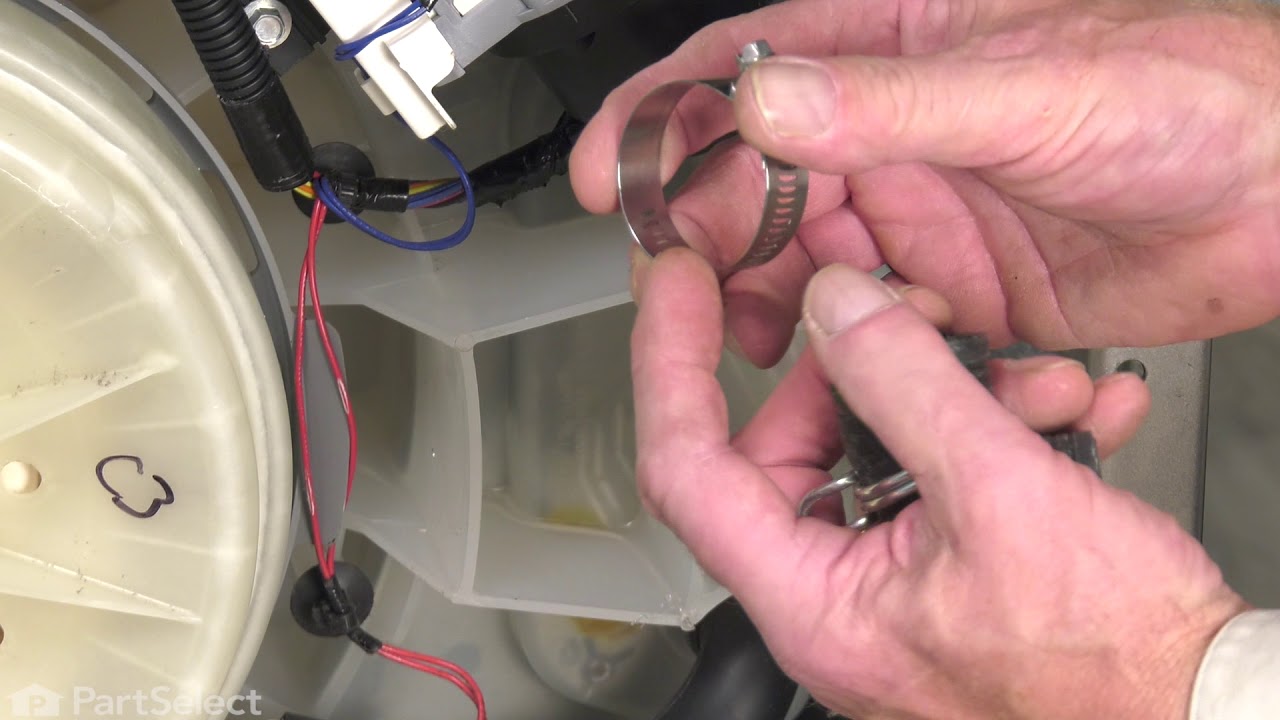
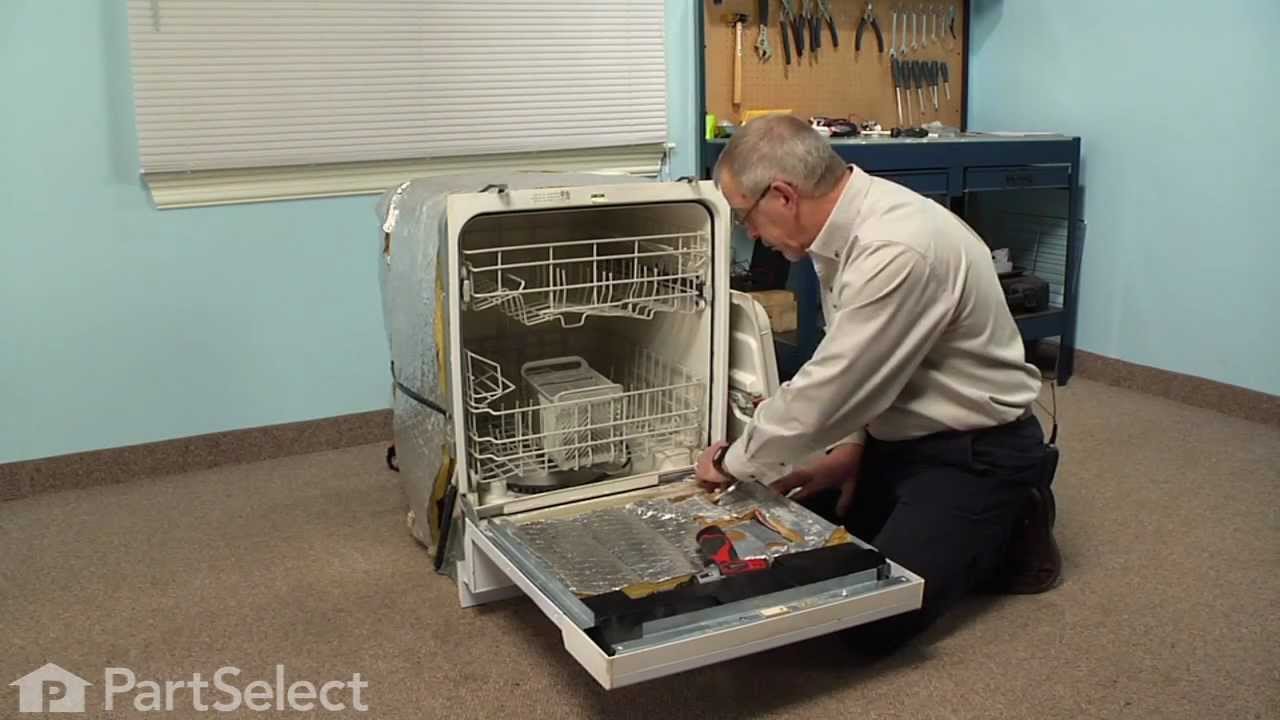
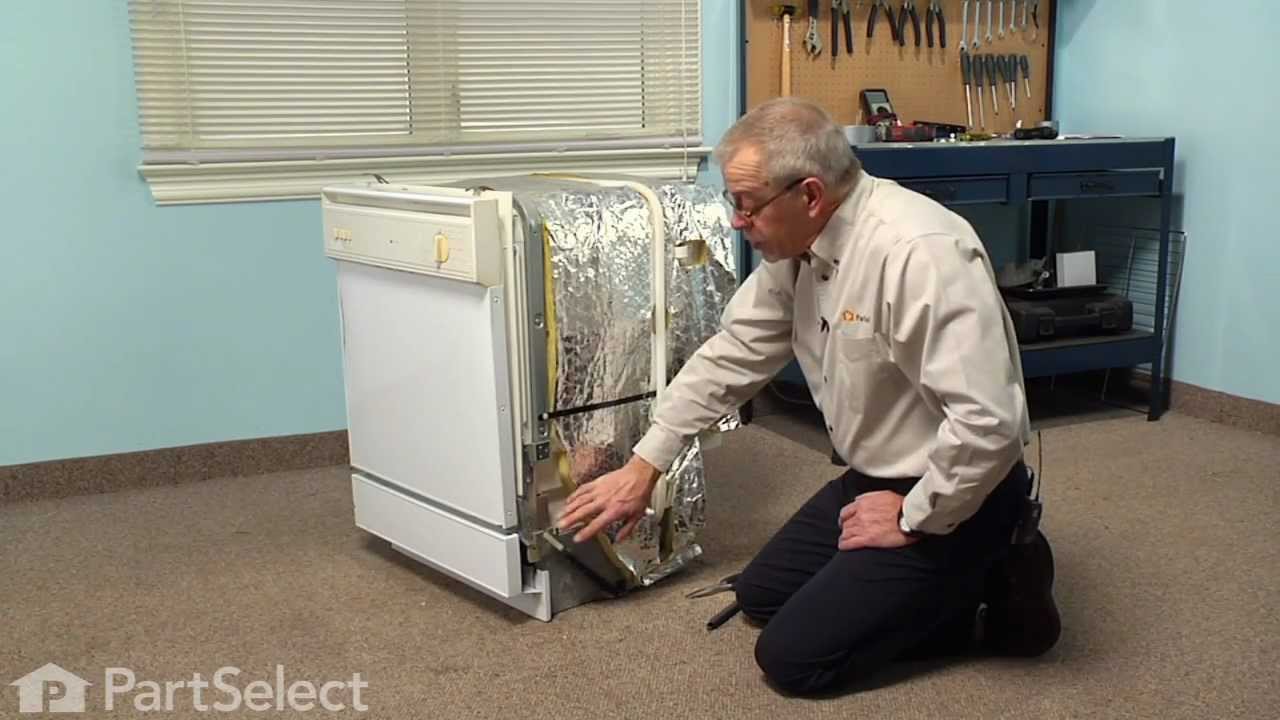

See how others fixed this model. Time, tools, difficulty, and steps that lead to victory!
View More
Search repair tips from other customers using simple keywords like "replace", "fit", "remove", "inspect". DIY doesn't mean you have to do it alone!
Search filter:
Clear Filter
Your search term must have 3 or more characters.
Water dripping from right corner of door
599 of 613 people
found this instruction helpful.
Took out about 7 torx screws to remove the inner door liner. Discovered evidence of leak coming from the sop dispenser latch, and noticed the grommet had turned soft and was torn. The grommet is only about 1" square. Used nut driver to remove two screws to remove latch assembly. Slipped old grommet off and put new one on, and reattached t
... Read more
he latch. The foam seal at the bottom of the door looked worn, so we replaced it with weatherstripping from home improvement store. The main door seal was brittle, so we replaced it too - just grab an end and pull the old one out. The new one was installed by starting at one end and we just pushed it in place. We used a nut-driver to push it in - we were afraid a screwdriver might damage it. The new door seal required us to latch the door to get it to stay closed the fist couple of days, but now it has loosened up a bit and works as expected. And NO MORE LEAKS. Cost is much less than a new unit!
Read less
Other Parts Used:


Was this helpful?
Thank you for voting!
Water Leak at right side bottom of the dishwasher door
467 of 482 people
found this instruction helpful.
After dissassembling the unit to discover the leakage source I determined that it would do best to replace the top three contributors to the problem as listed by you. Disassembly, parts replacement and reassembly was straight forward and a few hints garnered from your good instructions and assembly blow-up drawings made the job simple wi
... Read more
th the most difficult task being the removal of the adhesive foam gasket at the bottom of the door's interior. After scraping as much of the deteriorated foam away as possible with a plastic scraper I used some of my wife's nail polisher remover and a clean-up rag (being careful not to get the remover on plastic parts)and soon I had the adhesion area surface clean and ready to receive the new seal. With close attention to clean up of residues left behind from detergent and water and care taken with part installation and reassembly it no longer leaks and I hope to get another 10-15 years of leak free operation out of the dishwasher
Read less
Other Parts Used:


Was this helpful?
Thank you for voting!