


 My Orders


DVM1850BMC02 General Electric Microwave - Overview


Enter a part description. DIY Heroes keep it simple, eg. "belt" or "pump".
Search filter:
Clear Filter
Your search term must have 3 or more characters.

$33.98
Special Order
Halogen Light Bulb - 120V 20W
Part #WB25X10019
This halogen light bulb is a replacement part for the bulb behind the top grill in your microwave. It is sold individually.

$27.89
Special Order
Light Bulb - 40W 130V
Part #WB36X10003
This 40-watt microwave light bulb is a genuine replacement component designed to provide interior illumination for compatible GE microwave models. Engineered to withstand the high temperatures within the microwave cavity, it allows users to monitor food during cooking without opening the door, preserving heat and cooking efficiency. The b...Read moreulb’s compact design ensures a secure fit and consistent lighting performance. Replacement is typically straightforward and involves accessing the light housing inside the microwave. Always disconnect power before installation to ensure safety.
Read less

$35.95
Special Order

$65.18
Special Order
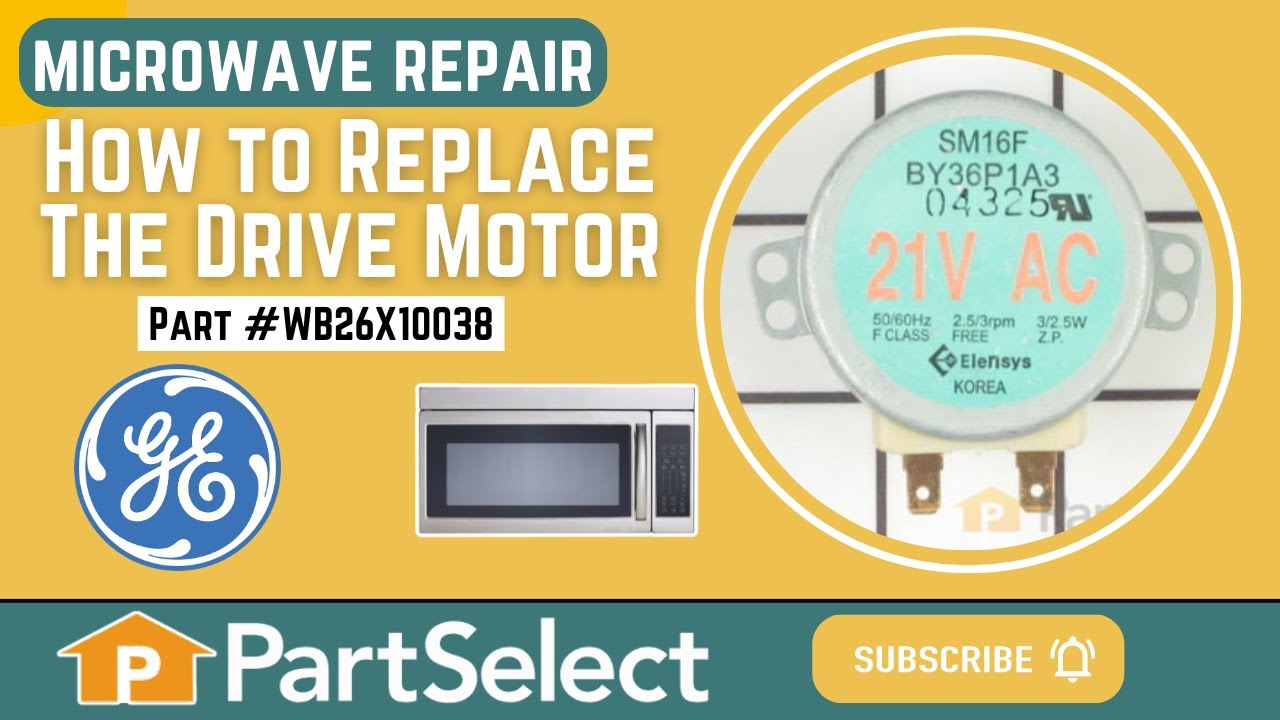
Drive Motor
Part #WB26X10038
This motor rotates the glass turntable in the microwave and accepts a D-shaped shaft.

$81.10
Special Order
Grease Filter
Part #WB06X10596
This metallic vent hood filter collects grease particles in the air from cooking. Sold individually.

$28.20
Special Order

$41.18
In Stock
SWITCH - WB24X10047
Part #WG02F01561
$6.99
In Stock
BOLT, FLAT - WB1M981
Part #WG02L01887

$51.20
Special Order
Thermostat Cut-Out
Part #WB27X10810
$25.74
On Order
COUPLER - WB6M122
Part #WG02F05328

No Longer Available
Thermal Fuse
Part #WB27X1127

$8.25
Special Order
Lock Button
Part #WB06X10126
Common Symptoms of the DVM1850BMC02
How this model fails, and the parts that fix it.
Tray won’t turn
Fixed by
these parts
these parts

Show All
Won’t turn on
Fixed by
these parts
these parts


Show All
Noisy
Fixed by
these parts
these parts

Show All
No heat
Fixed by
these parts
these parts

Show All
Watch our pros, then fix it yourself.
See how others fixed this model. Time, tools, difficulty, and steps that lead to victory!
View More
Search repair tips from other customers using simple keywords like "replace", "fit", "remove", "inspect". DIY doesn't mean you have to do it alone!
Search filter:
Clear Filter
Your search term must have 3 or more characters.
Light bulb out, tried to remove, lamp socket broke
222 of 270 people
found this instruction helpful.
Above the stove mounted microwave. I dropped the lens cover from under the bulb and tried to remove the bulb. The bulb separated from the base. I tried to remove the base with a pliers and the lamp socket broke. I ordered the parts and dropped the bottom cover of the unit down (5 screws). Removed 1 screww from the lamp socket, unplugged t
... Read more
he wires and took it out. Simply replaced socket, fastened bottom cover of microwave, installed new bulb and closed lens cover.
Read less
Other Parts Used:


Was this helpful?
Thank you for voting!
Lens cracked and bulbs burned out
222 of 307 people
found this instruction helpful.
First I removed the single screw holding the lens assembly in place. Then I lowered the assembly and tilted it until it came out. To remove the existing cracked glass lens there were four tabs bent down on it. By hand I lifted each tab just enough to remove the broken lens. I then replaced the broken lens with the new one and re-bent
... Read more
the tabs down by hand to secure them to the new lens.
The lens assembly, now removed, revealed the cavity that contained the two halogen bulbs. Since they were both burned out for days, they weren't hot so I could pull each one out by hand. The bulbs are secured by two straight heavy gauge wire leads and provided a little resistance but come out fairly easily. Make a mental note of the angle they came out so it will be easier to replace them with new ones.
You're not supposed to touch halogen bulbs with your bare hands, so I used the bubble wrap they came in as a means to hold the bulb while installing it.
Be sure to insert the bulbs at the same angle they came out so the pins do not get bent.
Once both bulbs are in place, replace the lens cover assembly by putting the end opposite where the screw hole goes in first on the right, then swing it up until flush and screw it down.
Read less
Other Parts Used:


Was this helpful?
Thank you for voting!