


 My Orders


DU599W Jenn-Air Dishwasher - Overview
Diagrams for DU599W
See every part. Know exactly what you need.


Enter a part description. DIY Heroes keep it simple, eg. "belt" or "pump".
Search filter:
Clear Filter
Your search term must have 3 or more characters.

$30.40
In Stock
Screw
Part #W11233072
This is a multi-use and multi-appliance screw. It can be used on a microwave, refrigerator, range/oven, air conditioner, dehumidifier, washer, or dryer. The measurements of this screw are 8 x 1/2 inch. It has 6 threads. Refer to the manual provided by the manufacturer for further information on repair and accurate guidance. Remember to wear work gloves as a safety precaution.

$11.52
In Stock
Washer Hose Clamp
Part #WP596669
This hose clamp extends from half an inch to an inch in diameter. It is made entirely of metal and is intended for use with Maytag brand washing machines.

$69.52
On Order
Pump Housing Filter
Part #WP99001791
This pump housing filter is twenty-three inches long and a little over two inches wide. This filter wraps around a dishwasher's pump housing and clips in place. It is all white in color and is made of plastic with a mesh screen.

$29.65
In Stock
Heat Resistant Adhesive
Part #W10841140
This is a heat-resistant adhesive for your appliance. The heat resistance allows you to stick parts such as grate feet, gaskets, and felt seals in hot areas, such as a cooktop, without compromising the integrity of the adhesive. It is white in color, and the tube is approximately 7.5 inches long.

$46.15
Special Order

$15.68
In Stock

$57.69
In Stock
Wash Impeller
Part #WP902461
This wash impeller is three inches in diameter. It is all gray in color and is made of plastic.

$10.40
In Stock

$62.56
Special Order
Float Switch
Part #WP99002560
Water that fills your dishwasher lifts this float. When it reaches a certain level, the float triggers the float switch to shut off, thereby shutting off the flow of water into the dishwasher.

$167.69
In Stock
Door Gasket - gray
Part #WP901403
This dishwasher door gasket is gray in color and is used for some belt driven dishwashers. This gasket is made of rubber and is eighty-nine and three quarter inches long.

No Longer Available
Lower Spray Arm Seal
Part #912313

$9.85
In Stock
O-Ring Seal
Part #WP910934
This o-ring seal is well under an inch in diameter. It is all black in color and it is made entirely of rubber.
Common Symptoms of the DU599W
How this model fails, and the parts that fix it.
Leaking
Fixed by
these parts
these parts


Show All
Not cleaning dishes properly
Fixed by
these parts
these parts


Show All
Will not fill with water
Fixed by
these parts
these parts

Show All
Noisy
Fixed by
these parts
these parts

Show All
Not draining
Fixed by
these parts
these parts

Show All
Door latch failure
Fixed by
these parts
these parts


Show All
Will not dispense detergent
Fixed by
these parts
these parts


Show All
Will Not Start
Fixed by
these parts
these parts
Show All
Door won’t close
Fixed by
these parts
these parts
Show All
Will not drain
Fixed by
these parts
these parts
Show All
Watch our pros, then fix it yourself.
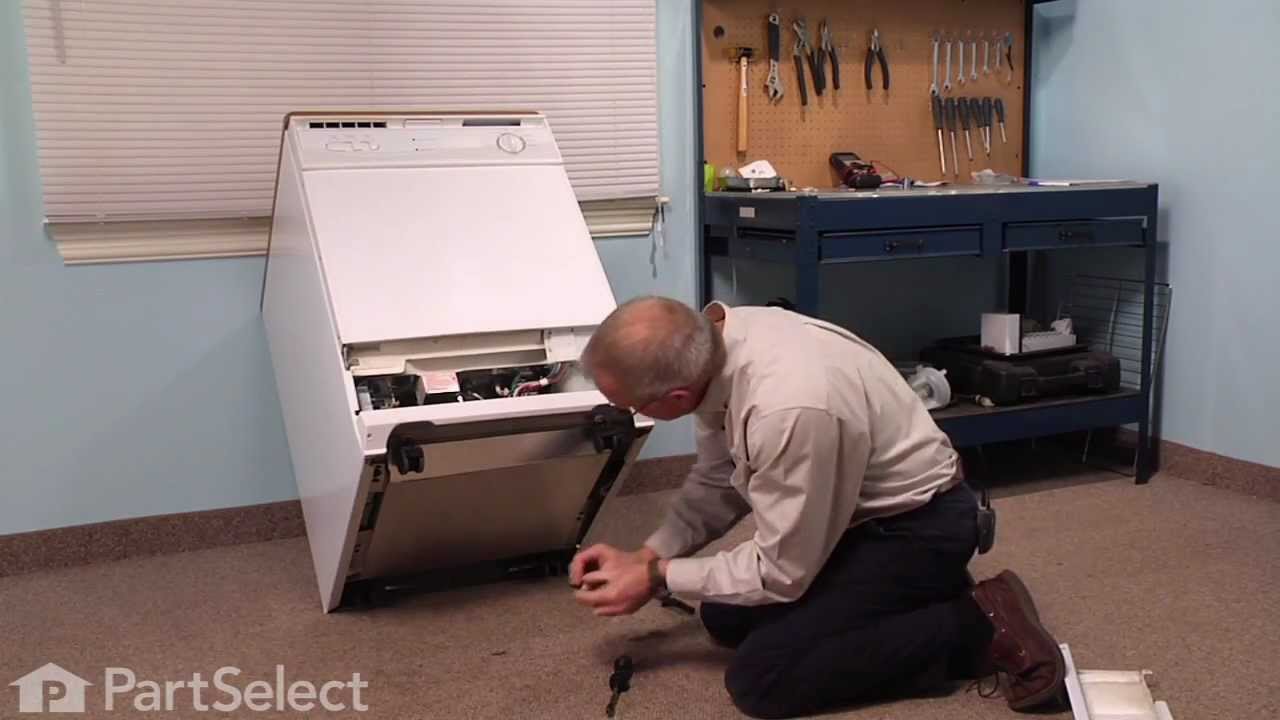
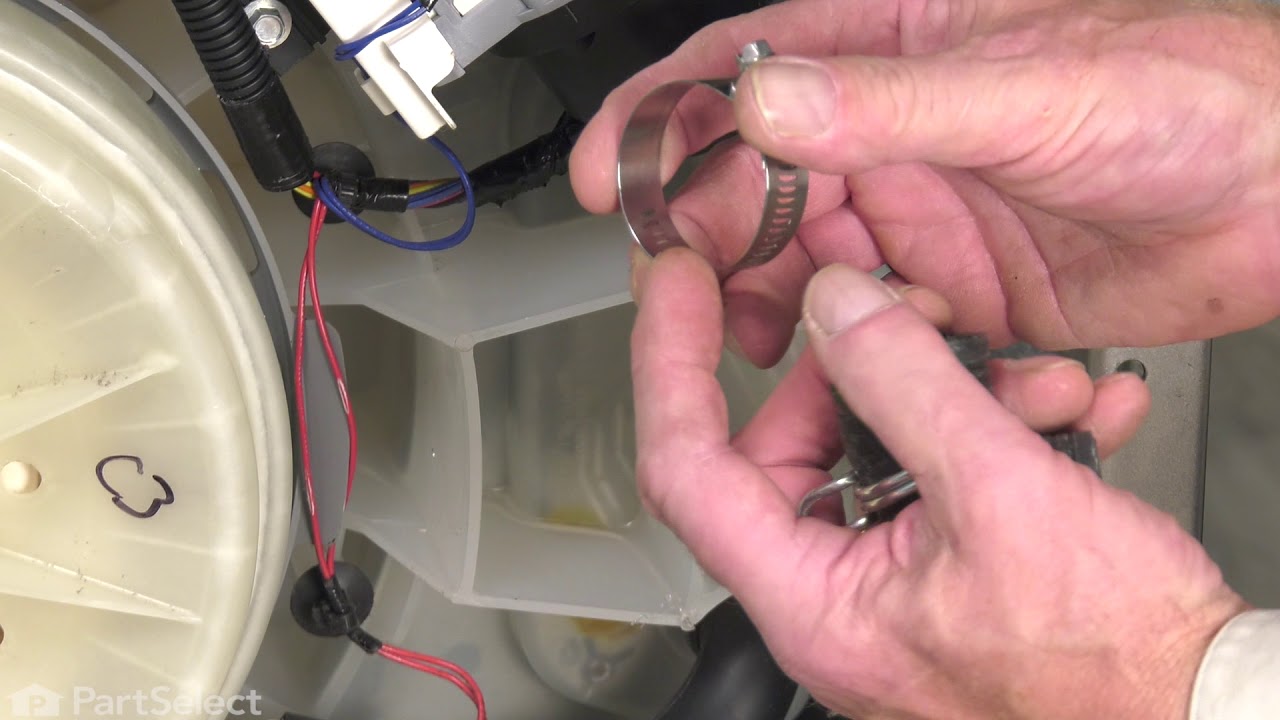


See how others fixed this model. Time, tools, difficulty, and steps that lead to victory!
View More
Search repair tips from other customers using simple keywords like "replace", "fit", "remove", "inspect". DIY doesn't mean you have to do it alone!
Search filter:
Clear Filter
Your search term must have 3 or more characters.
Right Side Door Springs Broken
25 of 29 people
found this instruction helpful.
With the dishwasher door open remove the 3 srews connecting the top of the dishwasher to the bottom of the kitchen counter top. Remove the lower access panel from the dishwasher and lower the dishwasher about 1/4 inch in the front and back of the dishwasher). Once you have lowered the dishwasher enough slide the dishwasher out about 6 inc
... Read more
hes (enough to gain access to the door springs on the left and right side). Remove all broken spring parts and replace using new springs. The left side of the door contained a single heavy duty spring and the right side of the door contained a heavy duty and light duty 'helper' spring. I replaced only the right side springs since the left side spring was in excellent condition. When the springs are installed slide the dishwasher back into its original position and raise the dishwasher back up to its original height using the front and back adjustment screws. Replace the 3 screws holding the top of the dishwasher secure to the bottom of the countertop. Ensure that the door opens, closes and latches smoothly and then replace the lower access panel. Job done.
Read less
Other Parts Used:


Was this helpful?
Thank you for voting!