


 My Orders


DBXR463EG4WW General Electric Dryer - Overview
Diagrams for DBXR463EG4WW
See every part. Know exactly what you need.


Enter a part description. DIY Heroes keep it simple, eg. "belt" or "pump".
Search filter:
Clear Filter
Your search term must have 3 or more characters.

No Longer Available
DRYER FRONT BEARING WHITE 2PK
Part #WE03X37318
This authentic, white Drum Bearing Slide, also known as the bearing drum slide, glide, or pad, is a plastic, easy-to-install part for your dryer. It replaces the dryer's front drum slide to allow for easier movement. You'll know if this part is an issue if your dryer is unable to tumble properly or is very noisy. Damage can come from reg...Read moreular use. The part attaches to the outermost side of the bearing. Check both slides for signs of wear, because they often wear at the same rate, and should be replaced at the same time; there are 2 of these particular slides per dryer. This part is sold individually, so you'll need to purchase multiple parts if replacing both at the same time.
Read less

No Longer Available
DRYER BEARING SLIDE GREEN 2PK
Part #WE03X37317
This original equipment manufacturer Drum Bearing Slide is a plastic, green, easy-to-install part for your dryer. It replaces the dryer's front drum slide to allow for easier movement. You'll know if this part is an issue if your dryer is unable to tumble properly or is very noisy. Damage can come from regular use. As the slides start to...Read more break down it may cause your dryer to make noise or not dry clothes in the usual amount of time. You will need to purchase two for both sides of your dryer. They attach to the outer-most sides of the bearing. The manufacturer recommends replacing both slides at the same time. Take this opportunity to clean out the lint and dust in the dryer, to keep it running smoothly. This is a genuine replacement part that comes directly from the manufacturer. This item is sold individually. The part attaches to the outermost side of the bearing. Although this part is denoted as being "Green" in its title, many users and technicians have noted that its true colour is closer to a dark gray or black.
Read less

$105.45
Special Order
Front Drum Bearing
Part #WE3M26
This drum bearing helps your dryer operate as quietly as possible.The drum slides should also be replaced when replacing the drum bearing. The slides are NOT included with this part this is the bearing only. Slides must be ordered separately.

$49.95
Special Order
Drive Belt
Part #WE03X29897
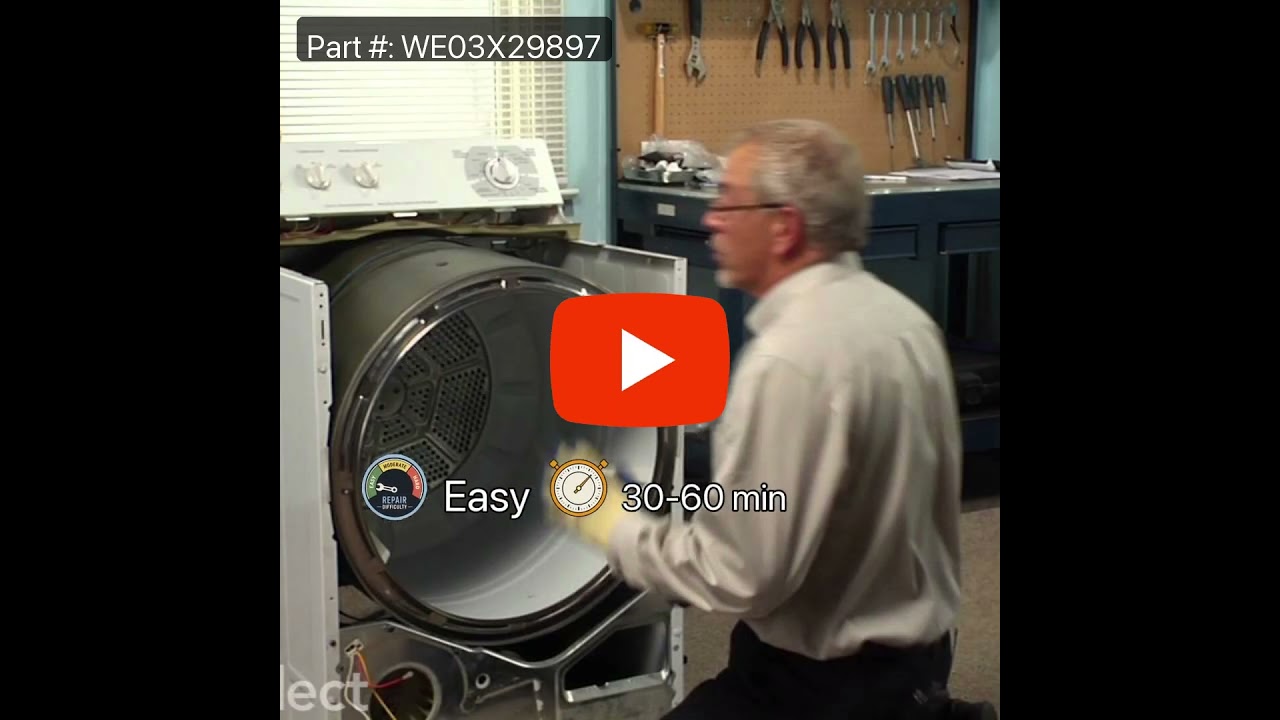
This Drive Belt is 89.5" long and comes in black, featuring four ribs on the inside for a better grip. This is a long belt that wraps all the way around the dryer drum, around a tension pulley, and then around the drive motor pulley, allowing all the parts to work together, spinning the drum as the motor rotates. If the drum will not turn...Read more when the dryer is turned on the belt is likely broken. It is common for belts to stretch or become brittle over time, which is what leads to the breakage. If broken, it should be replaced; the drum simply cannot spin without this belt. Refer to your model number and user manual to check if this part is right for you. Ensure you use work gloves to protect your hands from sharp internal parts during this repair. Please note: When comparing the length of your old belt to the length of the belt as stated here, remember that a small amount of stretching and contortion may occur with belts over time for a range of different reasons. Unless your belt is drastically different in length, this belt is what you are looking for despite any small inaccuracies. You will need to remove power to your appliance, remove the main panel, and access the motor drive to slip your new belt back into place.
Read less

$37.95
Special Order
Control Knob and Clip - White
Part #WE01X20378
This knob and clip set is an OEM replacement part for your washer or dryer. The knob accepts a D-shaped shaft and is sold individually.

$42.95
Special Order
Timer Knob
Part #WE1M654
This timer knob is white with a silver trim, and is roughly 3 inches in diameter. It accepts a D-shaped shaft.

$28.95
Special Order
Drum Bearing Sleeve
Part #WE1M462
If your dryer’s making loud noises or the drum seems shaky, this rear bearing sleeve might be the fix. It helps the drum spin smoothly and stay in place. When it wears out, you might hear squeaks or notice your clothes aren’t drying as well. Made for GE and Hotpoint dryers, this part is a simple way to get your machine running quietly and efficiently again.

$53.62
Special Order
Rotary Start Switch
Part #WE4M519
This part is used to start the dryer once you have selected a setting on the timer. The terminal locations on the new switch may be different, match up terminal numbers from old switch to new.

$141.87
Special Order
Dryer Timer
Part #WE4M533
This dryer timer is used to control the unit's cycles by regulating the length of time that power is directed to each setting.

$13.95
Special Order
Door Strike
Part #WE1X1192
TThe door strike for your dryer is mounted on the dryer frame that the door shuts onto. It fits into the door catch on the door and keeps the door closed. If the door strike is damaged or missing, the door will not lock properly and not only will this cause the door to swing open, but it won’t allow the dryer to start properly. It is a small piece of metal, about 1 inch in length and is sold individually.

$25.31
Special Order
Door Latch
Part #WE1M1011
This Genuine OEM door latch is designed for use with a wide range of GE clothes dryers. Constructed from a combination of durable metal and plastic, the latch is mounted onto the dryer frame to securely hold the door closed during operation. A properly functioning latch is essential for safe and efficient drying cycles.
Sold individual...Read morely, this replacement part may require a screwdriver and a pair of pliers for removal and installation. Replacing a worn or broken latch helps restore proper door alignment and ensures the appliance operates as intended.
Read less

No Longer Available
Rear Drum Bearing Kit
Part #WE25M40
This rear drum bearing kit comes with a shaft, bearing and installation instructions. The bearing plate comes with a slot in it for the ground strap. Helps keep your dryer running as smoothly as possible with as little noise as possible. NOTE: Bearing plate has slot in it for ground strap.
Manuals & Care Guides for DBXR463EG4WW
Click to downloadCommon Symptoms of the DBXR463EG4WW
How this model fails, and the parts that fix it.
Noisy
Fixed by
these parts
these parts


Show All
Marks left on clothes
Fixed by
these parts
these parts

Show All
Drum Not Spinning
Fixed by
these parts
these parts

Show All
Door won’t close
Fixed by
these parts
these parts


Show All
Won’t Start
Fixed by
these parts
these parts


Show All
Timer Not Working
Fixed by
these parts
these parts


Show All
Too hot
Fixed by
these parts
these parts


Show All
Will Not Start
Fixed by
these parts
these parts
Show All
Not Heating
Fixed by
these parts
these parts

Show All
Door Pops Open
Fixed by
these parts
these parts
Show All
Heat stays on after drum has stopped
Fixed by
these parts
these parts
Show All
Watch our pros, then fix it yourself.
See how others fixed this model. Time, tools, difficulty, and steps that lead to victory!
View More
Search repair tips from other customers using simple keywords like "replace", "fit", "remove", "inspect". DIY doesn't mean you have to do it alone!
Search filter:
Clear Filter
Your search term must have 3 or more characters.
Due to over loading of the dryer the drum ruined the slides and was making a bad noise due to plastic rubbing plastic
804 of 916 people
found this instruction helpful.
It was pretty easy. After already taking apart the dryer to install a new belt I knew exactly my plan of action. I removed the two screws that hold the top panel of the dryer to the front panel. I then removed the top panel and removed the screws that hold the front to each side panel. I than pulled the front away from the cabinet and
... Read more
drum. I put the new slides in place and installed a new felt strip. I put it back together and that was that. Very easy.
Read less
Other Parts Used:


Was this helpful?
Thank you for voting!
Dryer was squeeling when running.
713 of 803 people
found this instruction helpful.
I removed the two screws at the front above the drum opening (with the dryer door open). The top panel then lifts off. I removed the screw at each side that holds the front panel to the side panels, tilted the front panel forward, which disengages the front of the drum from the front drum glide bearing. I then lifted the front panel sl
... Read more
ightly, unhooking the bottom of the panel from the dryer base, and swung the front panel aside. I removed the existing top drum bearing guide, which was disintegrated, and snapped in the new bearing guide, with the nylon slide strips installed in the bearing guide. Next pulled out the old felt strip, and pressed the new one in place. I then put the bottom of the front panel back into the bottom of the dryer front, and while lifting the drum to asure it fit over the bearing guide, pushed the front panel back to a vertical position to mate with the side panels. I then replaced the side panel screws, replaced the top, and replaced the front top panel screws.
Read less
Other Parts Used:


Was this helpful?
Thank you for voting!
Intermittant squeaking noise
631 of 790 people
found this instruction helpful.
Basically, I followed the same steps a prior person posted.
1.Removed the two screws inside the door, on the top part of the opening.
2.Lifted up and removed the top.
3.Removed two screws holding the front panel in place.
4.Held up the drum while removing the front panel. I carefully turned the panel so I could get at ... Read more the drum bearing without pulling the wires connecting it to the front panel. The wires are not very long, so I had to be careful not to pull on them.
5.Carefully pried off the old drum bearing, using just my hands. It was fairly tight, and popped out just as I started to worry if I was putting too much pressure on it.
6.Checked to see how the old felt was installed, then I pulled out the old felt.
7.Inserted the new felt, being careful to insert one end into a slot the same way the original was installed.
8.Inserted the new slides into the new drum bearing. The gray slides went in at the eleven and one o'clock positions, the white slides went in at ten and two o'clock.
9.Removed a surplus plastic piece from the new drum bearing (where the light comes through).
10.Inserted the new drum bearing, putting the bottom tabs in first, then pivoting it into place. I squeezed it into place to make sure it was tight.
11.Lifted up the drum and put the front panel back on.
12.Screwed the front panel back on, using the two screws.
13.Carefully put the top back on.
14.Screwed in the two screws inside the front door to fasten down the top.
That was it! I started up the dryer and it worked fine. No more squeaking.
About the only thing odd about the repair is why PartSelect sells each slide separately (i.e., I had to order 2 white slides and 2 gray slides). I can't imagine replacing just one, so why not package them in pairs, or maybe even all four in one package.
At any rate, the repair was easy, and a lot cheaper than having someone come out to fix it.
Read less
Other Parts Used:
Was this helpful?
Thank you for voting!