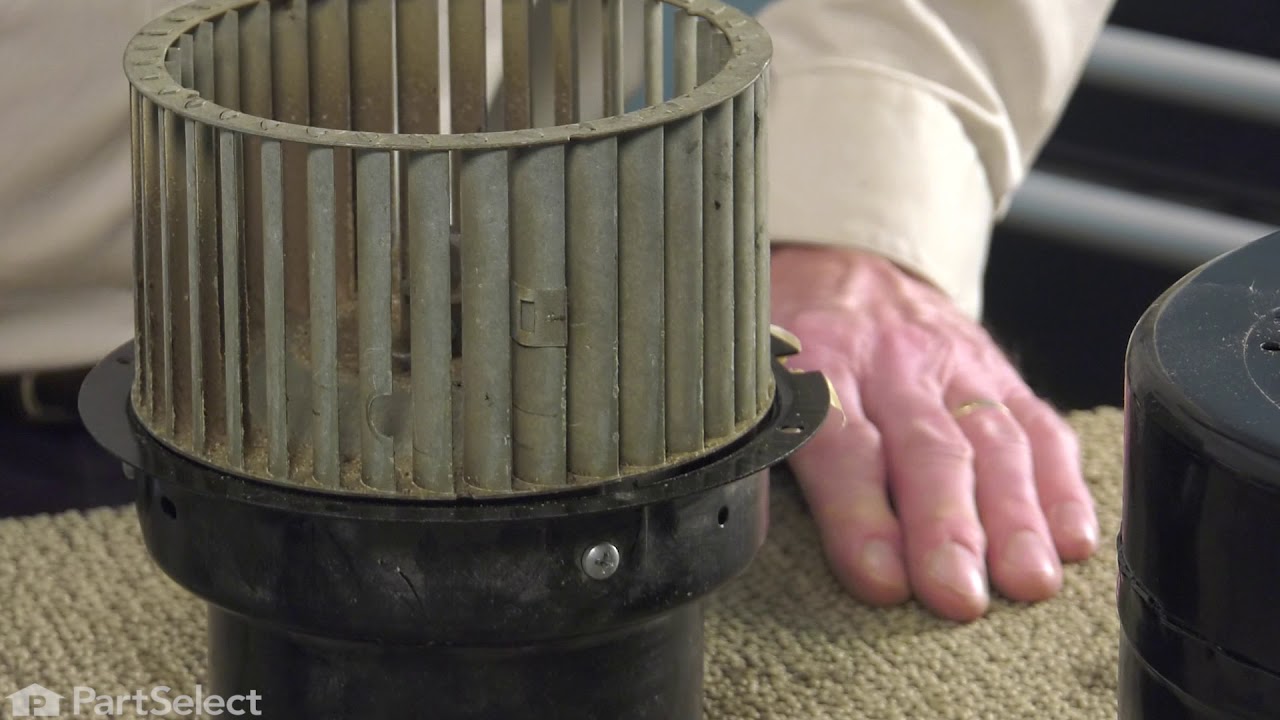
This grease filter is sixteen and a half inches long and nine inches wide. It is made of metal and is intended for use with downdraft ranges and cooktops.
The Dual Radiant Surface Element with Limiter is an OEM replacement designed to efficiently distribute heat across the cooking surface of ranges. Equipped with a limiter for safety, it prevents overheating and ensures consistent cooking performance. Always unplug the range or turn off the circuit breaker before installing this part, and w...Read moreear work gloves to protect your hands. Verify compatibility with your specific model to ensure proper fit.
A burner that will not turn on or off may have a bad control switch. The switch sends 240-volt power to the element based on the knob setting. First inspect the burner, wire ends, socket, and control knob because these parts can cause the same problem. Match the updated switch to the complete range model, even if its shape or terminal lay...Read moreout has changed. Disconnect power at the breaker and confirm the circuit is dead. Take a clear photo of the old wires, follow the supplied instructions, and close every panel before restoring power.
Are you having issues with your fan control in your appliance? The Whirlpool Fan Control Switch could very well be your solution. This genuine OEM part is specifically crafted to work flawlessly in your Whirlpool, KitchenAid, Maytag, Jenn-Air, Amana, Inglis, and Magic Chef models. It's important to know that this isn't your run-of-the-m...Read moreill fan control switch. Specially fashioned with precise detail by Whirlpool, a name you can trust for quality, the SWITCH- FA represents the top-notch product that ensures your appliance operates as it should. Despite appearing similar to other parts, the SWITCH- FA might have slight variations in dimensions and shape. Therefore, always double-check compatibility with your model to guarantee it's the right fit. When your appliance needs a bit of a boost, this Fan Control Switch from Whirlpool plays a vital role. Designed for optimum efficiency, it helps your machine work like new again, promoting durability and seamless operation. It's less about replacing a part and more about reviving your appliance. So, don't let a problematic fan control switch keep your appliance from performing its best. Check whether the Whirlpool Fan Control Switch is compatible with your model and prepare to experience the difference it makes.
This cooktop cleaner will cut through tough grease and baked-on residue. The cleaner will leave a protective coating of silicone on the cooktop surface as it cleans. This 10oz bottle is safe for all glass, porcelain, and ceramic cooktops. Just apply a small amount to your cooktop and use a circular motion by using a sponge or a rag and ge...Read morently press until the grease or baked residue has been removed. Please remember to wear gloves to protect your hands while working with the cooktop cleaner.
Keep your cooktop working like new with this easy-to-install surface element switch. It helps you control the heat on your burner for perfect cooking results every time. If your burner isn’t heating, stays on high, or heats unevenly, this switch is the solution. It’s built to last and fits neatly into your range. Installation is simple—ju...Read morest turn off the power, swap out the old part, and reconnect the wires following the instructions provided. Enjoy reliable performance and peace of mind in your kitchen.
Ask our experts a question about this model and we'll get back to you as soon as possible!
We may have answered a similar question already! Search questions and answers left by others using simple keywords like "fit", "broken", "easy", or "quality" to find questions that match.
Search filter:
Clear Filter
Your search term must have 3 or more characters.
Sort by:
Prev
1
Next
Sorry, we couldn't find any existing answers that matched.Try using some different or simpler keywords, or submit your new question by using the "Ask a Question" button above!
Derek - For model number CVE3401B
September 14, 2022
Hello!
I have a Jenn air with a cracked stove top! The model number is CVE3401 and it is black. Is the CVE3401B the correct part for this? I wondered whether the “B” describes the color or some design upgrade that would make it incompatible. Please advise. Thanks!
Hello Derek, Thank you for your inquiry. We have researched the model number that you have provided and the B would indicate the black version. The compatible black cooktop glass is part# PS2084686. We hope this helps and if you need help placing an order for a part, customer service is open 7 days a week. Please feel free to give us a call. We look forward to hearing from you!
Do you have to remove the down draft and every thing that is connected to the glass top to repair a burner switch or can you just remove the glass top and how?
Hello Marilyn, Thank you for the question. You just need to remove the Glass Cooktop to access the Switches for the Burners. We hope this helps!
Exhaust fan does not turn on when tapping the fan exhaust knob, any suggested solutions ?
Hi John, thank you for contacting us. Ensure that the knob itself is working properly. If it is fine, the issue could be with the fan control switch, part number PS11744308. You may need to replace it to fix the issue. We hope this solves your problem!
See how others fixed this model. Time, tools, difficulty, and steps that lead to victory!View More
Search repair tips from other customers using simple keywords like "replace", "fit", "remove", "inspect". DIY doesn't mean you have to do it alone!
Search filter:
Clear Filter
Your search term must have 3 or more characters.
Outer element of dual element burner didn't work
141 of 184 peoplefound this instruction helpful.
Michael from Collierville, TN
A Bit Difficult
30 - 60 mins
Nutdriver, Pliers, Socket set
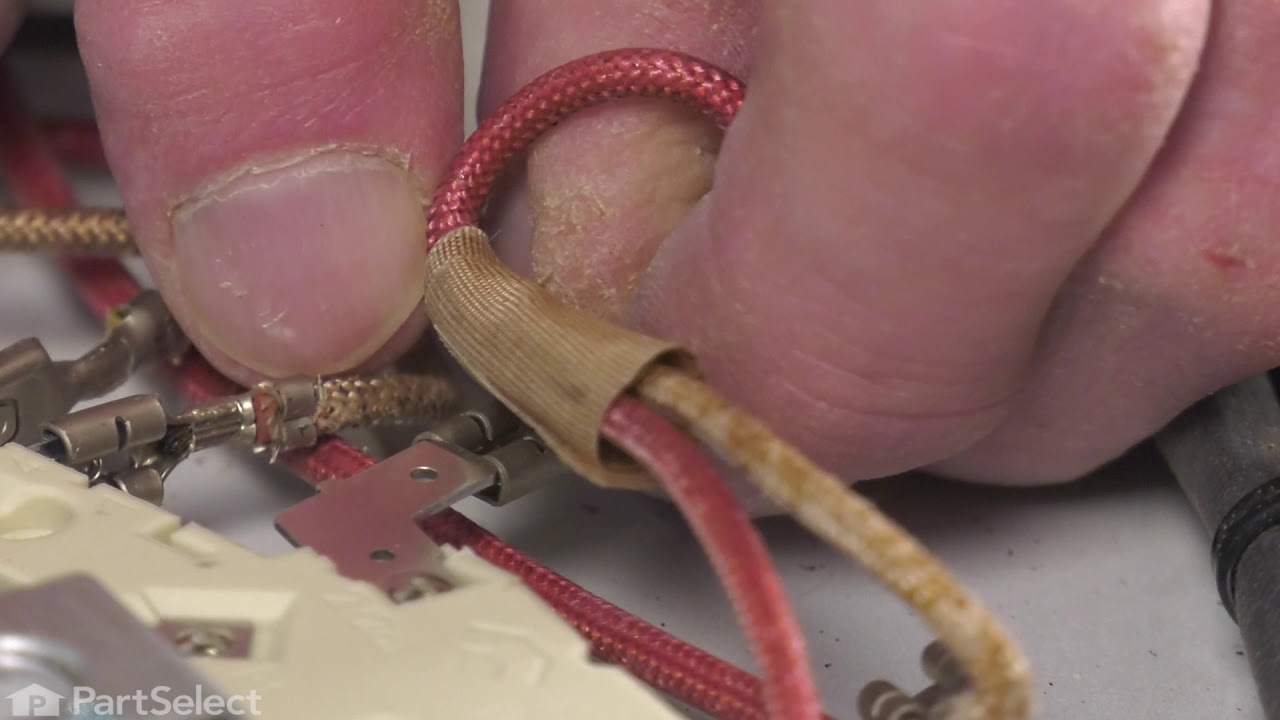
Remove Ceran Galss top by removing hex screws below the rim. Also remove the two opposing screws in the center of the downdraft opening. Ceran top comes off easily now. The instructions with the new switch were very poorly written, so here is how I got the new switch to work: Attach the black wire(s) from the old switch (termi
... Read morenal 2) to the new switch terminal P1. Also attach the jumper cable to P1 and "jump" it to S1.
Attach the orange wire (old switch terminal 5) to S2 Attach the yellow wire (old switch terminal 4) to 4a Attach the tan/(white?) wire (old switch terminal 3) to terminal 4 on the new switch Attach the single red wire from the right front element to terminal 2 on the new switch. Attach the 'compound' red wires (the ones that come from the left rear/outlet connection and is also attached to the right rear switch) to terminal P2 on the new switch. There is no need to seperate the compound red wires as the instructions might lead you to believe. Good Luck
Read less
Was this helpful?
Thank you for voting!
The repair itself was very easy. “How to connect” was very hard to get.
54 of 63 peoplefound this instruction helpful.
Igor from Campbell, CA
Really Easy
15 - 30 mins
Nutdriver, Pliers, Screw drivers
The repair itself was very easy. “How to connect” was very hard to get.
To get access to the switch, unscrew 2 screws from each side of front panel and then 4 screws from the bottom of it (open the door first). Have a box or a small table about 30” high to use it as support for the front panel.
The end result
... Read more(colors for the Right Front- R.F.- burner) : Old label -> New label
1. Double RED: N -> P2 (incoming power, Line 1) 2. Single RED: N -> 2 (to Inner AND Outer heating elements common wire) 3. Single BLK: L1 -> P1 (incoming power, Line 2) 4. Single TAN: H1 -> 4 (to the Inner heating element) 5. Single YEL: H2-> 4a (to the Inner heating element) 6. Single BLK: P -> S2 (to the R.F. indicator control light) 7. Attach jumper black wire (included with new switch) from P1 (P1 has two connectors close together) to S1.
Done.
Read less
Was this helpful?
Thank you for voting!
Outer Ring of Dual Radiant Burner Does Not Come On
43 of 61 peoplefound this instruction helpful.
Christopher from Fredericksburg, VA
Really Easy
15 - 30 mins
Nutdriver, Pliers
Undid two screws on underside of cook top, lifted and exposed underside. Transferred wires from the faulty burner to the new burner, one at a time, paying close attention to their respective position on the wiring posts/terminals. Undid two screws holding old burner and then mounted the new burner to underside of cook top. Was really simp
... Read morele to do. :)



 My Orders