


 My Orders


CSA1201RSS01 Hotpoint Microwave - Overview
Diagrams for CSA1201RSS01
See every part. Know exactly what you need.


Enter a part description. DIY Heroes keep it simple, eg. "belt" or "pump".
Search filter:
Clear Filter
Your search term must have 3 or more characters.

$33.98
Special Order
Halogen Light Bulb - 120V 20W
Part #WB25X10019
This halogen light bulb is a replacement part for the bulb behind the top grill in your microwave. It is sold individually.

No Longer Available
HALOGEN LAMP
Part #WB02X35488
Restore light inside the cooking area or over the cooktop with this replacement halogen lamp, it fits select microwaves, wall ovens, ranges, and microwave oven combos, disconnect the power before starting the repair, use the exact model number to confirm fit.

$25.31
Special Order
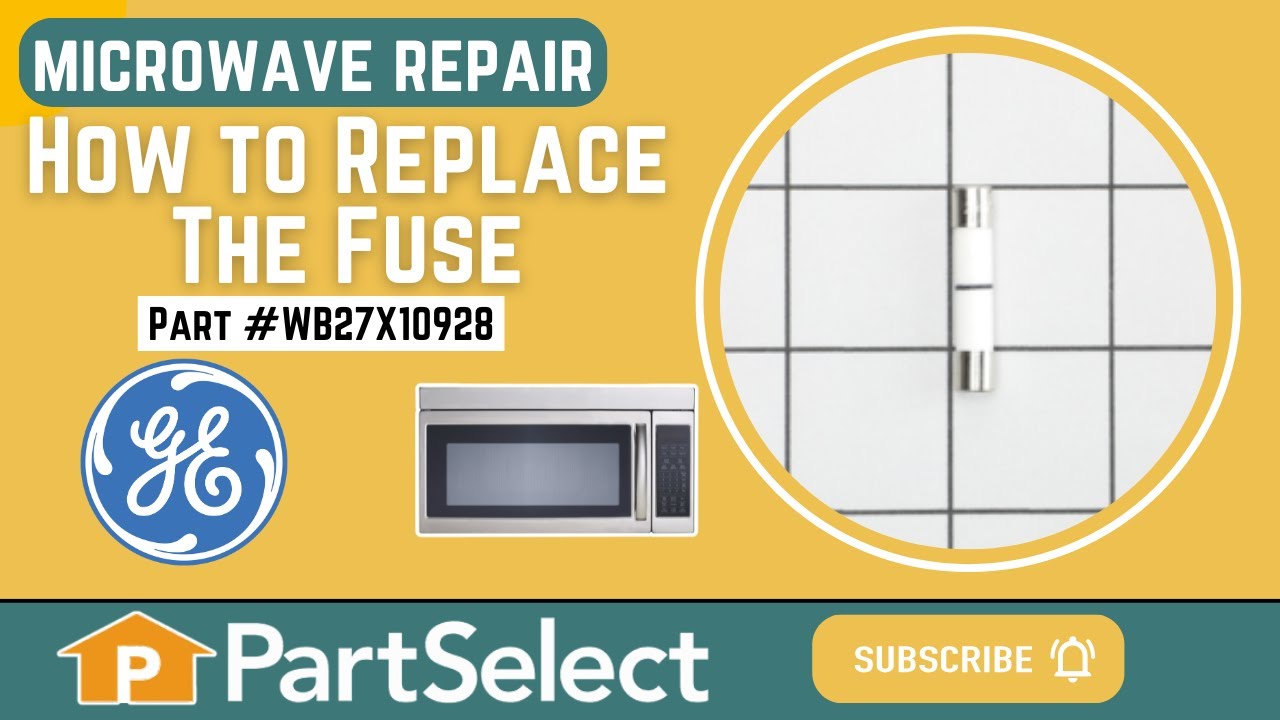
Microwave Fuse
Part #WB27X10928
This ceramic microwave fuse is just over an inch in length. It is white in the center, and metal on both ends. This is a 20-amp fuse, and is used to power your microwave. If the touch pad on the microwave becomes unresponsive, the microwave produces little to no heat, or the appliance simply does not turn on, it could mean that your fuse ...Read moreis at fault and needs to be replaced. Because this part contains an electrical charge, remember to disconnect power to the microwave unit before you begin this repair.
NOTE: Before you start this repair, ensure that the microwave is unplugged, and the capacitor is discharged. A capacitor stores large amounts of electricity even after your microwave is unplugged.
Read less

$54.49
Special Order

No Longer Available
Grease Filter
Part #WB06X10654
The grease filter can be found on the bottom of the microwave. If your grease filter is damaged, it will not effectively capture grease that builds up when your microwave is in use. To replace the grease filter, simply grasp the filter ring and push it to the back of the microwave, then lift out the filter. To preserve the life of your gr...Read moreease filter, you should occasionally remove them and gently wash them in a warm water and detergent solution. Most microwaves will have two grease filters, but this part is sold individually. The grease filter is approximately 8.5 inches by 5 inches.
Read less

$103.37
Special Order
Glass Turntable Tray
Part #WB49X10176
This tray rotates in your microwave ensuring more even temperatures.

No Longer Available
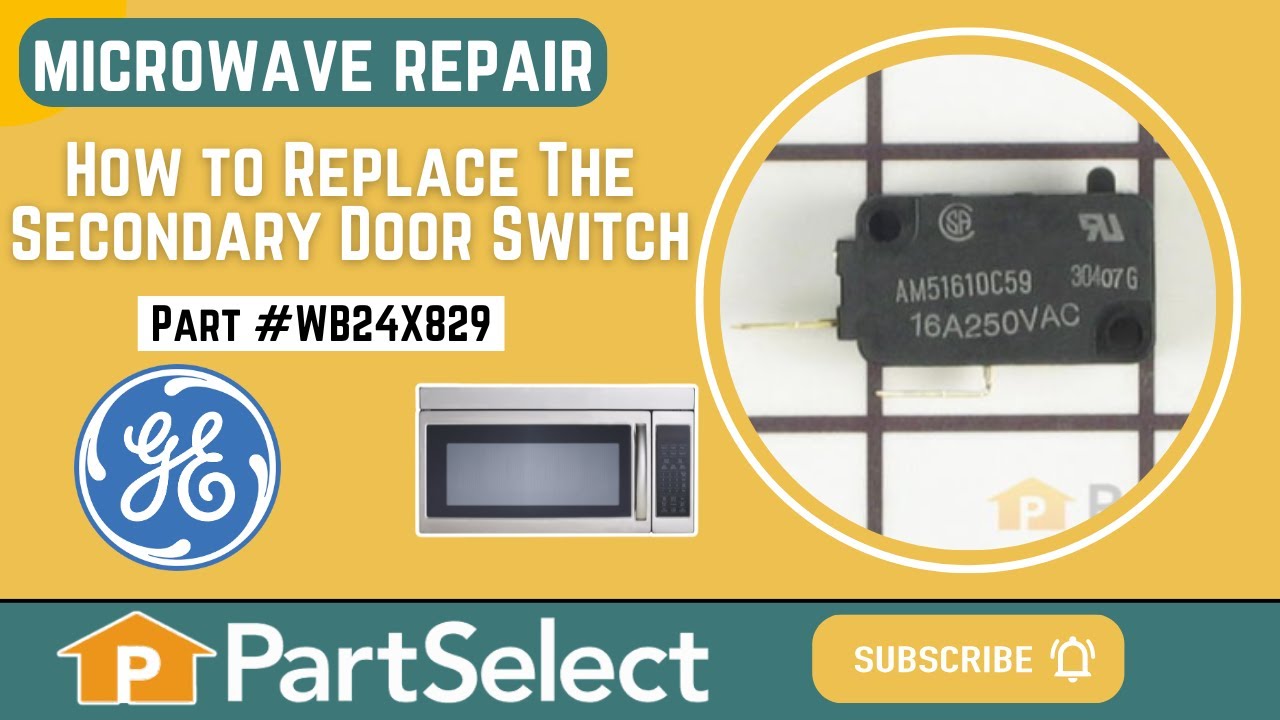
Monitor Interlock Switch
Part #WB24X25397
If your microwave won’t start even though the door is shut, this switch might be the reason. It helps your microwave know the door is closed so it can run safely. This genuine part is easy to install and can get your appliance working again. Just be sure to unplug the microwave before replacing it!

No Longer Available
Cover Assembly
Part #WB02X32719

No Longer Available
THERMOSTAT
Part #WB20X10048

$50.15
Special Order
Diode Cable
Part #WB27X10037
This diode cable is a replacement electrical component designed to regulate current flow within an appliance circuit. It helps protect sensitive components and is commonly replaced when electrical faults or power irregularities occur. Proper application should be verified before installation.

No Longer Available
Microwave Exhaust Adapter
Part #WB02X32715
This is the replacement damper bracket for your microwave. It is made of plastic and is approximately 11 inches wide and 3 inches long. The damper bracket attaches to the outer cabinet and directs airflow through the vent duct. The main reason you would replace the damper bracket is if it is damaged and will not hold the damper in place p...Read moreroperly. This part is sold individually and is a genuine OEM part sourced directly from the manufacturer.
Read less

No Longer Available
Damper
Part #WB06X10565
This vent damper is a manufacturer-approved replacement part for your above-range microwave. This part helps vent air from the microwave to the exterior of your home, and helps keep exterior wind out of the vent. Replacing the vent damper will require some disassembly of your microwave/ Unplug the unit before beginning work on it.
Manuals & Care Guides for CSA1201RSS01
Click to downloadInstall
Installation Instructions
(2.09MB)
Install
Installation Instructions
(4.25MB)
Manual
Owner's Manuals
(1.12MB)
Manual
Owner's Manuals
(7.51MB)
Manual
Owner's Manuals
(8.19MB)
Specs
Product Specifications Sheet
(0.16MB)
Care
Use and Care Manual
(3.39MB)
Common Symptoms of the CSA1201RSS01
How this model fails, and the parts that fix it.
Won’t turn on
Fixed by
these parts
these parts


Show All
No heat
Fixed by
these parts
these parts

Show All
Touchpad does not respond
Fixed by
these parts
these parts

Show All
Doesn’t shut off
Fixed by
these parts
these parts

Show All
Tray won’t turn
Fixed by
these parts
these parts


Show All
Watch our pros, then fix it yourself.
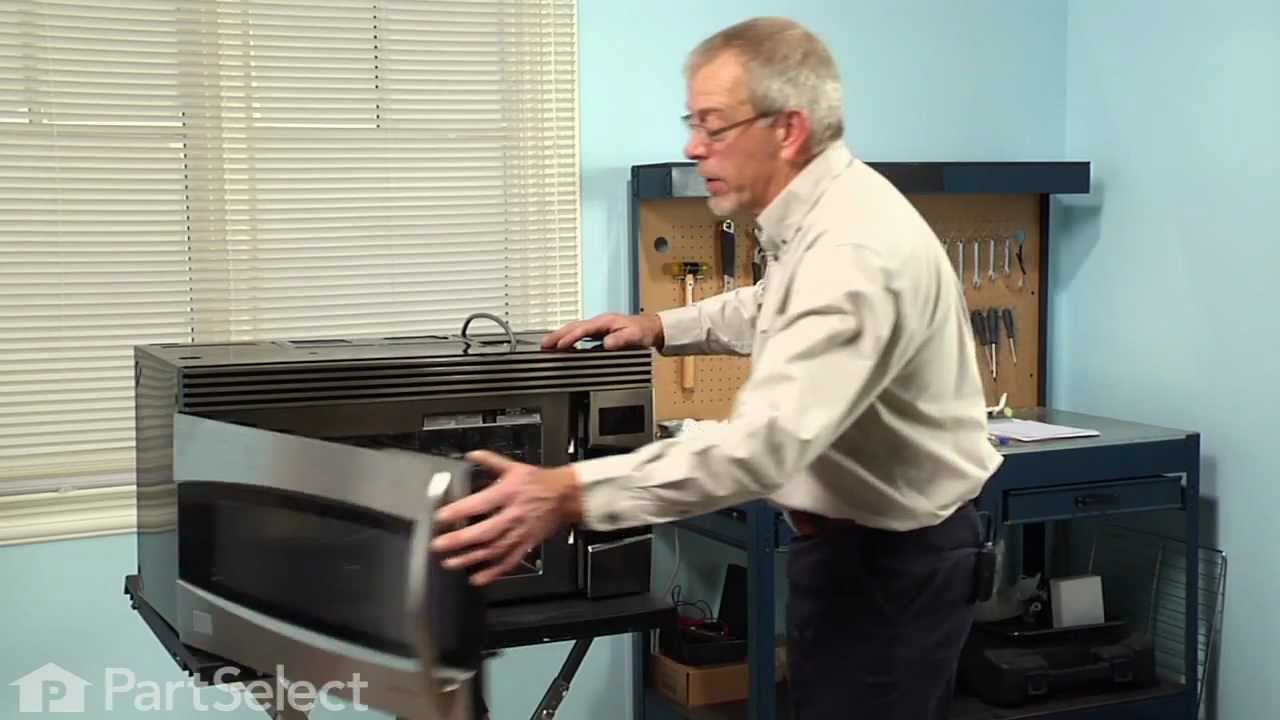
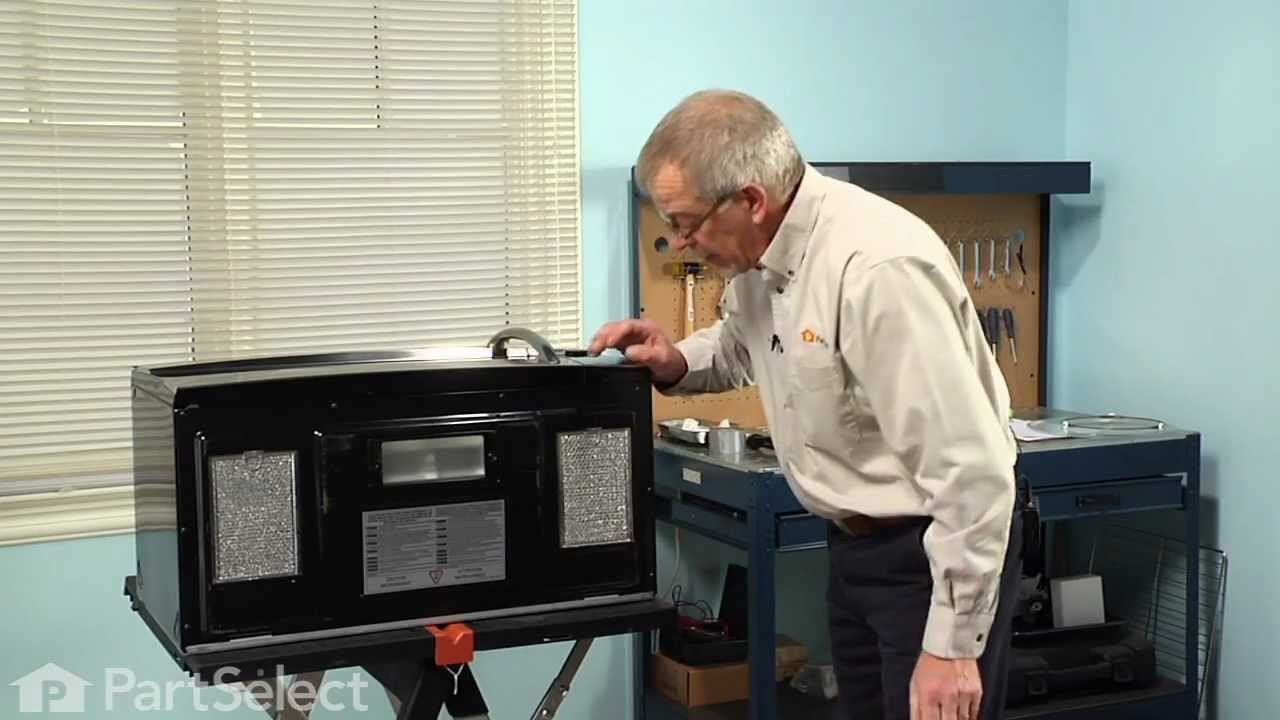
See how others fixed this model. Time, tools, difficulty, and steps that lead to victory!
View More