CPDS3085KF2 Frigidaire Range - Overview

Diagrams for CPDS3085KF2

See every part. Know exactly what you need.

Enter a part description. DIY Heroes keep it simple, eg. "belt" or "pump".

Search filter:
Clear Filter
Your search term must have 3 or more characters.
Temperature Sensor – Part Number: 316217002
$90.41
In Stock
Temperature Sensor
★★★★★
★★★★★
(39)
Part #316217002
Also known as Probe. The quick connect on this part may be different than your original part. If it doesn't fit, you have to cut off the quick connect and wire together with porcelain wire nuts.
Light Bulb – Part Number: 316538904
$35.95
In Stock
Light Bulb
★★★★★
★★★★★
(9)
Part #316538904
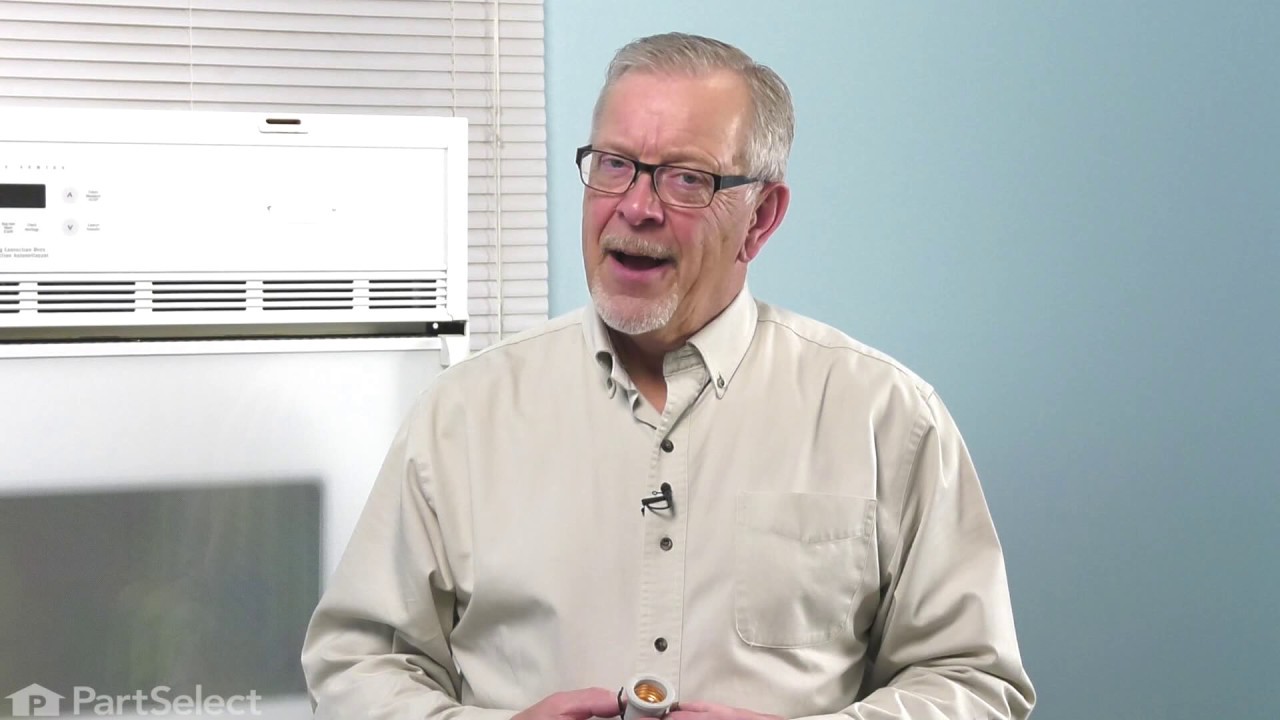
This 40-watt appliance light bulb is a reliable replacement for use in select ranges, refrigerators, freezers, and microwaves. It provides bright, consistent lighting to help you see clearly inside your appliance. Installation is simple—just unscrew the old bulb and replace it with the new one. If the existing bulb is broken, disconnect power and use needle-nose pliers to safely remove the remaining base. Sold individually, this bulb is a commonly replaced part—consider keeping a spare on hand.
Main Terminal Block Kit – Part Number: 5304409888
$48.78
In Stock
Main Terminal Block Kit
★★★★★
★★★★★
(11)
Part #5304409888
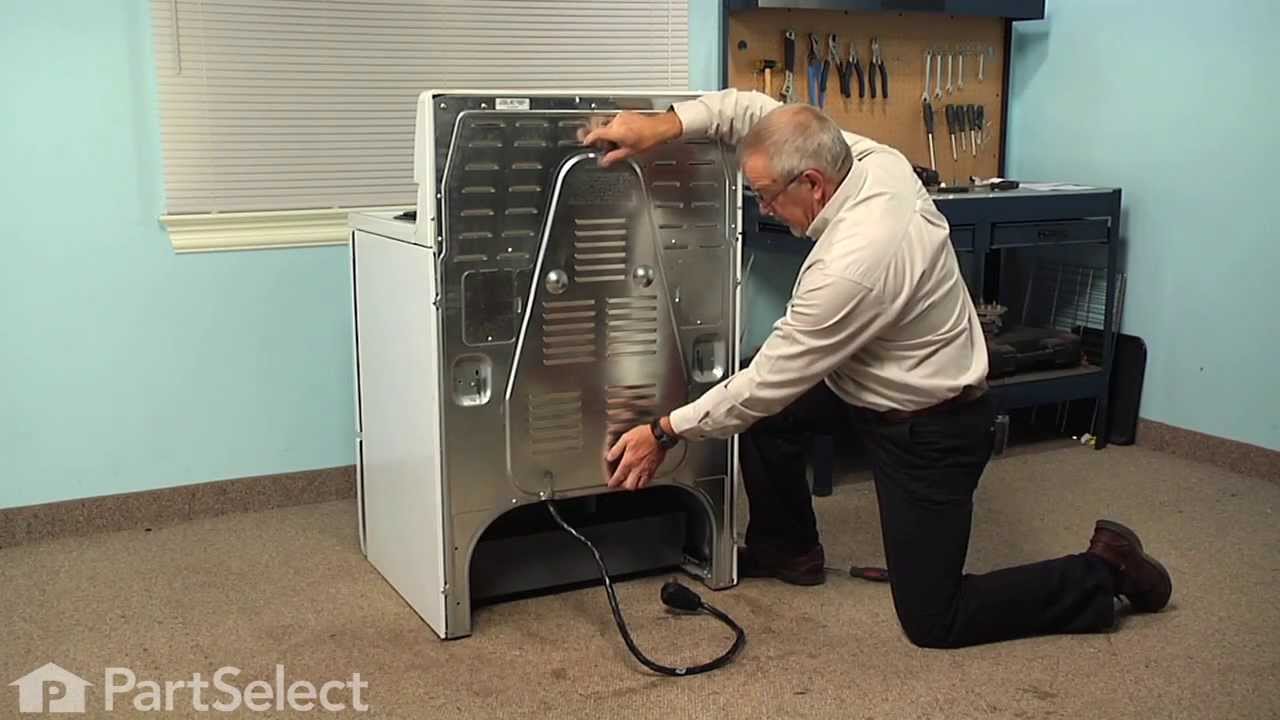
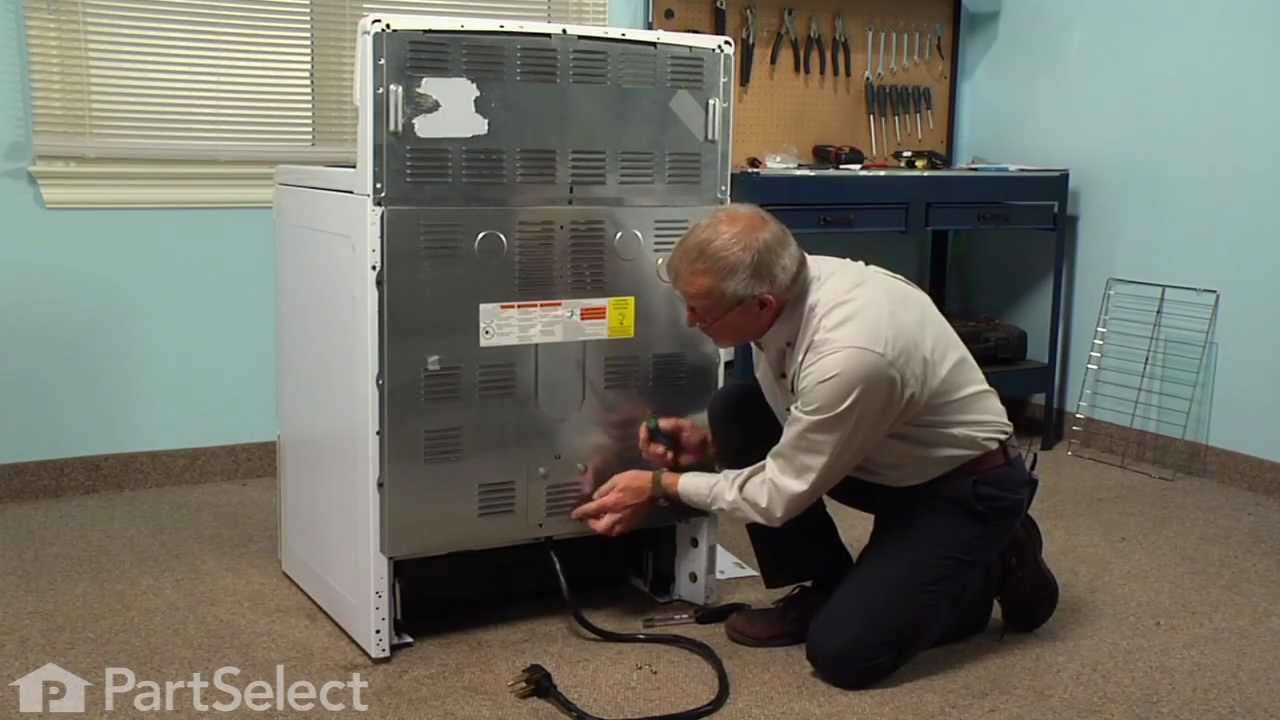
Terminal blocks (also called terminal boards or strips) provide a convenient means of connecting individual electrical wires.
LENS – Part Number: 5304524341
$34.95
In Stock
LENS
★★★★★
★★★★★
(14)
Part #5304524341
This lens covers the interior oven light bulb.
GLASS – Part Number: 5304503232
$135.91
In Stock
GLASS
★★★★★
★★★★★
(24)
Part #5304503232
This is also called the heat barrier glass.
Oven Light Socket – Part Number: 316116400
$75.74
In Stock
Convection Fan Blade – Part Number: 318398302
$43.07
In Stock
Convection Fan Blade
★★★★★
★★★★★
(5)
Part #318398302
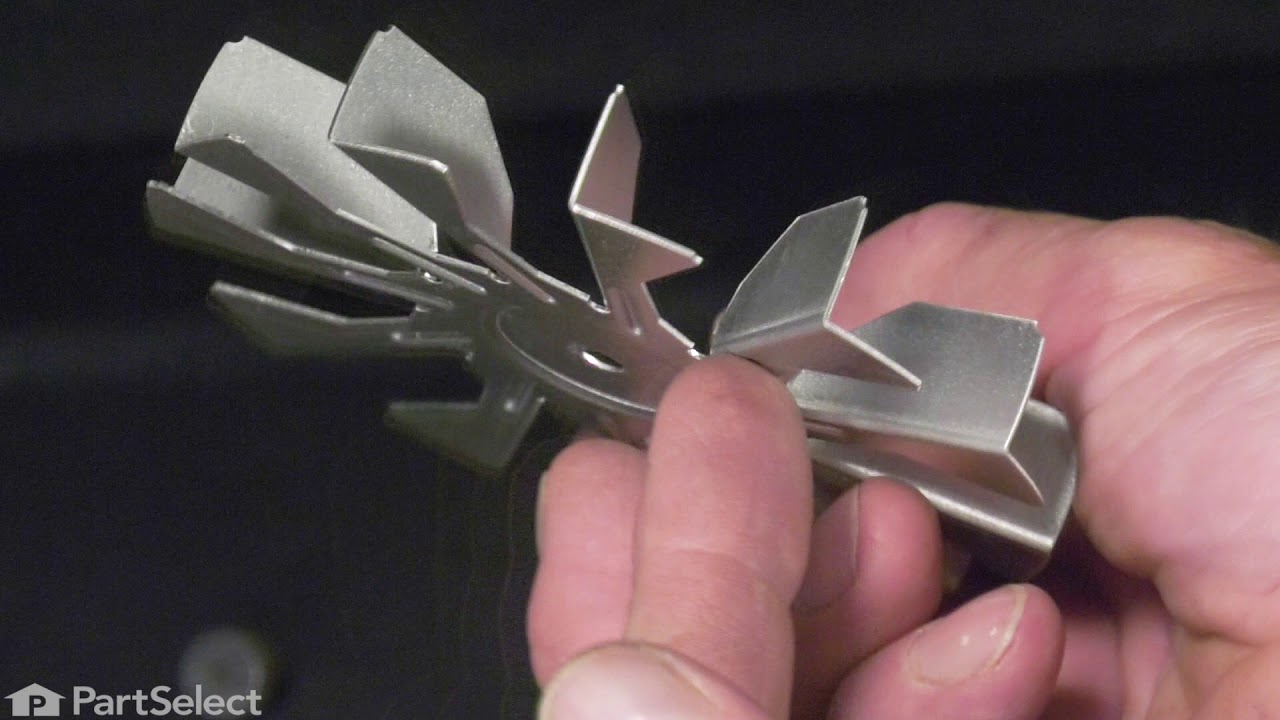
This convection fan blade is designed for use with various makes and models of range and oven and is sold as an individual part. Made of metal and measuring approximately 4.75-inches in diameter, this genuine OEM fan blade works with the convection motor to circulate and distribute heat evenly throughout the oven. If your oven is not getting hot enough or the heat is not circulating properly, or if the fan blade in your oven has become warped, damaged, or chipped, it needs to be replaced immediately. To replace the fan blade, disconnect your range from the power and locate the fan assembly. With the appropriate screwdriver and wrench, remove any assembly covers and the securing nut from the blade. Once the nut is removed, install the new blade and secure it and re-install the cover.
Rack Support – Part Number: 318927600
No Longer Available
CAP – Part Number: 5304508441
$52.38
In Stock
CAP
★★★★★
★★★★★
(2)
Part #5304508441
Sold individually. This part helps the flame to spread for even heat. Also protects your burner head from spills.
Light Lens Retainer Clip – Part Number: 5304400195
No Longer Available
Light Lens Retainer Clip
★★★★★
★★★★★
(2)
Part #5304400195
This retainer secures the light lens to the oven cavity.
Inner Glass – Part Number: 318212210
No Longer Available
Bake Element – Part Number: 318254916
$232.05
In Stock
Bake Element
★★★★★
★★★★★
(6)
Part #318254916
This bake element provides the primary heat source for baking and roasting in electric and dual-fuel ranges. Positioned at the bottom of the oven cavity, it converts electrical power into radiant heat for consistent cooking performance. Featuring an 8-pass design for even heat distribution, the element is rated at 2500 watts and operates at 240 volts. It measures approximately 20" x 15" x 3.5" and includes straight spade terminals for easy installation. Common signs of failure include slow preheating, uneven baking, or visible damage such as breaks or burn spots.

Manuals & Care Guides for CPDS3085KF2

Click to download

Questions And Answers for CPDS3085KF2

Ask our experts a question about this model and we'll get back to you as soon as possible!

Sort by:
  • 1
Sorry, we couldn't find any existing answers that matched.Try using some different or simpler keywords, or submit your new question by using the "Ask a Question" button above!
Mary Ann - For model number CPDS3085KF2
January 26, 2020
Is there stainless steel touch-up paint for this model. I have some scratches near the front controls
Chris Boyle Profile
Hello and thank you for writing. Yes, there is. Clear for Stainless Steel (pen) – PS977093. We hope this helps. Please contact us anytime if you require further assistance.
$71.00
In Stock
PAINT-PEN
Was this helpful?
Thank you for voting!
  • 1

Common Symptoms of the CPDS3085KF2

How this model fails, and the parts that fix it.

Watch our pros, then fix it yourself.

See how others fixed this model. Time, tools, difficulty, and steps that lead to victory! View More

Search repair tips from other customers using simple keywords like "replace", "fit", "remove", "inspect". DIY doesn't mean you have to do it alone!

Search filter:
Clear Filter
Your search term must have 3 or more characters.
Oven not heating to desired temperature
155 of 244 people found this instruction helpful.
  • Dan from Bellevue, ID
  • Easy
  • 15 - 30 mins
  • Screw drivers
Replaced clock control by removing surface burner control knobs and plastic nuts, and then the cover over the oven control. Two screw hold the clock in place, after removal and disconnecting the plug-in you can reinstall the new clock control. The Heat Sensor inside the oven will also need to be replaced. It is located inside the oven and attached with two screws; the back of the oven will need to be removed to unplug. Reverse removal procedure and turn the power back on to the stove.
Was this helpful?
Thank you for voting!
Cord was not tightened enough by delivery crew.
109 of 174 people found this instruction helpful.
  • Timothy from Spring Valley, AL
  • Really Easy
  • 15 - 30 mins
  • Screw drivers, Socket set
PF alarm appeared on display. Noticed clicking when cord was moved. Had arced for some time and melted original block. New part slightly different. Only has 3 lugs, old one had six. Stack using washers provided. Take note of colors before disassembly. Use caution while working through access opening. The edges are sharp. Only tools neede d are phillips screwdriver, deep socket for lug nuts. Nut driver optional. Hope this is helpful.
Was this helpful?
Thank you for voting!
Cracked oven door inner glass
76 of 135 people found this instruction helpful.
  • Mitch from Fernandina Beach, FL
  • Easy
  • 15 - 30 mins
  • Screw drivers
Repair was quite easy, as long as you have the instructions for removing the door. The screws that hold the bottom of the door to the fixed hinge are placed into the side of the hinge assembly after removal; this holds the door at a 45 degree angle for easy removal. After that, just place the door on a flat surface and dismantle the door from the inside. The inner glass is contained in a metal frame with another piece of glass; this frame comes apart easily using the clips in each side. The door assembles easily after the glass is replaced; just take your time and give yourself enough room to lay out the parts as you go. Good luck!
Was this helpful?
Thank you for voting!