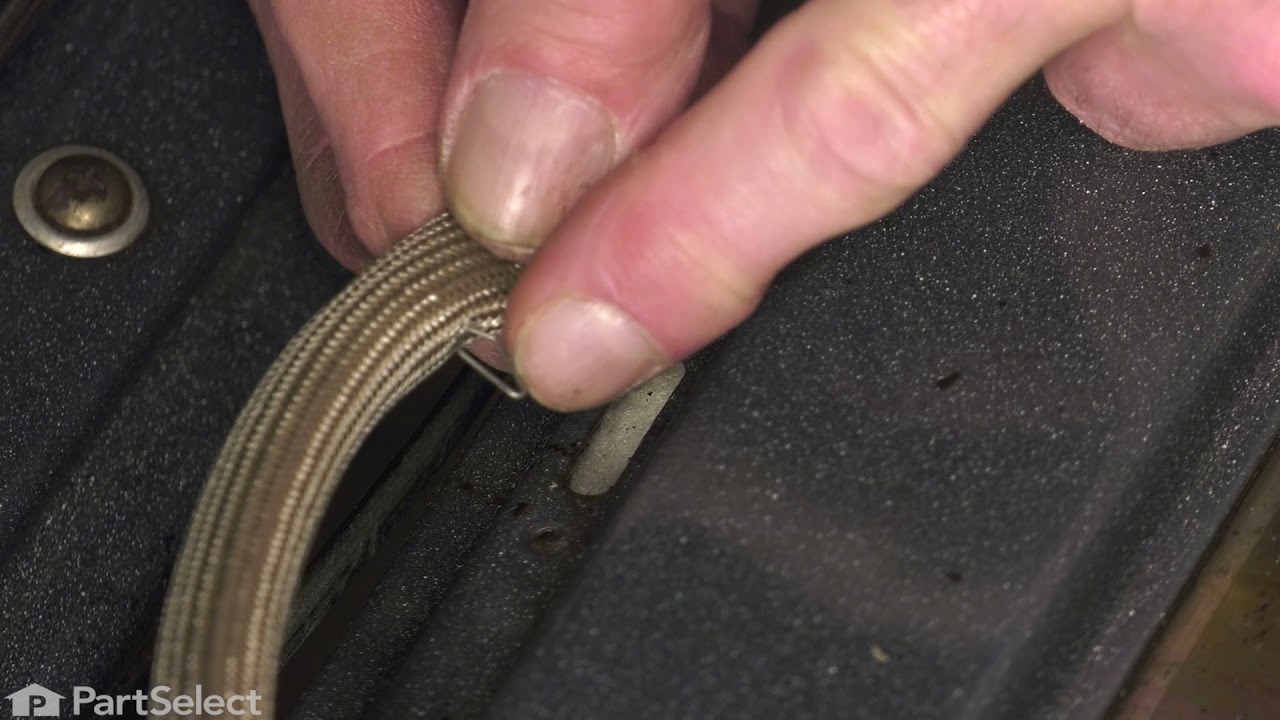
The flat-style oven igniter lights the gas burner in your oven. It includes a mounting bracket, two ceramic wire connectors, and measures 3-3/4 inches long. The plug may need to be spliced to the range wiring. Always unplug the range before installation.
This 40-Watt light bulb is sold individually.
It is specially designed to withstand extreme temperatures, so this bulb is compatible with a variety of appliance types including refrigerators, ranges, microwaves, and dryers. It features a frosted glass bulb with a standard metal socket base, which allows you to easily unscrew the burnt-out light and twist the new bulb into place.
This is a replacement burner cap for your gas range or cooktop. The burner cap is found on the burner head, and prevents debris from getting into the head when it is not in use. The cap is black in color and is sold individually. It is a little more than 4 inches in diameter. To replace the burner cap, simply remove the damaged cap, and r...Read moreeplace it with the new one. No tools are required for this repair. This is an OEM part from the manufacturer.
This burner cap is for your gas range, and acts as a cover for the burner head. It is black in color and just over 3 inches in diameter. If your old burner cap is damaged or missing, this is the part that will replace it. This is an OEM part sourced directly from the manufacturer and is sold individually.
This knob accepts a D-shaped shaft. Sold individually.
NOTE: The manufacturer has updated this knob. It may be smaller than the original but will function the same.
This is a replacement vision burner or surface burner head for your gas range. It is silver in color and approximately 4.5 inches in diameter. This burner is sold individually. The burner head distributes gas to create an even flame across the cooking area. If you notice that your food is not cooking evenly, or you are not getting an even...Read morely distributed flame, you may need to replace the burner. The burner is located beneath the burner cap, below the grate. To remove the burner, simply remove the grate and the burner cap, then lift the burner head out. Replace it with the new burner, and reinstall the cap and grate. This is an OEM part sourced directly from the manufacturer.
This is a burner cap for your gas range. The cap is black in color and about 3 inches in diameter. The cap acts as a cover for the burner head. If your old burner cap is damaged or missing, this is the part that will replace it. This is a quality OEM part sourced directly from the manufacturer. This cap is sold individually.
The rubber bumper sits between the burner and the range itself to ensure the burners do not scrape the stove top. This OEM replacement bumper is sourced directly from the manufacturer, and is sold individually.
Ask our experts a question about this model and we'll get back to you as soon as possible!
We may have answered a similar question already! Search questions and answers left by others using simple keywords like "fit", "broken", "easy", or "quality" to find questions that match.
Search filter:
Clear Filter
Your search term must have 3 or more characters.
Sort by:
Prev
1
Next
Sorry, we couldn't find any existing answers that matched.Try using some different or simpler keywords, or submit your new question by using the "Ask a Question" button above!
Jenny - For model number CGS980SEM3SS
January 11, 2020
Our oven knob broke off is it easy to reinstall a new one or do I need a appliance tech.To do that.
Hi Jenny. The knobs are very easy to replace, simply pull the old one off make sure you align the new knob with the D shaped shaft and push on. Thank you for your question and good luck with your repair!
Was this helpful?
Thank you for voting!
John - For model number CGS980SEM3SS
September 16, 2022
NEED NEW GASKET. WOULD PURCHASE, BUT WANTED TO VIEW A VIDEO OF HOW TO R AND R GASKET/SEAL TYPED IN REQUEST AND IT COMES BACK AS "PARTS RELATED TO" I NEEDED THE VIDEO.CAN YOU ADVISE ? TKS JOHN
Hi John, thank you for contacting us. We have researched your model and attached a relevant video on how to remove and replace the gasket, part number PS1020702. We hope this is what you were looking for.
Was this helpful?
Thank you for voting!
Prev
1
Next
✖
Ask a Question
Ask our experts a question on this model and we'll respond as soon as we can.
See how others fixed this model. Time, tools, difficulty, and steps that lead to victory!View More
Search repair tips from other customers using simple keywords like "replace", "fit", "remove", "inspect". DIY doesn't mean you have to do it alone!
Search filter:
Clear Filter
Your search term must have 3 or more characters.
The igniter glowed, but never got hot enough to ignite the propane, so I did smell propane.
678 of 734 peoplefound this instruction helpful.
Sidney from Marysville, CA
Really Easy
30 - 60 mins
Nutdriver
First, I removed the two screws that held the heat shield in place. Second, I removed the one screw that held a small wire covering. That covering kept the wires inside the back wall of the range. Third, I removed the two screws that held the Igniter Kit, and unplugged it from the back of the range. I then carefully put the new ignite
... Read morer in, and reassembled everything in reverse order. It only took about 30 minutes to do the repair, and 30 minutes of cleaning and wiping of the broiler area. (It is amazing what you see when you take things apart). I should have been wiping things up over the past few months. Overall, a very easy repair. I ordered the part at 12:30 in the afternoon, and FedEx delivered it the next morning at 11:30, all for the regular shipping price of $6.95. VERY HAPPY.....
Read less
Was this helpful?
Thank you for voting!
oven would not light or keep temp.
450 of 468 peoplefound this instruction helpful.
zack from corning, CA
Really Easy
15 - 30 mins
Nutdriver, Screw drivers, Socket set, Wrench set
first I thought it was a faulty gas valve, so I pulled it out, started researching for a replacement part, found your site and started research. I discovered thhat the igniter was the culprit, that info. saved me about a week of time and a 100 bucks, so I installed the gas safety valve back in the oven, patience is the word for the day,
... Read moreyou cross thread this and you are done! any way ordered ignighter and it shipped to my house in about 4 days, New York to Calif. had it installed in about 15 minutes fired off the oven and ...IT worked hurray...10-9-2010,
Read less
Was this helpful?
Thank you for voting!
Oven wouldn't heat. This degraded over several weeks.
310 of 411 peoplefound this instruction helpful.
Durwood from Suffield, CT
Easy
15 - 30 mins
Nutdriver, Screw drivers
1. Pulled the 110V power plug. It was not necessary to turn off the gas; just be careful not to stretch or pinch the flexhose behind the stove. 2. Removed the oven door by opening a couple of inches then lifting upward. 3. Removed the warming drawer by pulling out to the stop, then pushing the small levers on the side of the t
... Read morerack to release. 4. Removed two flathead screws at the back of the oven to free up the oven bottom panel. 5. Removed the bottom panel by lifting up the pack until the front edge clears the overhang. 6. Removed the two screws on the side that hold the igniter to the burner tube. Be sure not to let the screws drop into the gaps in the oven floor. Note the position of the bent tab with the holes to ease aligning the new part. 7. Reached through the warming drawer to release the plug by squeezing the tabs on the end. 8. Pulled the plug up through the gap in the oven floor (where the wires went through) and connected it to the other connector. 9. Ran the new wire down through the oven floor. 10. Aligned the new igniter and tightened them. Had trouble getting the screws started so I used a toothpick to align one hole while starting the other screw. 11. Replaced the oven bottom panel. It needed a little jockeying to get the screws and holes aligned. 12. Replaced the door. 13. Replaced the oven drawer.
This turned out to be a good time to clean all those dusty places that don't get cleaned that often.



 My Orders