


 My Orders


CBR1415AGS Maytag Range - Overview
Diagrams for CBR1415AGS
See every part. Know exactly what you need.


Enter a part description. DIY Heroes keep it simple, eg. "belt" or "pump".
Search filter:
Clear Filter
Your search term must have 3 or more characters.

$67.05
In Stock
Oven Igniter - Vertical Mount Bake and Broil
Part #74007498
This broil igniter assembly comes with its own metallic mounting bracket and an seven inch long dual wire lead with a plastic plug.

$33.95
In Stock
Leveler Foot Screw (Nylon)
Part #W11665456
This leveling leg is two inches long. It is all black in color and it is made entirely of plastic.

$30.40
In Stock
Screw
Part #W11233072
This is a multi-use and multi-appliance screw. It can be used on a microwave, refrigerator, range/oven, air conditioner, dehumidifier, washer, or dryer. The measurements of this screw are 8 x 1/2 inch. It has 6 threads. Refer to the manual provided by the manufacturer for further information on repair and accurate guidance. Remember to wear work gloves as a safety precaution.

$11.54
In Stock
Range Screw w/Washer
Part #WP74006515
This is a replacement screw and washer for your oven/range. It is a Phillips-head screw approximately half an inch long, and the washer is approximately 1 inch in diameter. The screw attaches the oven door handle to the door. This part is sold individually and is an authentic OEM part sourced directly from the manufacturer.

$43.47
In Stock
Range Surface Burner Spark Igniter
Part #WP8523793
Struggling with a misbehaving range burner that wont light up? Hang tight, weve got just the solution: the Whirlpool Surface Burner Spark Igniter. This is an authentic, OEM part, designed specifically to revive the spark in your range burner. Heres the real deal about this simple yet crucial component: It is responsible for generating tha...Read moret initial spark that gets your burner going. And yes, its a dependable Whirlpool product, ensuring your range is back on track in no time. Dont worry about matching it up with your appliance. This trusty igniter pairs smoothly with certain models of Whirlpool, KitchenAid, Maytag, Jenn-Air, Amana, Inglis, and Magic Chef ranges, ovens, and stoves. Remember, safety first! Please unplug your range and turn off your gas supply before the installation. We also recommend wearing work gloves for added protection. Breathe new life into your stovetop with the Whirlpool Surface Burner Spark Igniter - and get back to preparing your favorite meals in no time.
Read less

$64.85
In Stock
Door Seal
Part #WP7212P043-60
This door seal is fifty-three inches long. It is all black in color and is made of rubber. There are metallic clips sticking out of this seal at various points. These clips help to secure the seal to range doors.

$10.40
In Stock

$15.34
In Stock

$12.95
In Stock

No Longer Available

$81.52
In Stock

$10.36
In Stock
Manuals & Care Guides for CBR1415AGS
Click to downloadCommon Symptoms of the CBR1415AGS
How this model fails, and the parts that fix it.
Gas igniter glows, but will not light
Fixed by
these parts
these parts


Show All
Little to no heat when baking
Fixed by
these parts
these parts


Show All
Will Not Start
Fixed by
these parts
these parts
Show All
Element will not heat
Fixed by
these parts
these parts
Show All
Oven not heating evenly
Fixed by
these parts
these parts
Show All
Gas smell
Fixed by
these parts
these parts
Show All
Little to no heat when broiling
Fixed by
these parts
these parts
Show All
Oven is too hot
Fixed by
these parts
these parts
Show All
Door won’t close
Fixed by
these parts
these parts
Show All
Watch our pros, then fix it yourself.
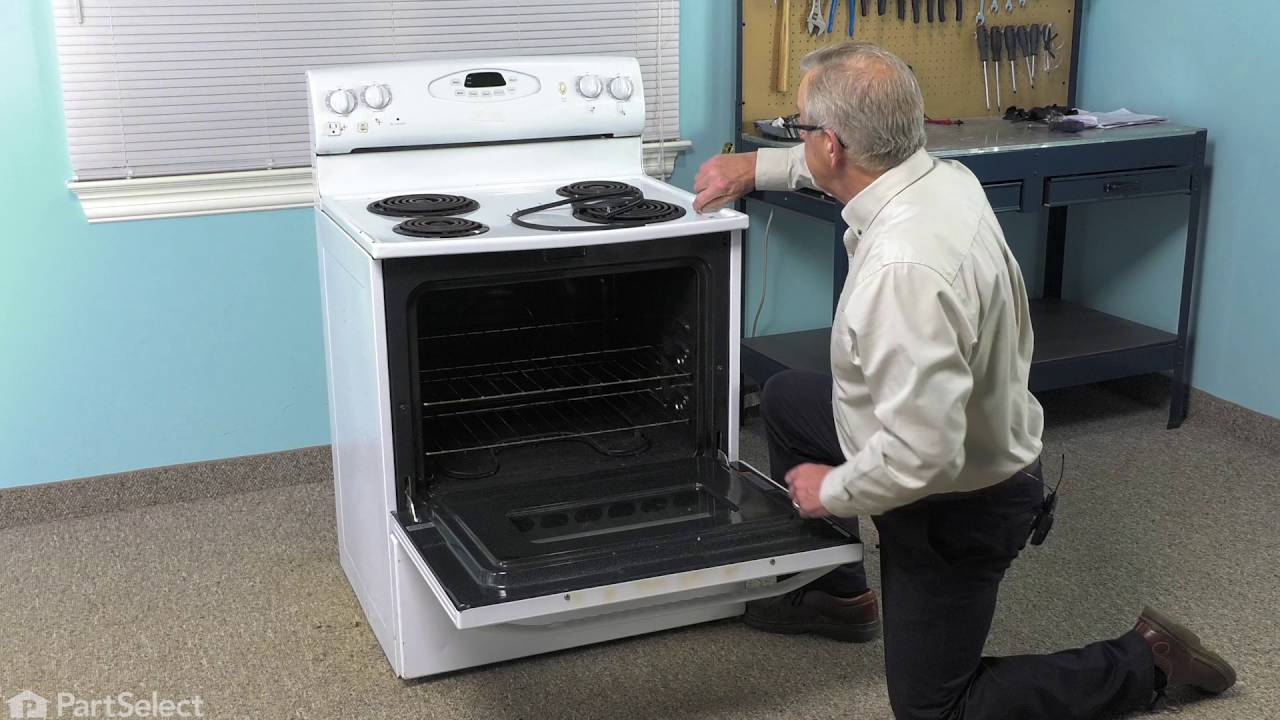
See how others fixed this model. Time, tools, difficulty, and steps that lead to victory!
View More