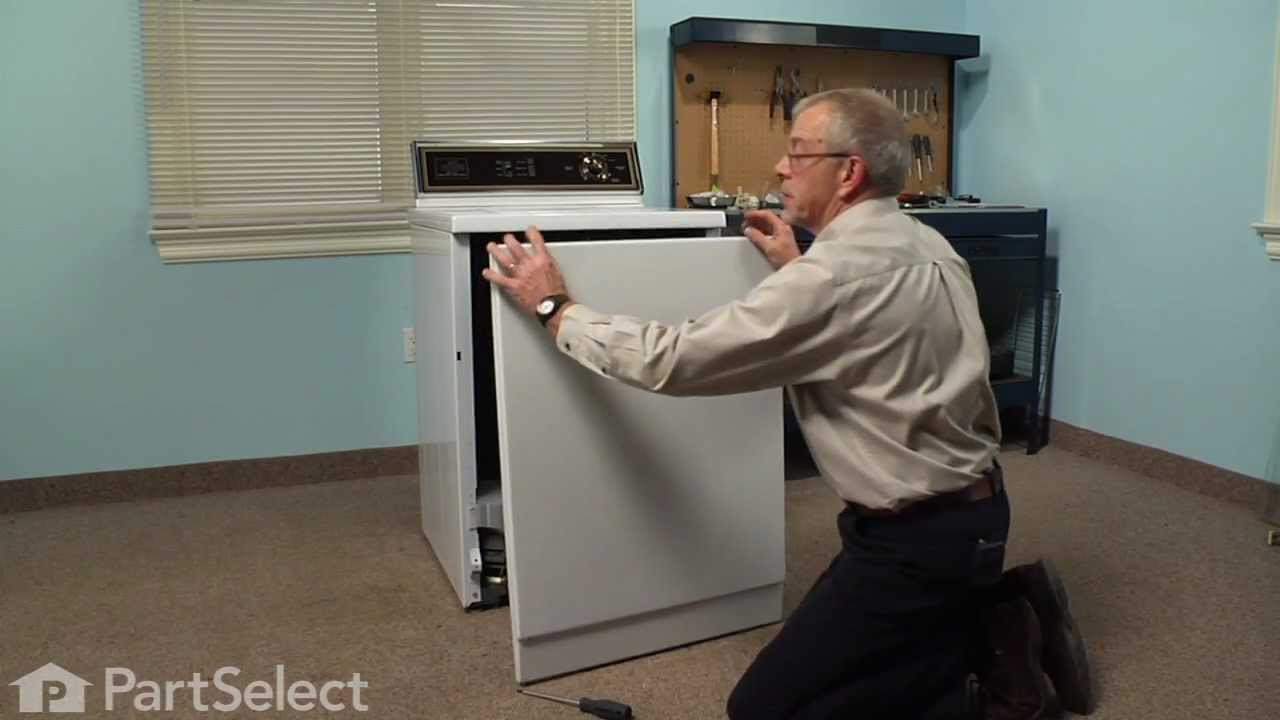
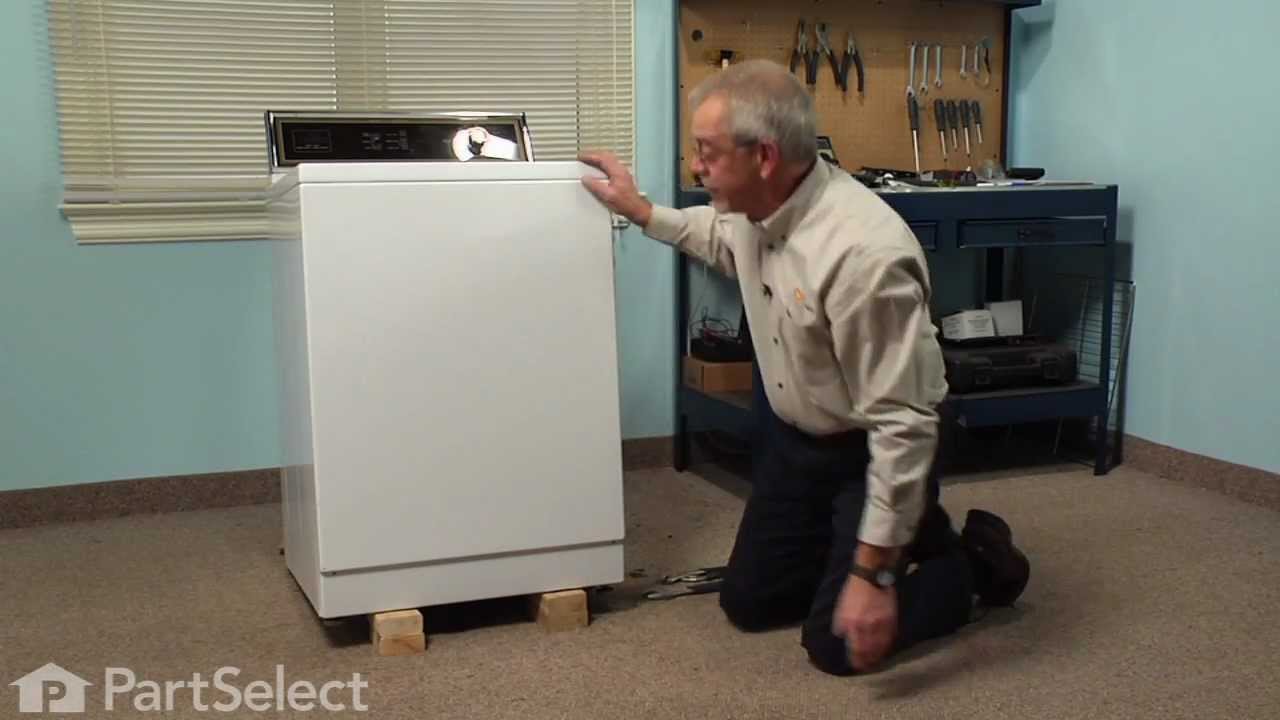
CA106S Maytag Washer - Overview

Enter a part description. DIY Heroes keep it simple, eg. "belt" or "pump".

Search filter:
Clear Filter
Your search term must have 3 or more characters.
Rubber Foot Pad – Part Number: WP210684
$22.97
In Stock
Rubber Foot Pad
★★★★★
★★★★★
(1)
Part #WP210684
This foot pad is just over an inch in diameter. It is made entirely of rubber and is gray in color. This pad is intended for use with washers and some dryers.
Washing Machine Lid Hinge Ball – Part Number: WP211726
$15.49
In Stock
Washing Machine Lid Hinge Ball
★★★★★
★★★★★
(3)
Part #WP211726
This washing machine lid hinge ball is well under an inch in diameter. These hinge balls are sold separately, though two are required per lid. This lid hinge ball is made of plastic and is used for Maytag brand washing machines.
Spring Retaining Clip – Part Number: WP22001650
$15.40
In Stock
Spring Retaining Clip
Part #WP22001650
This front cover spring retaining clip is not quite an inch long. It is made entirely of metal and is used for some washing machines.
Washer Lid Bumper – Part Number: WP212716
$10.95
In Stock
Washer Lid Bumper
★★★★★
★★★★★
(1)
Part #WP212716
This washing machine lid bumper is just under an inch long. It is all gray in color and is made entirely of rubber.
Screw – Part Number: WP67006908
$11.83
In Stock
Screw
Part #WP67006908
Model Number GB2526REKS : SCR
Screw & Fastener Kit - Front Panel – Part Number: 204439
No Longer Available
Lock Nut – Part Number: WP210385
$9.85
Special Order
Lock Nut
Part #WP210385
Sold individually.
Screw – Part Number: WP22001496
$8.95
In Stock
Screw
Part #WP22001496
CAP FOR TI – Part Number: 213077
No Longer Available
CAP FOR TI
Part #213077
TIMER KNOB-CLEAR ACRYLIC – Part Number: 214196
No Longer Available
TIMER DIAL – Part Number: 214390
No Longer Available
TIMER DIAL
Part #214390
Timer – Part Number: WP204454
$467.41
Special Order
Timer
Part #WP204454

Common Symptoms of the CA106S

How this model fails, and the parts that fix it.

Watch our pros, then fix it yourself.
See how others fixed this model. Time, tools, difficulty, and steps that lead to victory! View More

Search repair tips from other customers using simple keywords like "replace", "fit", "remove", "inspect". DIY doesn't mean you have to do it alone!

Search filter:
Clear Filter
Your search term must have 3 or more characters.
washing machine lid came off during a move
30 of 36 people found this instruction helpful.
  • David from New Orleans, LA
  • Really Easy
  • Less than 15 mins
First, I secured one lid hinge ball in its appropriate position between the lid and the washer. While keeping the first ball in place I placed the other lid hinge ball as close to its intended position as I could get it. Next, I pushed the lid and ball into its position.
Was this helpful?
Thank you for voting!
Washing machine lid hinge balls fell off machine lid
6 of 7 people found this instruction helpful.
  • Sandra L from Warren, OH
  • Easy
  • 15 - 30 mins
First I had to hold the balls into the little holes on the side of the lid - one at a time- and tap the plastic ball into the side with a small hammer. I did the same with the other side. Silde the lid to match the holes located on the washing machine - give a little push to make sure that the balls are in place. You have your lid fixe d to your machine where you can lift the lid and it will stay up without falling.

Note: If the balls fall out - make sure to tap a little harder so that the balls stay in place.
Was this helpful?
Thank you for voting!
Resin balls on which the top loader lid hinges had broken.
5 of 8 people found this instruction helpful.
  • EL from O'Fallon, IL
  • Easy
  • Less than 15 mins
Cleaned the cavities. Lubed them with olive oil. Inserted one ball on left side, while holding tension against that side to hold the ball in the lid and top indentations. Applied olive oil to right hand side indentation, and placed the new ball into lid indentation. Put lid down into closure cavity with ball, and with lid vertical, beg an pushing it rearward so as toslightly spring metal lid rolled edge and top metal away from one another UNTIL the new ball snapped into the hinge indentation in the machine cover. Done.
Was this helpful?
Thank you for voting!