


 My Orders


BSG259AARS (KEN-0001) Samsung Refrigerator - Overview

Enter a part description. DIY Heroes keep it simple, eg. "belt" or "pump".
Search filter:
Clear Filter
Your search term must have 3 or more characters.

$5.95
In Stock
Tapping Screw
Part #6002-000520
This manufacturer-approved screw is for refrigerators, including Kenmore refrigerator model. Avoid cross-threading refrigerator screw during installation.

$5.95
In Stock
Tapping Screw
Part #6002-000213

$10.76
In Stock
Refrigerator Roller
Part #DA61-04703A

$79.09
On Order
Refrigerator Door Bin
Part #DA97-06175F
This door bin (part number DA97-06175F) is for refrigerators. Door bin DA97-06175F attaches to the inside of the refrigerator door and typically holds jars and bottles. Follow the instructions in the owner's manual for installing this part.

$9.18
In Stock
Caster Shaft
Part #DA66-00649B

$28.06
In Stock
Fan Blade Assembly
Part #DA31-00010D
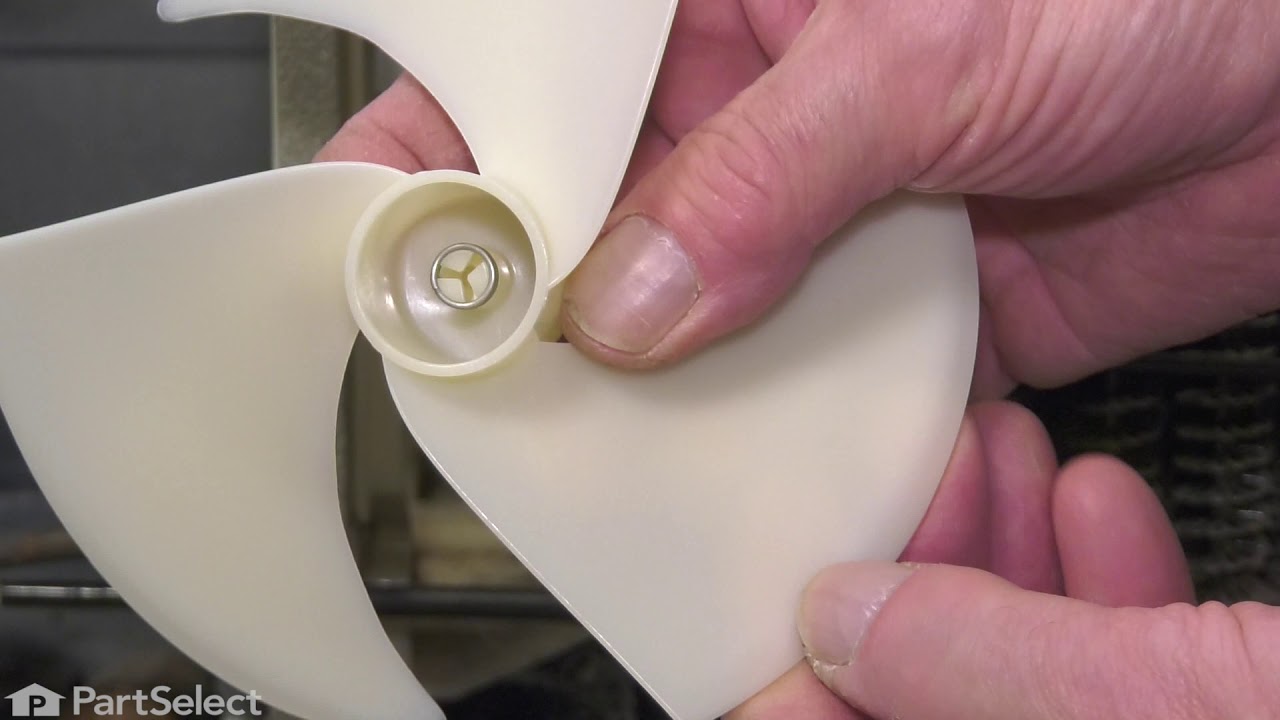
This condenser fan blade (part number DA31-00010D) is for refrigerators. Condenser fan blade DA31-00010D moves air across the condenser coil to cool the hot refrigerant before it enters the evaporator. Safely store any food that could deteriorate while the power is off and unplug the refrigerator before installing this part.

$5.95
In Stock
Rivet Caster
Part #DA61-01920A
This roller wheel axle pin (part number DA61-01920A) is for refrigerators. Roller wheel axle pin DA61-01920A attaches the roller wheel to the roller wheel bracket. Wear work gloves to protect your hands during the repair.

$88.98
In Stock
Upper Door Bin
Part #DA97-06177C

$123.76
On Order
Filter Assembly
Part #DA97-06317A

$34.47
In Stock
Drain Tube
Part #DA97-04049D

$10.76
In Stock
Front Foot
Part #DA61-00805F

$19.32
In Stock
Micro Switch
Part #3405-001117
Common Symptoms of the BSG259AARS
How this model fails, and the parts that fix it.


Watch our pros, then fix it yourself.
See how others fixed this model. Time, tools, difficulty, and steps that lead to victory!
View More
Search repair tips from other customers using simple keywords like "replace", "fit", "remove", "inspect". DIY doesn't mean you have to do it alone!
Search filter:
Clear Filter
Your search term must have 3 or more characters.
Cracked left bottom door hinge
9 of 12 people
found this instruction helpful.
Unplug refrigerator Turn off water supply to ice maker. Unscrew plastic top cover. Unplug all of the electronic connectors Ooen both doors and remove the base plate 3 screws Disconnect the 2 water lines. Have a container to catch the water. Instructions on how to disconnect are on
... Read more
a tag locates in in of the water lines Unscrew the 3 bolts holding the top door hinge and the ground wire Remove the door by lifting up . The water hoses will lift out of the broken base hinge. Remove the broken hinge by pulling straight up. It slides out. Slide the new hinge in. Remount the door by inserting the hoses through the hinge hole. 2 people is helpful. Attach the top door hinge, reconnect the water lines, base cover and Reconnect electronics wires and cover. Good to go
Read less
Other Parts Used:


Was this helpful?
Thank you for voting!
Freezer door not closing properly, cam broke at bottom of door
6 of 7 people
found this instruction helpful.
Unplug the refrigerator and turn off the water supply
Remove the screws from the freezer top hinge cover and remove it
Disconnect all the plugs and the grounding screw that were present under the cover
Remove the front bottom grill (under the doors) 3 screws
Place the drip pan under the waterline connectors
On the ... Read more freezer side of the connector push the lock into the connector and pull the hoses straight out of the connector
Remove the bolts from the top freezer hinge and lift it off
Lift the whole freezer door straight up off of the bottom hinge and lay it on a flat surface.
Remove the screws from the hinge piece on the bottom of the door and slide it out.
Line the new hinge piece up and slide it into place and reinsert the screws.
Remove the cam screw from the hinge bottom (still attached to the refrigerator) and remove the can pieces
Place the new cam on the hinge bottom and reinstall the screw. The flat side of the cam goes down.
Lift the freezer door back into place by lining up the bottom hinge pieces
Slide the top hinge back into the freezer top and reinstall the bolts
Reinstall the hoses into the connectors on the refrigerator bottom by pushing them in
Plug all the connectors together on the freezer top and reinstall the grounding screw
Space out the connectors so they will fit under the cover and put the top cover back on.
Plug the refrigerator back in and turn on the water supply.
Test the water and ice maker then check the bottom connectors for leaks
Reinstall the bottom grill and congratulate yourself on a job well done
Read less
Other Parts Used:
Was this helpful?
Thank you for voting!
Broken door shelves
0 of 1 people
found this instruction helpful.
Opened the box removed the product and opened the refridgerator door and popped shelves in place.
Other Parts Used:


Was this helpful?
Thank you for voting!