


 My Orders


AS2324GEKB Amana Refrigerator - Overview
Diagrams for AS2324GEKB
See every part. Know exactly what you need.
-
CABINET BACK

-
COMPRESSOR

-
CONTROLS

-
CRISPER ASSY & DELI ASSY

-
EVAP FAN ASSY AND LIGHTS

-
EVAPORATOR ASSY AND ROLLERS

-
FREEZER DOOR

-
FZ DOOR AND FACADE

-
FZ SHELF

-
HANDLES AND TRIM

-
HINGES

-
ICE BUCKET ASSY

-
ICE MAKER

-
LIGHT COVERS AND TOE GRILLE

-
LIGHTS AND ICE MAKER

-
REFRIGERATOR DOOR

-
SUPPLEMENTAL INFORMATION

-
WIRING INFORMATION

Enter a part description. DIY Heroes keep it simple, eg. "belt" or "pump".
Search filter:
Clear Filter
Your search term must have 3 or more characters.

$147.86
In Stock
Replacement Ice Maker
Part #D7824706Q
This modular ice maker assembly replaces worn-out units to restore ice production in refrigerators. It includes the ice mold and control device but excludes the cover, ice level arm, wire harness, and mounting hardware, which must be reused or ordered separately. Unplug the refrigerator before installation and use work gloves for safety. Check compatibility with your model number before purchase.

$69.52
In Stock
Refrigerator Electronic Control Board
Part #WPW10503278
This electronic control board is a critical component in refrigerator systems, responsible for regulating temperature settings and managing cooling and defrost cycles. If your appliance is experiencing issues such as inconsistent temperatures, failure to start, prolonged operation, or ineffective defrosting, replacing the control board ma...Read morey resolve the problem. Installation requires a small flat blade screwdriver and should be performed with the refrigerator unplugged to ensure safety. Please note that this board must be programmed after installation to function correctly. For precise installation steps and programming instructions, refer to the manufacturer’s manual specific to your refrigerator model.
Read less

$56.05
In Stock
Refrigerator Water Filter Bypass
Part #W11395888
This water filter bypass cap is a genuine OEM component designed for select Whirlpool, Maytag, KitchenAid, and affiliated refrigerator models. Installed in place of the water filter, it allows uninterrupted water flow to the dispenser and ice maker when the filter is removed or non-functional. The cap fits securely into the water filter h...Read moreead, providing a temporary or permanent bypass solution without filtering the water. It is commonly used during troubleshooting or when a replacement filter is unavailable. The kit includes the bypass cap and may feature installation instructions for quick and secure setup. Note: This part does not purify water and should not be used as a substitute for a functioning filter in systems requiring filtration.
Read less

$14.25
In Stock
Door Closure Cam Kit
Part #R0181181
This part helps with the closing of the door and helps keep them in position.

$40.90
In Stock
Door Switch
Part #W11396033
This light switch may also be known as a refrigerator door switch or a light switch kit, and is compatible with your refrigerator. The function of the refrigerator door switch is to turn on the light when your fridge door is open, and to make sure it is off when your refrigerator door is closed. The reason you would need to replace this p...Read moreart is if your light is not turning on when your door is open. For this repair, you will need a putty knife, and a small flat-blade screwdriver.
Read less

$10.95
In Stock

$59.35
In Stock

$46.15
In Stock
Refrigerator Water Fill Cup & Bearing
Part #WP628356
This icemaker water inlet cup is three inches long. It is all white in color and is made of plastic.

$41.53
In Stock
Evaporator Fan Blade
Part #WP2169142
If your refrigerator or freezer is too warm, or making noises, you may need to replace the fan blade. The fan blade attaches to the evaporator motor, which is in the freezer section, to help circulate the cold air into the refrigerator and freezer sections. The fan blade is white in color and made from plastic. This is a genuine OEM part...Read more. Please be sure to disconnect the power to your refrigerator before starting your repair.
Read less

$40.00
In Stock
Refrigerator Switch
Part #W11291138
This is a light switch for your refrigerator. It activates when the door of your appliance is opened, and it will turn the light inside on and off. You will need to replace this part is if your light is not working properly. In order to make this repair you will need a Phillips screwdriver, a pair of needle nose pliers, and a small flat b...Read morelade screwdriver. This light switch is almost 2 inches long, 1.5 inches wide, and just over an inch thick.
Read less

$84.76
In Stock
Refrigerator Water Filter Cover
Part #WP12568001
This part is the replacement water filter cover for your refrigerator. It is made of white plastic and is approximately 13 inches long and 4 inches wide at the widest point. The water filter cover protects the water filter from damage while it is installed in the refrigerator. The main reason to replace the water filter cover is if it is ...Read morecracked, damaged, or missing. This part is sold individually and is an OEM part sourced directly from the manufacturer.
Read less

$16.74
In Stock
Common Symptoms of the AS2324GEKB
How this model fails, and the parts that fix it.
Ice maker not making ice
Fixed by
these parts
these parts


Show All
Leaking
Fixed by
these parts
these parts


Show All
Light not working
Fixed by
these parts
these parts


Show All
Fridge too warm
Fixed by
these parts
these parts


Show All
Ice maker won’t dispense ice
Fixed by
these parts
these parts


Show All
Not dispensing water
Fixed by
these parts
these parts


Show All
Fridge too cold
Fixed by
these parts
these parts
Show All
Door won’t open or close
Fixed by
these parts
these parts


Show All
Freezer not defrosting
Fixed by
these parts
these parts
Show All
Noisy
Fixed by
these parts
these parts

Show All
Will Not Start
Fixed by
these parts
these parts
Show All
Clicking sound
Fixed by
these parts
these parts
Show All
Freezer too cold
Fixed by
these parts
these parts
Show All
Freezer section too warm
Fixed by
these parts
these parts
Show All
Ice maker dispenses too much ice
Fixed by
these parts
these parts
Show All
Ice maker dispenses too little ice
Fixed by
these parts
these parts
Show All
Fridge and Freezer are too warm
Fixed by
these parts
these parts
Show All
Door Sweating
Fixed by
these parts
these parts

Show All
Frost buildup
Fixed by
these parts
these parts
Show All
Fridge runs too long
Fixed by
these parts
these parts
Show All
Won’t start
Fixed by
these parts
these parts
Show All
Too warm
Fixed by
these parts
these parts
Show All
Watch our pros, then fix it yourself.
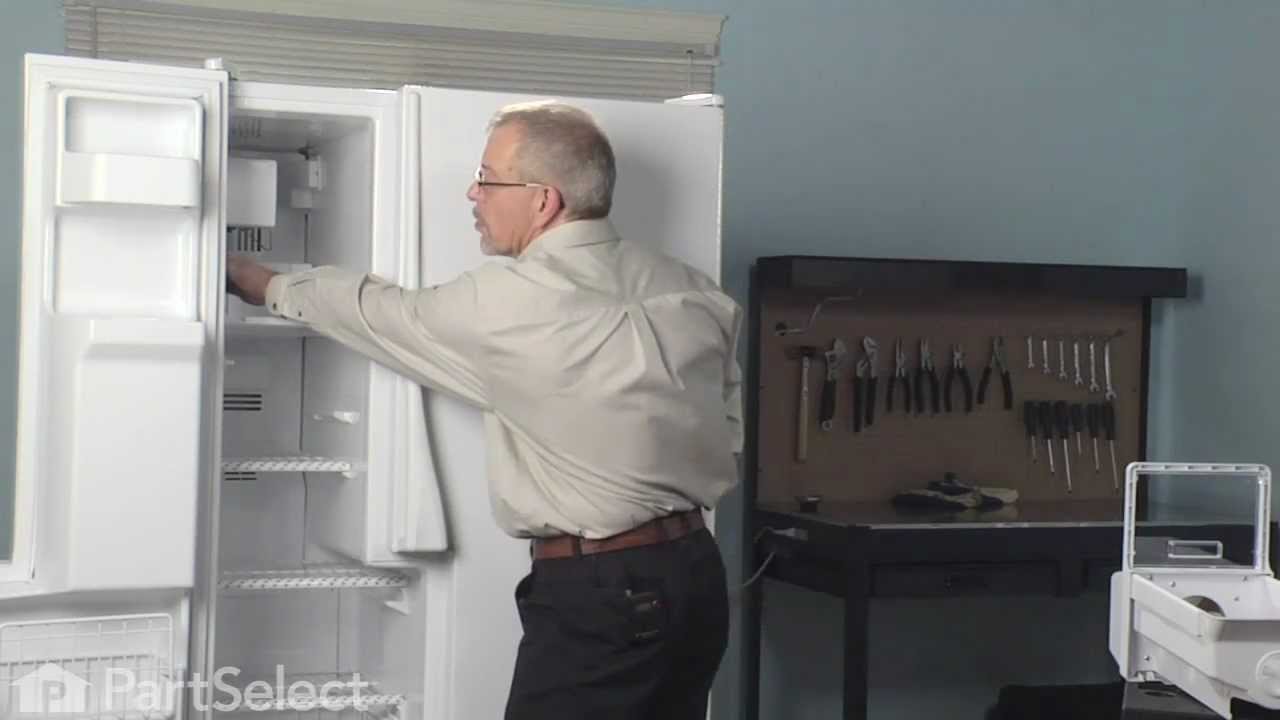
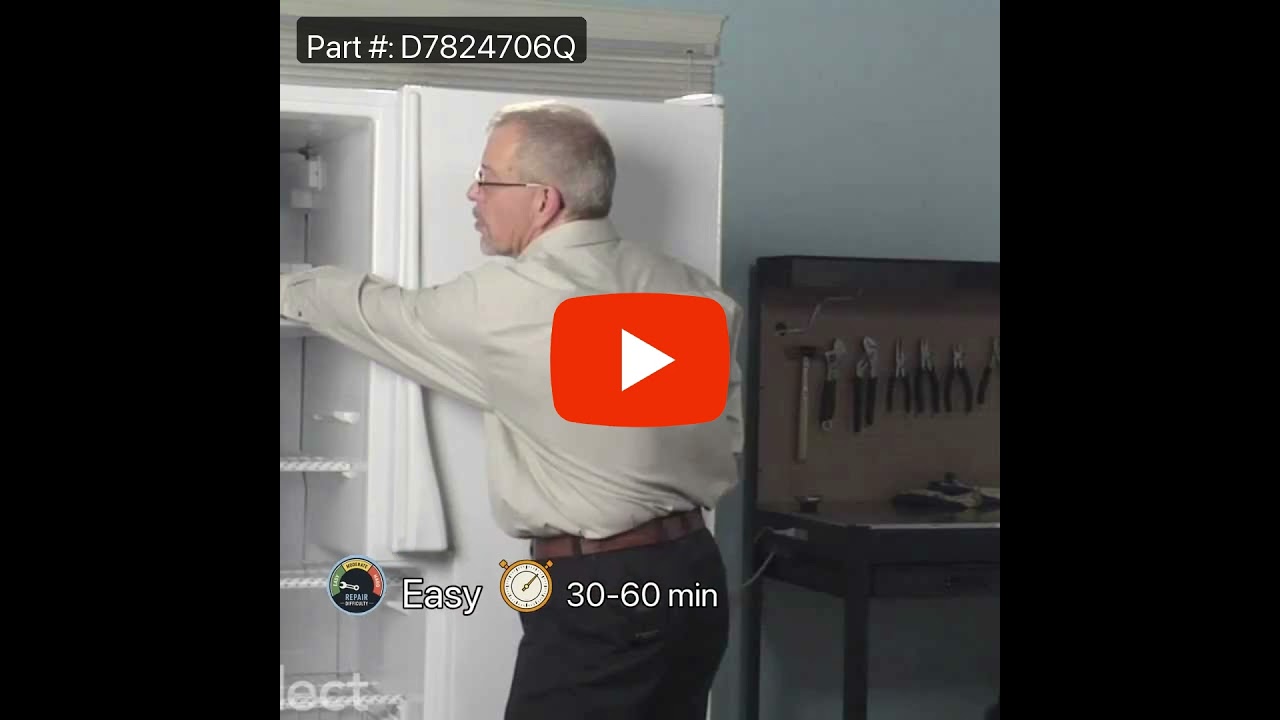
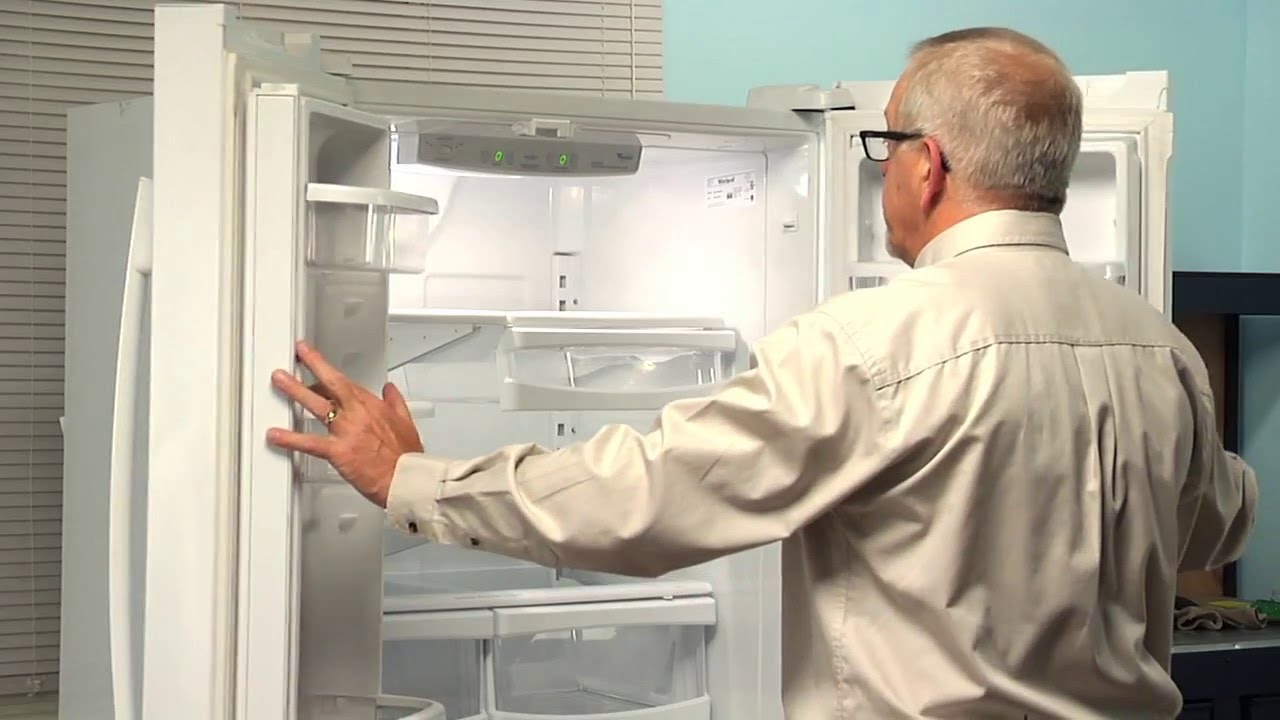
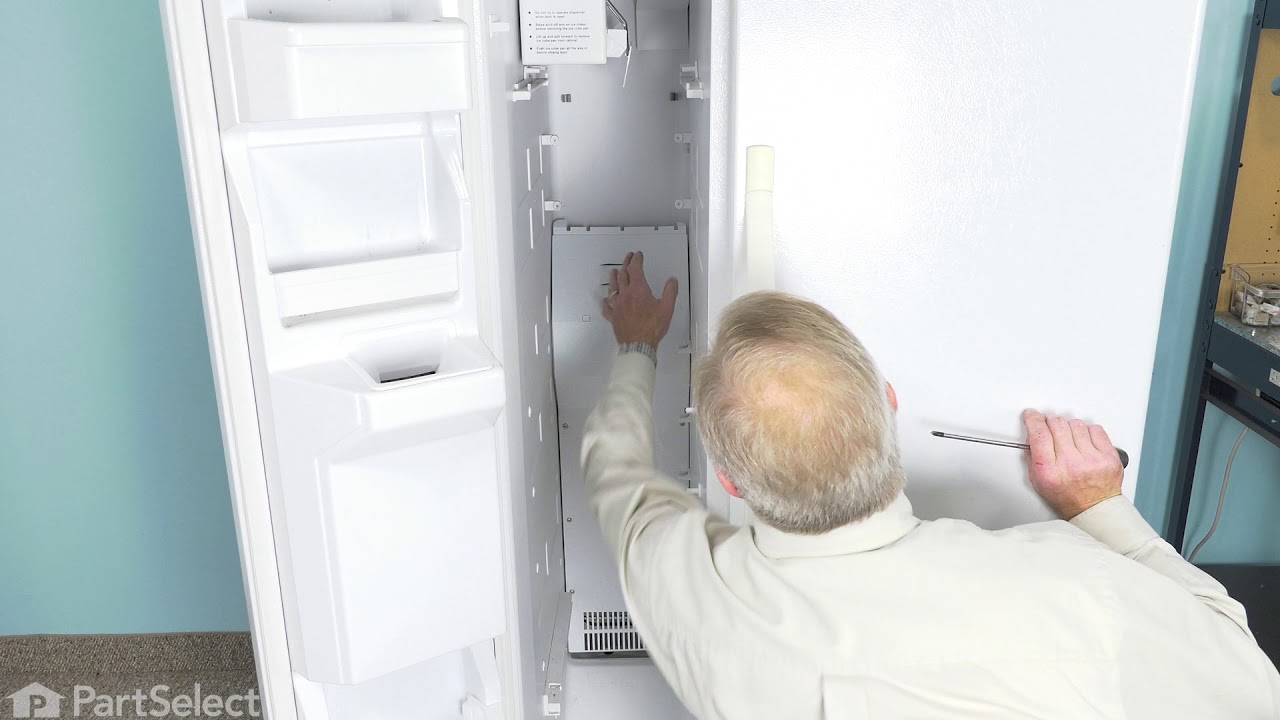

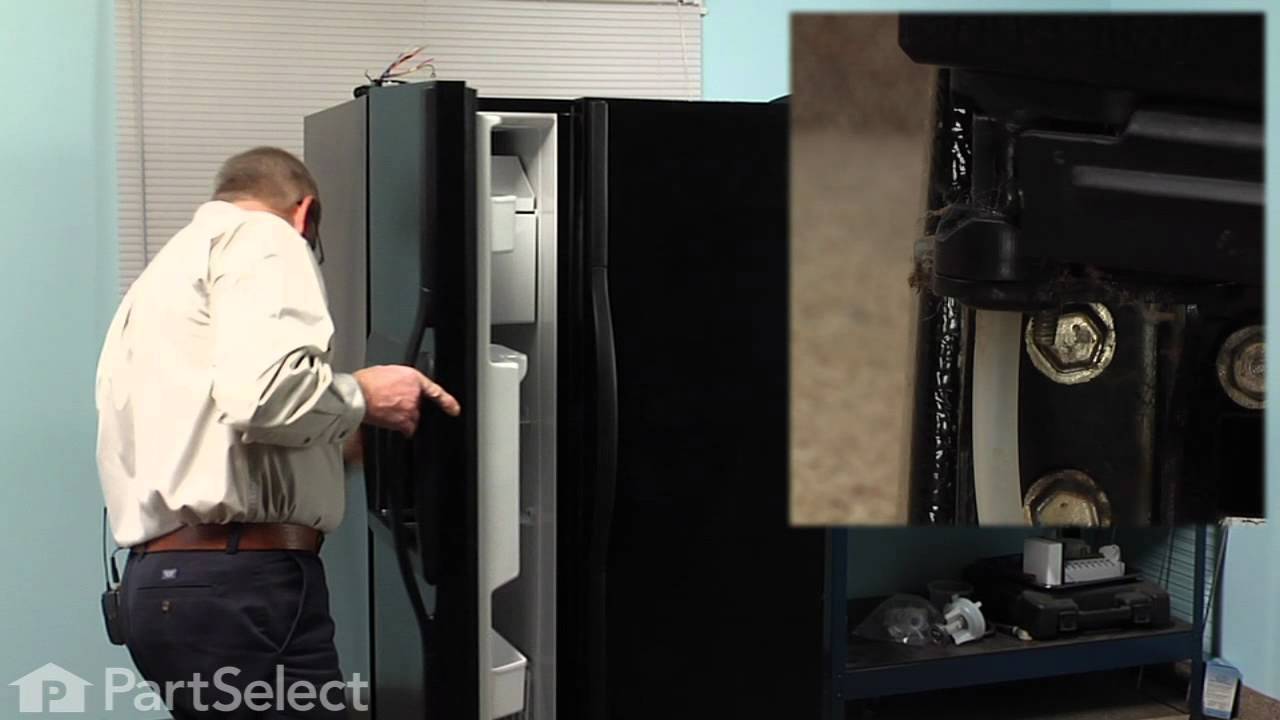
See how others fixed this model. Time, tools, difficulty, and steps that lead to victory!
View More