


 My Orders


AMV2307PFW4 Maytag Microwave - Overview
Diagrams for AMV2307PFW4
See every part. Know exactly what you need.


Enter a part description. DIY Heroes keep it simple, eg. "belt" or "pump".
Search filter:
Clear Filter
Your search term must have 3 or more characters.

$10.49
In Stock
Light Bulb - 40W
Part #8206232A
This 40w light bulb is a replacement bulb constructed of glass and metal. It is an easy-to-install electrical part which produces 40w of light. If the bulb won't light up then it may be broken and should be replaced. The bulb attaches directly to an appropriate light socket and has a small screw-in base. To access the exterior light bulb,...Read more you will need to remove the panel on the bottom of the microwave using a Phillips screwdriver. If your exterior light bulb has not been changed before, it is probably held in place with some silicone. You will need to cut away this silicone to remove the old bulb. If you cannot access the silicone with a utility knife, it can be removed using dental floss. Once the silicone is removed, simply unscrew the old bulb, and replace it with the new one. Be sure to disconnect the power to the microwave before you begin this repair. This light bulb measures about 1 1/8 inches. We do not recommend using a higher-wattage bulb for this appliance, and can only recommend this specific bulb. If fixing the bulb does not solve your microwave light issue, it's possibly a problem with the socket, which means the socket and/or board will need to be replaced. This can be a more dangerous repair, so consult your user manual or a technician before attempting.
Read less

$36.25
In Stock
Grease Filter
Part #W10208631A
This Grease Filter is constructed of Acrylonitrile Butadiene Styrene and is used to trap grease and help eliminate odors from the exhaust air while cooking. It attaches onto the exhaust and is rated as easy to install. The part is 12 15/16" x 5 3/4", and comes in silver. Refer to your make and model number to ensure this part is right fo...Read morer you. If the exhaust fan of your appliance is not working, this part is the most likely cause. This part is sold individually, and it should be noted that many microwaves require two filters, so you may need to replace both at the same time by purchasing two of this part. You should consider gloves during this simple repair (which requires no tools) to save yourself from getting greasy hands.
Read less

$28.90
In Stock

$47.21
In Stock
R Ceramic Fuse 20 A
Part #W11707984
This part protects the microwave by shutting it off if there is an electrical surge.

$38.45
In Stock

$88.48
In Stock
Cook Tray
Part #W11367904
This glass turntable tray helps food cook evenly by rotating inside the microwave. Verify size and fitment before ordering.

$91.76
In Stock

$52.79
In Stock

$14.02
In Stock

$15.51
In Stock
Light Socket
Part #W10210871
The light socket in your microwave houses the light bulb and connects it to the power source. The light bulb will screw into it, so the light bulb will be held in place. Be very careful when installing this part, and be sure to consult your manual before you begin this repair.

$26.35
In Stock
Charcoal Filter
Part #W10892387
A dirty charcoal filter can reduce airflow and allow cooking smells to remain in the room. It sits inside a recirculating microwave vent and absorbs odors as air passes through it. First clean the separate grease filters and make sure the vent openings are not blocked. Confirm fit with the complete microwave model and follow the replaceme...Read morent schedule in the owners manual. Disconnect electrical power before opening the grille, keep track of the screws, and avoid bending the filter frame. Replace the filter when it is dirty or no longer controls odors.
Read less

$15.31
In Stock
Common Symptoms of the AMV2307PFW4
How this model fails, and the parts that fix it.
Won’t turn on
Fixed by
these parts
these parts


Show All
No heat
Fixed by
these parts
these parts


Show All
Tray won’t turn
Fixed by
these parts
these parts


Show All
Door not closing properly
Fixed by
these parts
these parts


Show All
Exhaust fan not working
Fixed by
these parts
these parts


Show All
Noisy
Fixed by
these parts
these parts
Show All
Doesn’t shut off
Fixed by
these parts
these parts
Show All
Watch our pros, then fix it yourself.
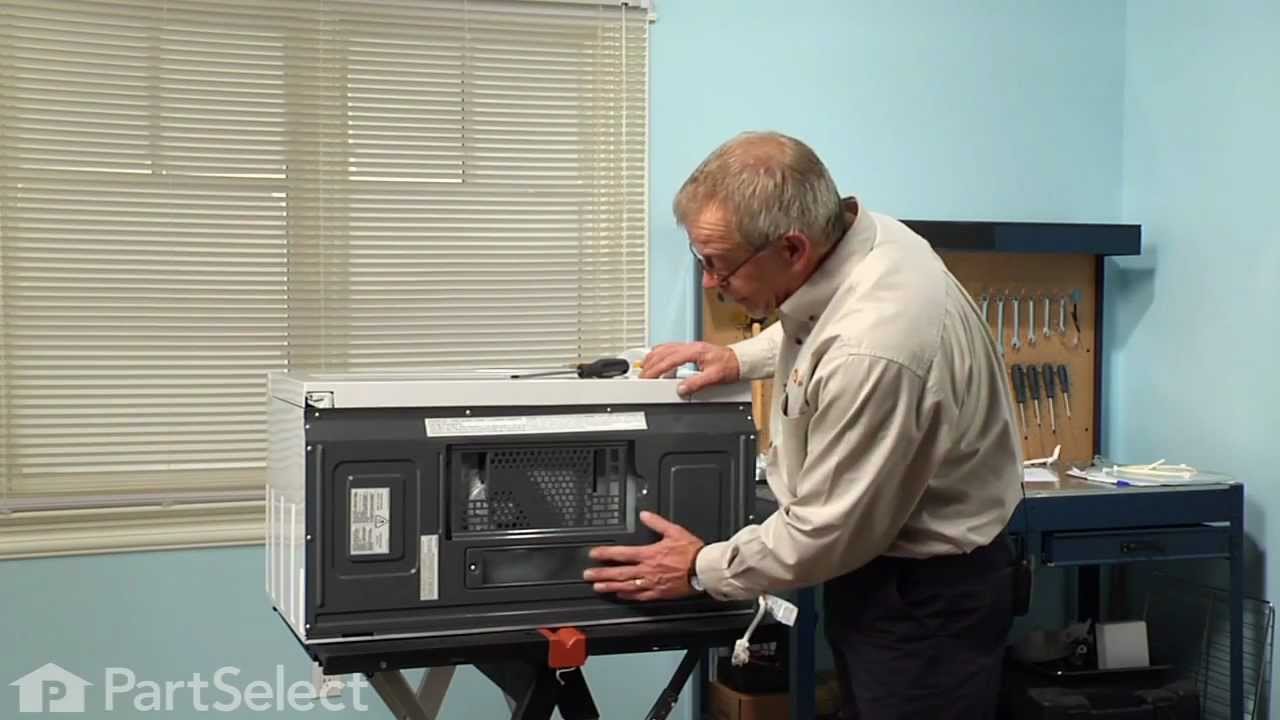
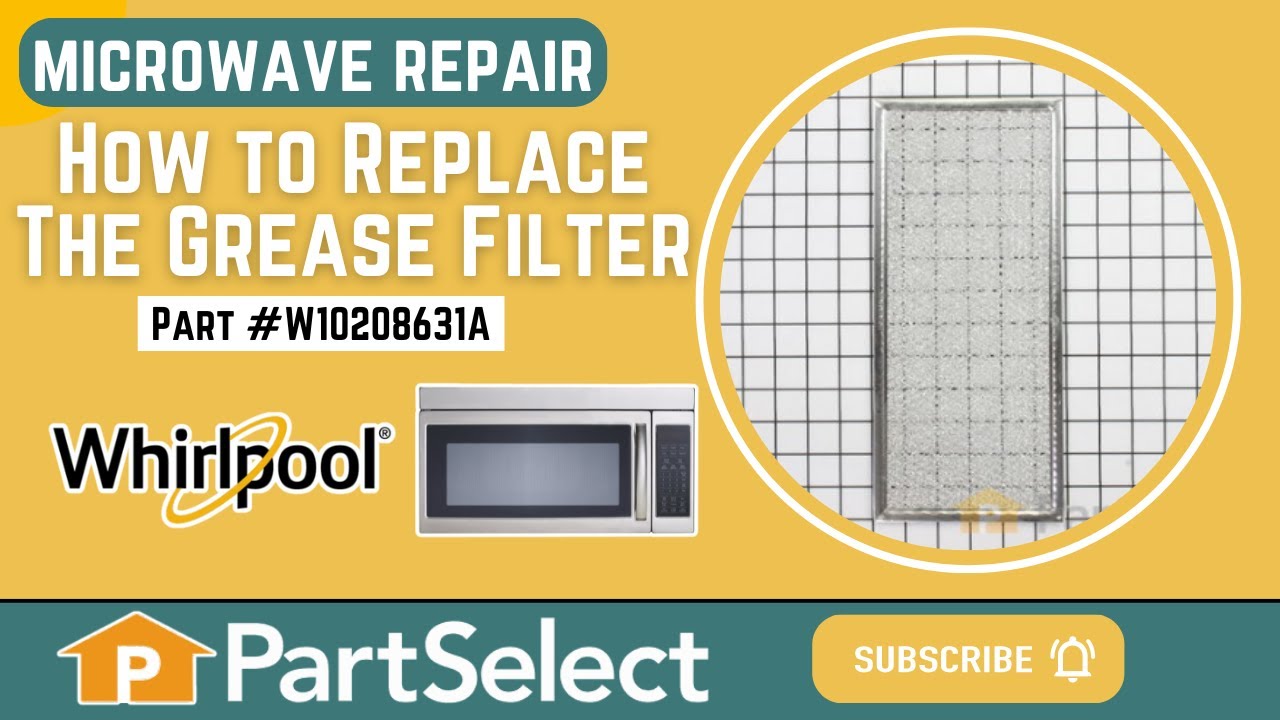
See how others fixed this model. Time, tools, difficulty, and steps that lead to victory!
View More
Search repair tips from other customers using simple keywords like "replace", "fit", "remove", "inspect". DIY doesn't mean you have to do it alone!
Search filter:
Clear Filter
Your search term must have 3 or more characters.
Microwave not heating, working otherwise
52 of 63 people
found this instruction helpful.
This was an over-the-range microwave/hood, so the replacement parts were significantly cheaper than buying a new unit.
Take microwave down (really a two-person job). Remove microwave cover (about 20 philips screws), discharge HV capacitor by shorting terminals to microwave case. Take photos before pulling anything apart. R ... Read more emove plastic ducting covering part of the magnetron (3 philips screws). Remove old magnetron (4 Torx screws), need to disconnect small thermostat on side (2 philips screws) and replace with new magnetron. Replace HV diode (screw on one end, other end simply plugged into capacitor terminal). Put everything back together and it works fine.
Take microwave down (really a two-person job). Remove microwave cover (about 20 philips screws), discharge HV capacitor by shorting terminals to microwave case. Take photos before pulling anything apart. R ... Read more emove plastic ducting covering part of the magnetron (3 philips screws). Remove old magnetron (4 Torx screws), need to disconnect small thermostat on side (2 philips screws) and replace with new magnetron. Replace HV diode (screw on one end, other end simply plugged into capacitor terminal). Put everything back together and it works fine.
Read less


Was this helpful?
Thank you for voting!