This 40w light bulb is a replacement bulb constructed of glass and metal. It is an easy-to-install electrical part which produces 40w of light. If the bulb won't light up then it may be broken and should be replaced. The bulb attaches directly to an appropriate light socket and has a small screw-in base. To access the exterior light bulb,...Read more you will need to remove the panel on the bottom of the microwave using a Phillips screwdriver. If your exterior light bulb has not been changed before, it is probably held in place with some silicone. You will need to cut away this silicone to remove the old bulb. If you cannot access the silicone with a utility knife, it can be removed using dental floss. Once the silicone is removed, simply unscrew the old bulb, and replace it with the new one. Be sure to disconnect the power to the microwave before you begin this repair. This light bulb measures about 1 1/8 inches. We do not recommend using a higher-wattage bulb for this appliance, and can only recommend this specific bulb. If fixing the bulb does not solve your microwave light issue, it's possibly a problem with the socket, which means the socket and/or board will need to be replaced. This can be a more dangerous repair, so consult your user manual or a technician before attempting.
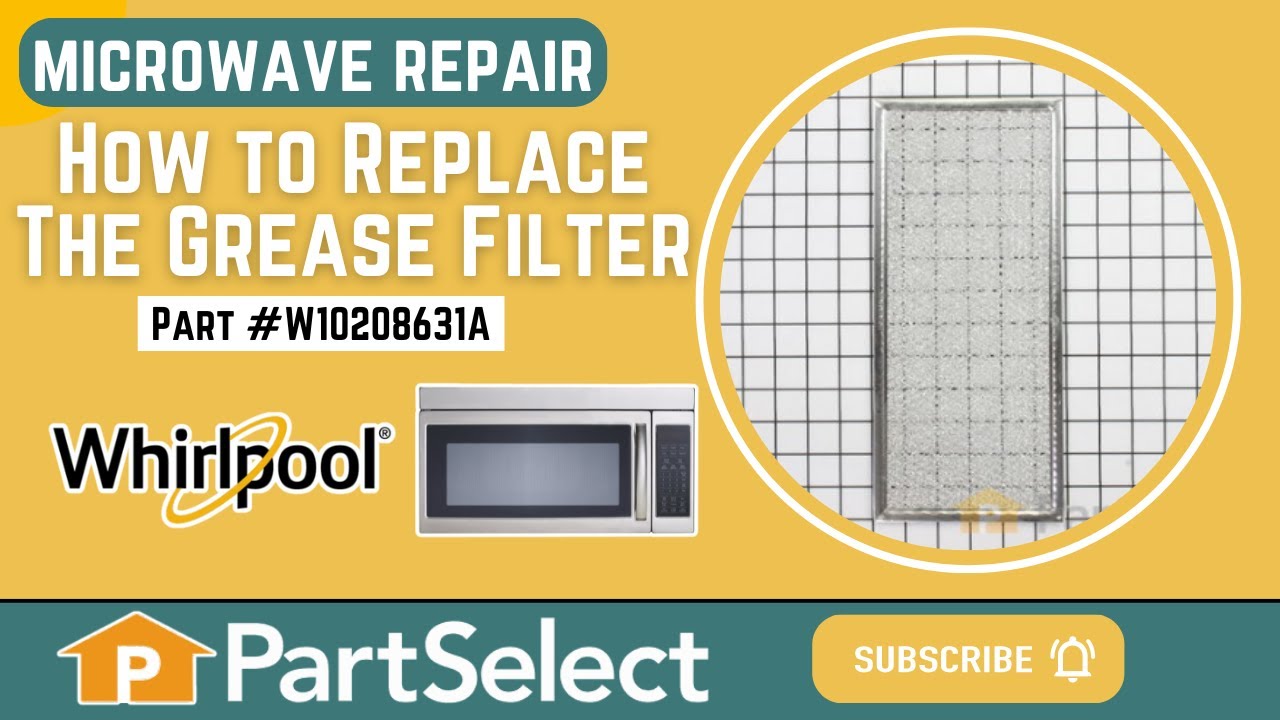
This Grease Filter is constructed of Acrylonitrile Butadiene Styrene and is used to trap grease and help eliminate odors from the exhaust air while cooking. It attaches onto the exhaust and is rated as easy to install. The part is 12 15/16" x 5 3/4", and comes in silver. Refer to your make and model number to ensure this part is right fo...Read morer you. If the exhaust fan of your appliance is not working, this part is the most likely cause. This part is sold individually, and it should be noted that many microwaves require two filters, so you may need to replace both at the same time by purchasing two of this part. You should consider gloves during this simple repair (which requires no tools) to save yourself from getting greasy hands.
This three-terminal switch fits your microwave door. This part is mostly black in color and is about 1.5 inches with metal terminals. You might need to replace this part if your microwave is not heating properly or if it runs for a few seconds but turns off.
This door interlock switch is a genuine replacement part designed for use in microwaves. It serves a critical safety function by preventing the microwave from operating when the door is open. Because proper operation of the microwave’s shielding and interlock system is essential for user safety, this part should be installed by a qualifie...Read mored service technician. After installation, the interlock switches and microwave shielding must be thoroughly tested to ensure the appliance meets safety standards.
The light socket in your microwave houses the light bulb and connects it to the power source. The light bulb will screw into it, so the light bulb will be held in place. Be very careful when installing this part, and be sure to consult your manual before you begin this repair.
Ask our experts a question about this model and we'll get back to you as soon as possible!
We may have answered a similar question already! Search questions and answers left by others using simple keywords like "fit", "broken", "easy", or "quality" to find questions that match.
Search filter:
Clear Filter
Your search term must have 3 or more characters.
Sort by:
Prev
1
2
Next
Sorry, we couldn't find any existing answers that matched.Try using some different or simpler keywords, or submit your new question by using the "Ask a Question" button above!
Rob - For model number AMV2307PFS0
August 4, 2021
Door will not latch when closed
Hi Rob,
Thank you for your question. If your door is not shutting correctly, there are some parts that you will need to check to see which one is causing the issue. You will need to check door switches, the door interlocks the cam plate and the interlock spring. We hope this helps! Good luck with the repair!
replaced the burnt-out bulb under the microwave, but the light stays on and unable to turn off.
Hi Charles, thank you for reaching out. We have researched the model and would recommend checking the door switch, part number PS2361113, and the interlock switch, part number PS2361111, for continuity using a multimeter. If they are working fine, the issue might be with the light socket, part number PS2342199, or the control board, part number PS16620227. We hope this helps, good luck with this repair!
When it starts it makes a loder sound than it used to
Hi Skip, thank you for asking. According to our research, if your microwave is loud or noisy, it could be a result of a defective magnetron tube. The magnetron tube uses high-voltage, high-current DC power that generates the microwave frequency, which cooks the food and is meant to be nearly silent. If it is burned out or damaged, it can emit a high-pitched, growling, or clicking sound. It is a warning that the magnetron is on its last legs and needs replacing as soon as possible. You may need to check the magnetron, part number PS11703077, to fix the issue. Good luck with this repair!
See how others fixed this model. Time, tools, difficulty, and steps that lead to victory!View More
Search repair tips from other customers using simple keywords like "replace", "fit", "remove", "inspect". DIY doesn't mean you have to do it alone!
Search filter:
Clear Filter
Your search term must have 3 or more characters.
light bult needed to be replaced
222 of 329 peoplefound this instruction helpful.
Deborah from Millersville, MD
Difficult
Less than 15 mins
Screw drivers
The nightmare was that this microwave is installed under the cabinet....in order to get to the light bulb I had to pull out my stove then squeeze into the space between the stove and counter....my old microwave light bult was much easier to change.....Shame on Whirlpool for making this so difficult.....must be a better way to cover the li
... Read moreght bulb so that we do not need a screwdriver to remove the door to get to the light bulb
Read less
Was this helpful?
Thank you for voting!
Door switch inconsistent operation for Open/Close sensing.
142 of 173 peoplefound this instruction helpful.
Mark from HOMER GLEN, IL
Really Easy
30 - 60 mins
Pliers, Screw drivers
Ordered top & bottom micro-switches and mounting plate parts. Internet reviews could not find specifics if the issue was due to a top/bottom or combination of micro-switch or mounting plate failure. Pulled the plug. Removed the top vent assembly cover held in by 2 Phillips screws inside the vent. Removed the control panel held in by 1 P
... Read morehillip screw at the top vent assembly area. Lifted control panel upward to release the catch and moved it off to the side - didn't disconnect any leads. Used a Torx bit to remove the door switch mounting plates at the front and pulled the plates through the opening from the control panel. Documented the wire color code connections, the top plate uses 2 micro's with one using both the closed & open contact. Installed the respective micros on the mounting plates and worked backwards with the wiring and removal steps. Once completed, the open/close sensing has worked every time.



 My Orders