


 My Orders


AGR6603SFB7 Amana Range - Overview

Enter a part description. DIY Heroes keep it simple, eg. "belt" or "pump".
Search filter:
Clear Filter
Your search term must have 3 or more characters.

$30.40
In Stock
Screw
Part #W11233072
This is a multi-use and multi-appliance screw. It can be used on a microwave, refrigerator, range/oven, air conditioner, dehumidifier, washer, or dryer. The measurements of this screw are 8 x 1/2 inch. It has 6 threads. Refer to the manual provided by the manufacturer for further information on repair and accurate guidance. Remember to wear work gloves as a safety precaution.

$171.03
In Stock
Sensor
Part #W10833885
This oven temperature sensor is designed to monitor and regulate the internal heat levels of your range, ensuring consistent and accurate cooking performance. It communicates directly with the control board to adjust heating as needed. Over time, exposure to high temperatures can cause the sensor to degrade, leading to uneven heating or f...Read moreailure to maintain set temperatures. If your oven struggles to reach or hold the correct temperature, replacing the sensor may resolve the issue. This OEM replacement part includes a wire harness for connection and is installed using two mounting screws. Installation is simple and typically requires only a screwdriver. Please note that the sensor is sold individually and does not include additional hardware.
Read less

$15.35
In Stock

$190.71
In Stock

$82.45
In Stock
Side Trim - Right Hand Side
Part #WP8523166
Give your oven door a clean, finished look with this white side trim piece. It fits on the right edge of the door, helping seal in heat and protect the glass. If your current trim is cracked or loose, replacing it can improve both the look and performance of your oven. You’ll need to take the door apart a bit to install it, but it’s a solid fix for a worn-out part.

$77.90
In Stock

$187.43
In Stock
Vent Trim - (Black)
Part #WPW10310922
This black stainless steel oven door vent fits on the top of the oven door, attaches the door handle and the outer glass to the door itself, and vents hot air out of the oven. The vent measures approximately 30.5 inches long x 2 inches wide. This door vent does not come with the attachment screws.

$10.43
In Stock

$27.33
In Stock
Drawer Glide
Part #W10807828

$10.47
In Stock
Range Screw
Part #WPW10200660
Having trouble with your stove, oven, or range? Let's get your appliance back to its peak performance. Enter the Whirlpool Screw ? a precisely crafted solution just for you. This essential component, measuring at 10-16 x 3/4 size, is a genuine OEM part straight from the trusted manufacturer. This Whirlpool Screw is not just any ordinary ...Read morepiece. It's a pivot point, intended to secure components and ensure the overall stability of your appliance. Imagine it as a tiny hero helping your stove or oven work smoothly and ideally, day in and day out. Wondering if it will fit your model? Good news ? this screw is not only compatible with a range of Whirlpool appliances, but it also serves KitchenAid, Maytag, Jenn-Air, Amana, Inglis, and Magic Chef models too. To guarantee a perfect fit though, we always advise cross-checking this part number with the one your model requires. When it's time to install this versatile screw, please take care to follow the best safety practices. We understand installing parts can seem daunting, but the security and performance of your appliance are well worth it. Just remember, safety first! So, ready to get your appliance back to acting like new? With the Whirlpool Screw, it's possible. Try it, you'll be cooking again before you know it!
Read less

$36.91
In Stock

$64.85
In Stock
Door Trim - Right Side - Black
Part #W10761014
NOTE: The trim has been re-designed and no longer requires the screws. The dimples on the bottom hold them in place instead.
Common Symptoms of the AGR6603SFB7
How this model fails, and the parts that fix it.
Door won’t close
Fixed by
these parts
these parts


Show All
Little to no heat when baking
Fixed by
these parts
these parts

Show All
Oven not heating evenly
Fixed by
these parts
these parts
Show All
Will Not Start
Fixed by
these parts
these parts

Show All
Oven is too hot
Fixed by
these parts
these parts
Show All
Door won’t open after self cleaning cycle
Fixed by
these parts
these parts

Show All
Element will not heat
Fixed by
these parts
these parts
Show All
Watch our pros, then fix it yourself.
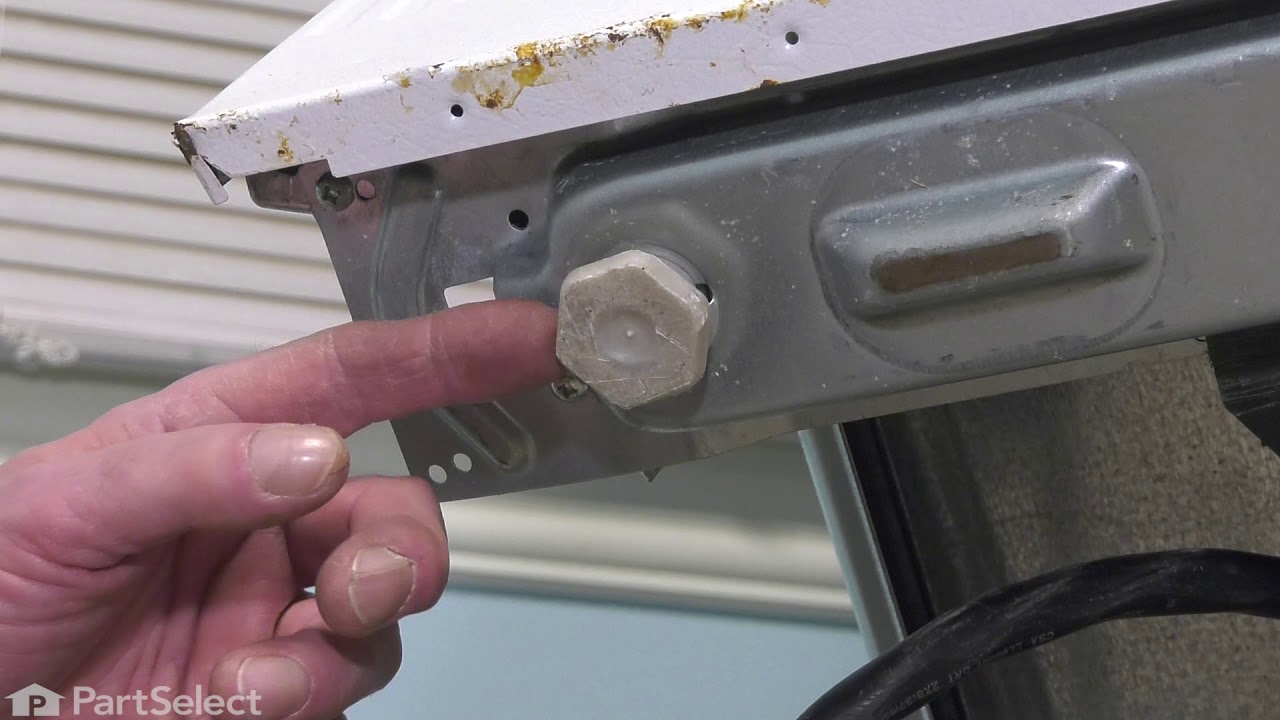
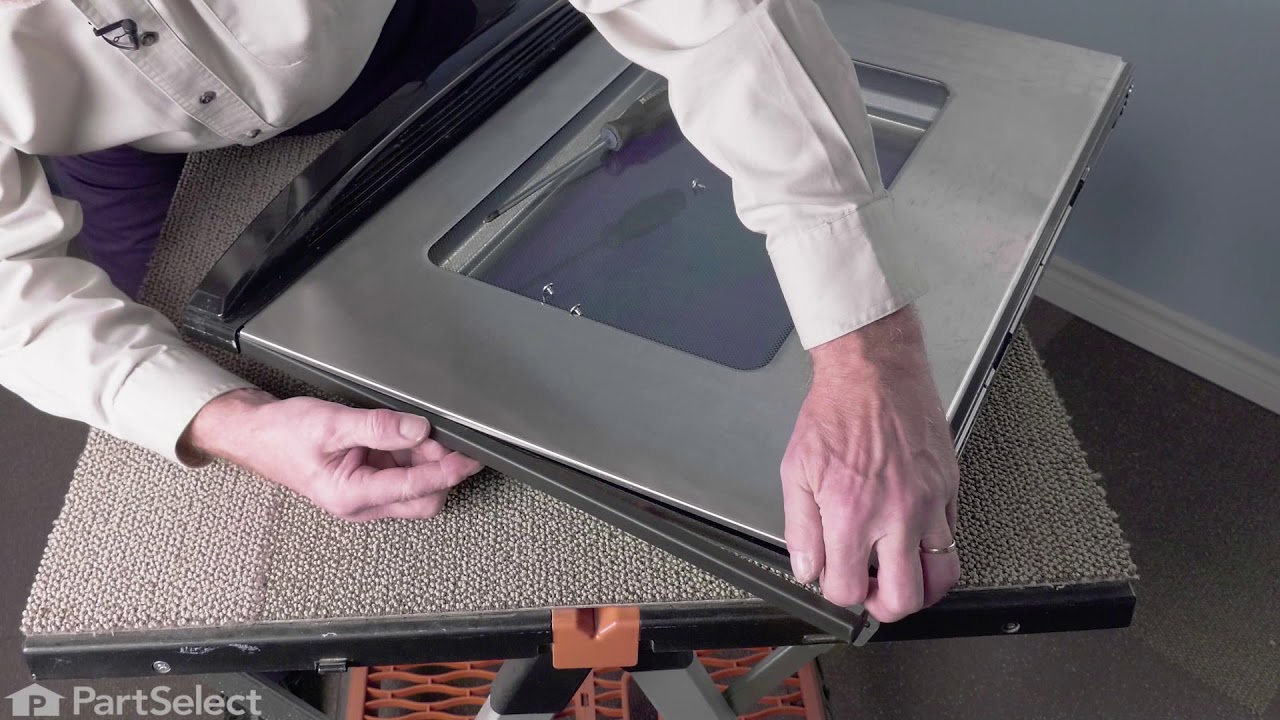

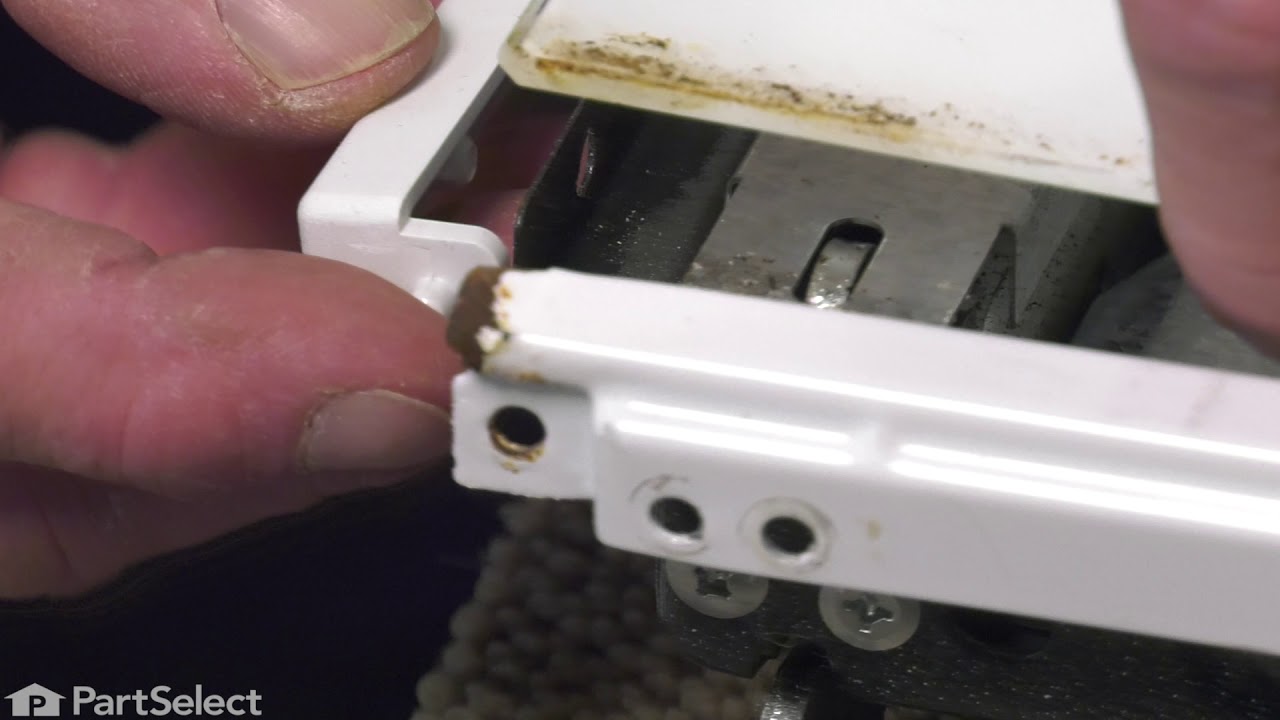
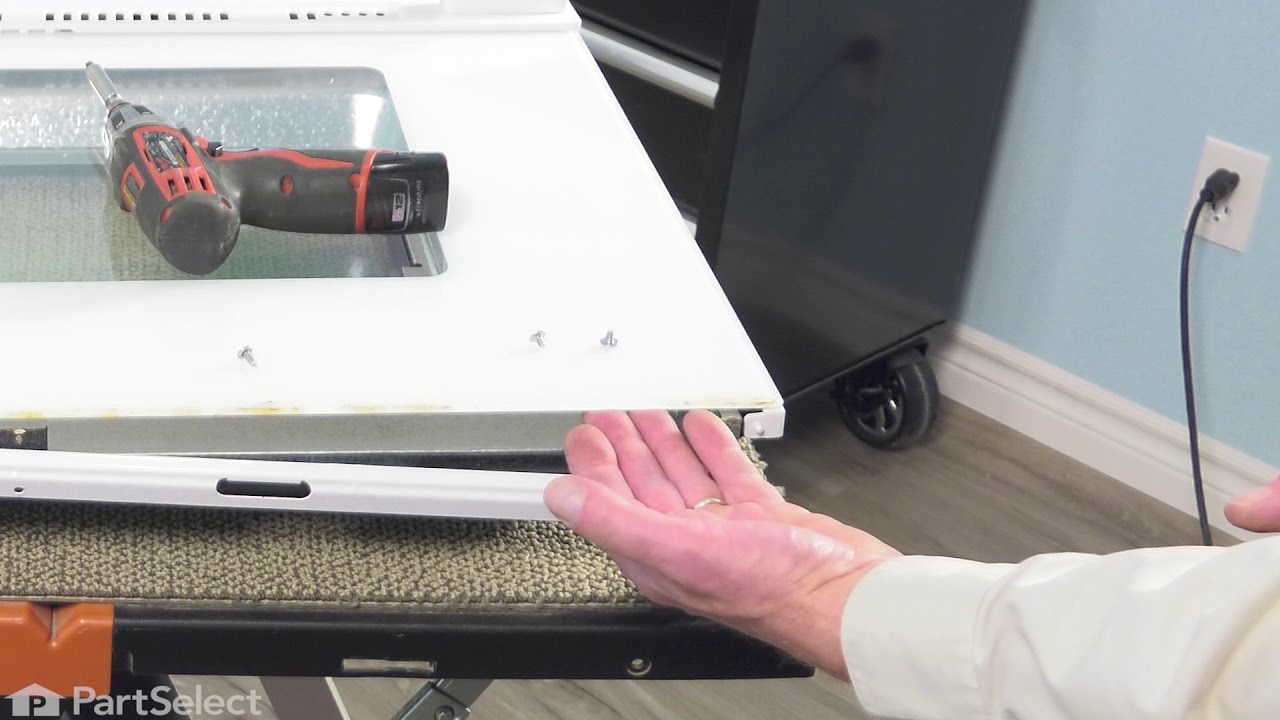

See how others fixed this model. Time, tools, difficulty, and steps that lead to victory!
View More