


 My Orders


AGR5330BAS0 Amana Range - Overview
Diagrams for AGR5330BAS0
See every part. Know exactly what you need.


Enter a part description. DIY Heroes keep it simple, eg. "belt" or "pump".
Search filter:
Clear Filter
Your search term must have 3 or more characters.

No Longer Available
Touch-Up Paint - White
Part #72017
This 18 ml bottle of white appliance touch-up paint is used to cover scratches or marks on your appliance. The white touch-up paint can be used on refrigerators, microwaves, ranges, clothes dryers, and freezers. This is a genuine OEM part and includes a brush applicator. Please remember to wear gloves to protect your hands when applying this paint.

$112.60
In Stock
Oven Sensor
Part #WPW10181986
This temperature sensor detects the temperature within the oven cavity. This oven temperature sensor, for ranges, works together with the oven control board to measure and regulate the oven temperature. The sensor detects the temperature in the oven cavity. If the following symptoms occur, replacing the temperature sensor could be the sol...Read moreution: Little or no heat when baking, oven not heating evenly, oven will not start, and/or oven is overheating. Often, if the sensor is defective, the oven temperature will fluctuate and be inaccurate by more than 50 degrees. The tool needed for this replacement is a #2 square head screwdriver or a #2 Philips screwdriver. Remember to unplug the range before installing the part.
Read less

$30.40
In Stock
Screw
Part #W11233072
This is a multi-use and multi-appliance screw. It can be used on a microwave, refrigerator, range/oven, air conditioner, dehumidifier, washer, or dryer. The measurements of this screw are 8 x 1/2 inch. It has 6 threads. Refer to the manual provided by the manufacturer for further information on repair and accurate guidance. Remember to wear work gloves as a safety precaution.

$69.24
In Stock

$15.35
In Stock

$74.00
In Stock
Oven Igniter
Part #W10918546
This part helps your gas oven heat up by lighting the burner. If it’s glowing but not lighting the flame, it’s probably time for a replacement. It’s a flat-style igniter with a ceramic base and comes with a connector for easy setup. Be sure to unplug your oven and turn off the gas before installing.

$10.41
In Stock

$10.36
In Stock

No Longer Available
Spray Paint - 12 oz. - White
Part #350930

$63.75
Special Order

No Longer Available
Touch-Up Paint - Biscuit
Part #4392899

No Longer Available
Common Symptoms of the AGR5330BAS0
How this model fails, and the parts that fix it.
Little to no heat when baking
Fixed by
these parts
these parts


Show All
Gas igniter glows, but will not light
Fixed by
these parts
these parts


Show All
Oven is too hot
Fixed by
these parts
these parts
Show All
Will Not Start
Fixed by
these parts
these parts
Show All
Oven not heating evenly
Fixed by
these parts
these parts

Show All
Element will not heat
Fixed by
these parts
these parts
Show All
Little to no heat when broiling
Fixed by
these parts
these parts
Show All
Door won’t close
Fixed by
these parts
these parts
Show All
Watch our pros, then fix it yourself.
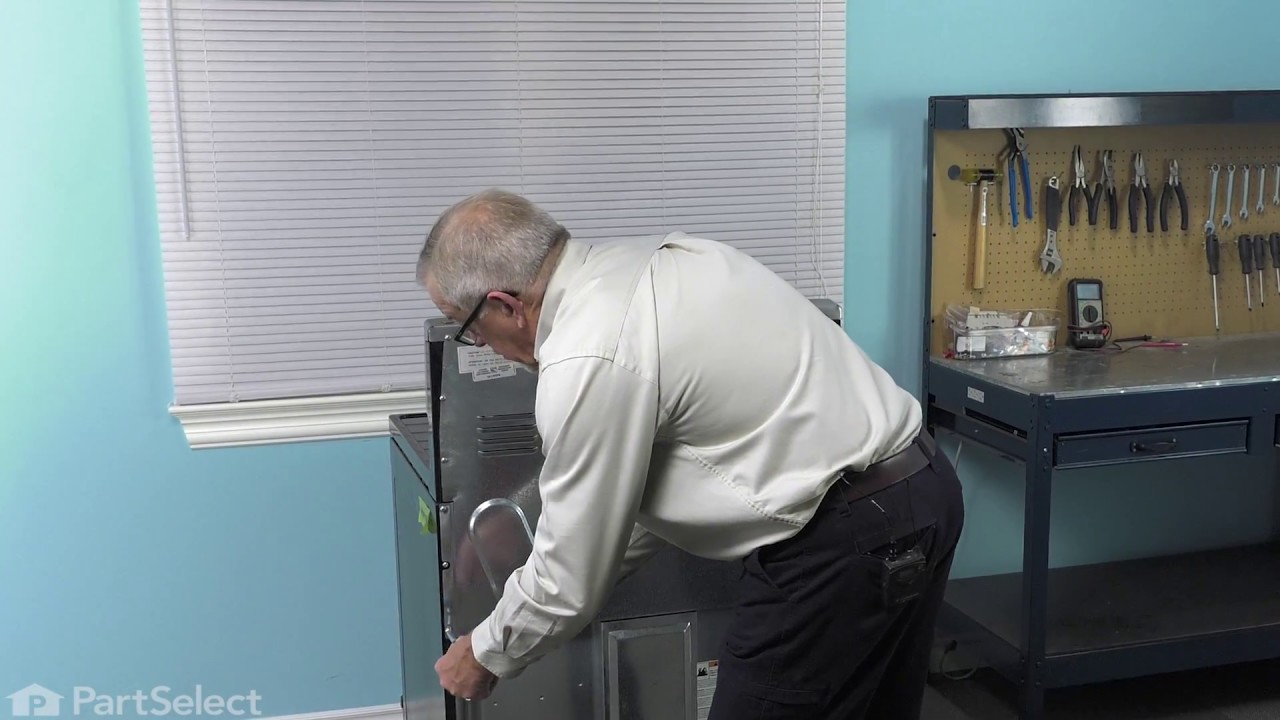
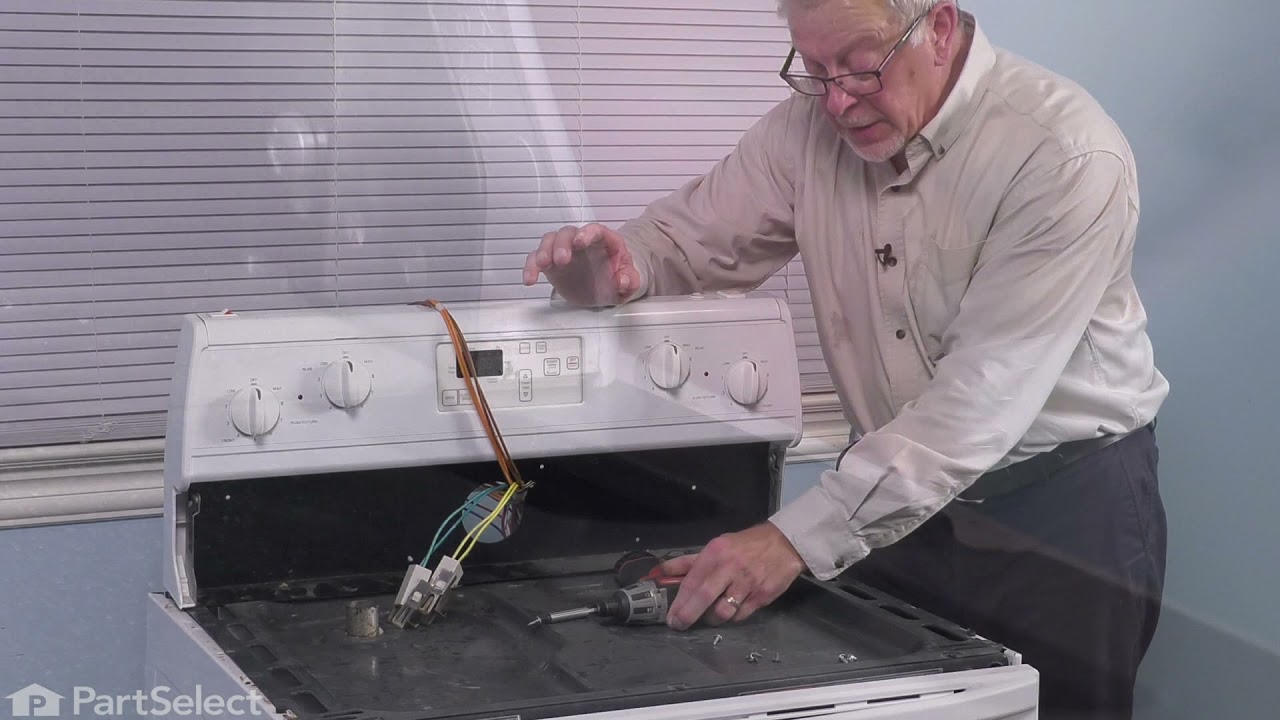
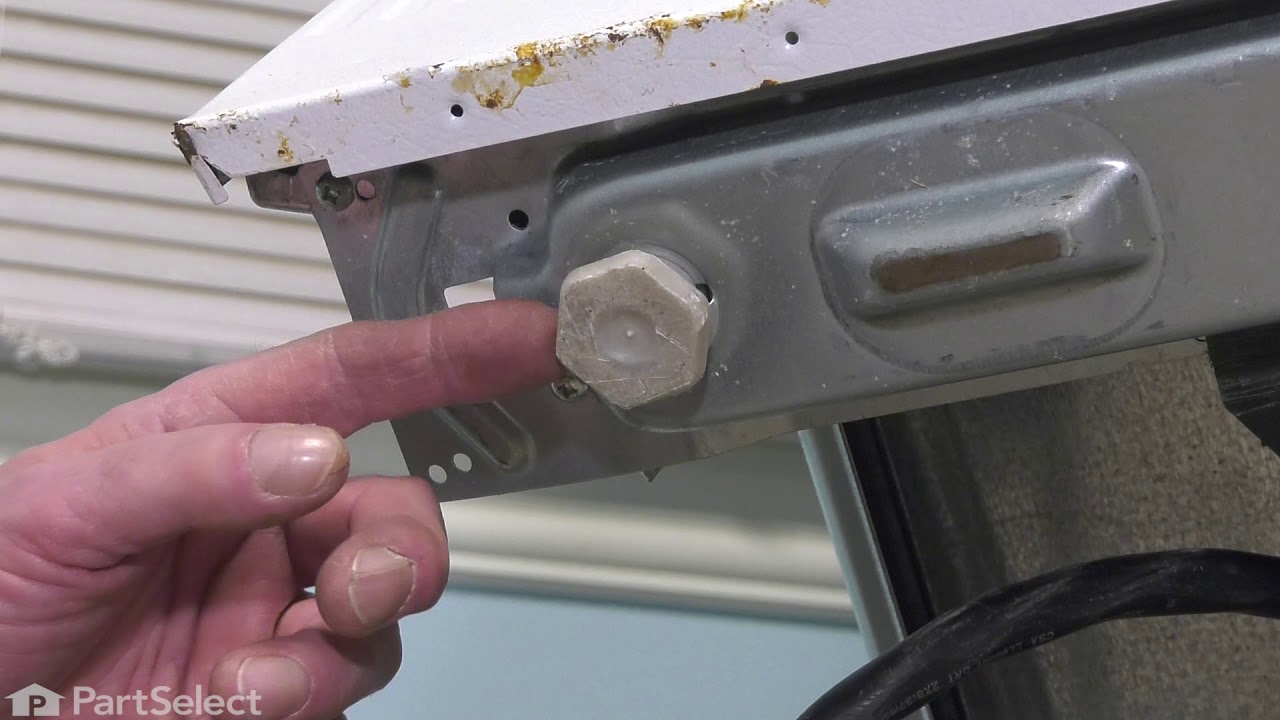
See how others fixed this model. Time, tools, difficulty, and steps that lead to victory!
View More