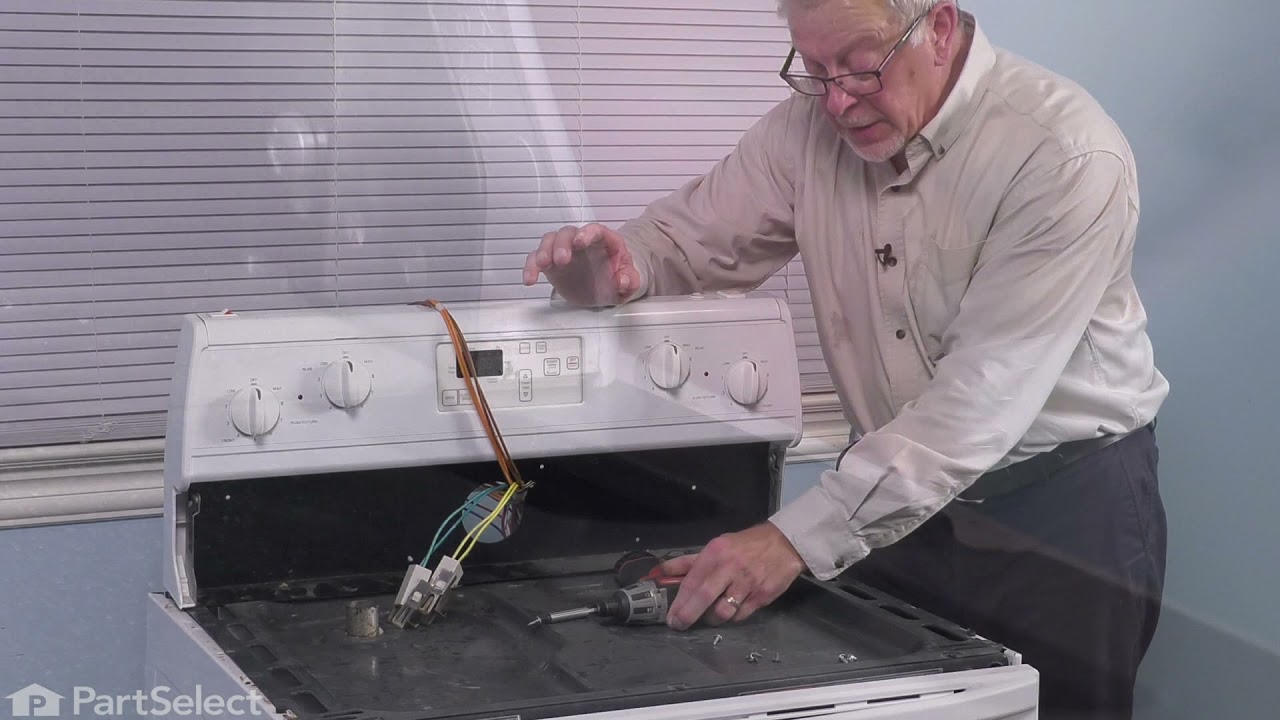
AGR4230BAW5 Amana Range - Overview

Diagrams for AGR4230BAW5

See every part. Know exactly what you need.

Enter a part description. DIY Heroes keep it simple, eg. "belt" or "pump".

Search filter:
Clear Filter
Your search term must have 3 or more characters.
Touch-Up Paint - White – Part Number: 72017
No Longer Available
Touch-Up Paint - White
★★★★★
★★★★★
(23)
Part #72017
This 18 ml bottle of white appliance touch-up paint is used to cover scratches or marks on your appliance. The white touch-up paint can be used on refrigerators, microwaves, ranges, clothes dryers, and freezers. This is a genuine OEM part and includes a brush applicator. Please remember to wear gloves to protect your hands when applying this paint.
Range Torx Screw – Part Number: WP3368921
$10.95
In Stock
Range Torx Screw
★★★★★
★★★★★
(3)
Part #WP3368921
7-18 x 3/4-Inch - sold individually.
Range Insulation – Part Number: WPW10208653
$69.24
In Stock
Range Insulation
★★★★★
★★★★★
(9)
Part #WPW10208653
Oven Wrap Insulation.
Range Rear Leveling Leg – Part Number: WPW10058460
$15.35
In Stock
Range Screw – Part Number: WP98008544
$9.85
Special Order
Range Screw
Part #WP98008544
Sold individually.
Range Installation Screw – Part Number: WP3400882
$9.85
In Stock
Range Installation Screw
Part #WP3400882
This screw is sold individually.
Screw – Part Number: WP3400832
$10.41
In Stock
Screw
★★★★★
★★★★★
(1)
Part #WP3400832
This screw is sold individually.
Screw – Part Number: WP98008545
$10.36
In Stock
Screw
★★★★★
★★★★★
(1)
Part #WP98008545
Sold Individually.
Spray Paint - 12 oz. - White – Part Number: 350930
No Longer Available
Appliance Screw – Part Number: WP59002061
$10.41
In Stock
Appliance Screw
Part #WP59002061
Sold individually.
Range Burner Cap (Black) – Part Number: WP98017461
$63.75
Special Order
Range Burner Cap (Black)
Part #WP98017461
Sold individually.
Spray Paint - Superior Black – Part Number: 285006
No Longer Available
Spray Paint - Superior Black
Part #285006
This is a 12oz can of black spray paint.

Common Symptoms of the AGR4230BAW5

How this model fails, and the parts that fix it.

Watch our pros, then fix it yourself.
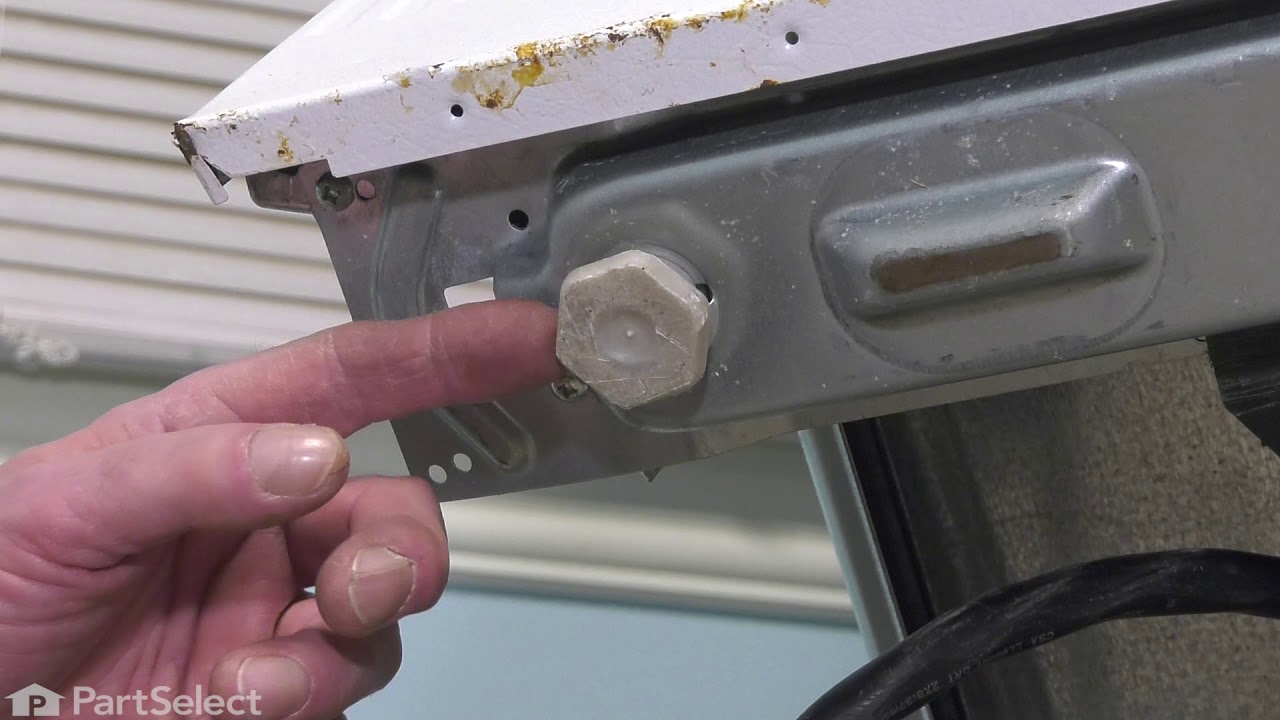
See how others fixed this model. Time, tools, difficulty, and steps that lead to victory! View More

Search repair tips from other customers using simple keywords like "replace", "fit", "remove", "inspect". DIY doesn't mean you have to do it alone!

Search filter:
Clear Filter
Your search term must have 3 or more characters.
mice had made nests in the insulation wrap in the range
129 of 211 people found this instruction helpful.
  • Wendy from Red Hook, NY
  • Easy
  • More than 2 hours
  • Screw drivers
I numbered every part. ex: 1 L., for first part removed left side. I used a magic marker to circle the holes and wrote the number of screws used on the part, set the srews in a separete place, so that I new where these screws went to. The cleanup was pretty time consuming, but I was able to keep my stove, when every repairman I called to fix my stove told me I was better off buying a new stove. ($600.00 stove 2 years old)Please Note: The insulation blanket needed for the entire stove is two pieces, the sides and top are one part # and the bottom and back, are another part #. I did not know this. I just purchased the top and sides. I got lucky, the back and bottom were still in good shape. So I guess I should have read the description of the part more carefully to see what it covers, before I ordered it. It took two people two hours to do the work, it was really nice to have an extra set of eyes, to remember what direction pieces of metal from the stove went. I would do it all over in a heart beat instead of buying a new stove.
Was this helpful?
Thank you for voting!
Scratches in Surface
83 of 227 people found this instruction helpful.
  • Michelle from Richardson, TX
  • Really Easy
  • Less than 15 mins
This product comes in a bottle with a brush like Liquid Paper. It goes on incredibly easy. A second coat might be needed. I wanted to prevent rust from setting in so I covered the scratches and dings. The paint is a little brighter since my washer is 10 years old but it still looks great.
Was this helpful?
Thank you for voting!
Two of four gas surface burners would not ignite.
3 of 4 people found this instruction helpful.
  • Gervice from BROUSSARD, LA
  • Easy
  • 15 - 30 mins
  • Screw drivers
Replace two igniters that were not working. Did not fix the problem. Swapped wire positions from Spark Module and noted that the problem followed the igniter positions. Replaced Spark Module. Problem solved. Procedure required disconnecting a/c power, removing four screws, removing igniter wires from old module and reconnecting them t o new module. Reinstalled new Spark Module in range. Reconnected a/c power. Test successful. Total time: 20 minutes.
Was this helpful?
Thank you for voting!