


 My Orders


AFF2534FEB11 Amana Refrigerator - Overview
Diagrams for AFF2534FEB11
See every part. Know exactly what you need.


Enter a part description. DIY Heroes keep it simple, eg. "belt" or "pump".
Search filter:
Clear Filter
Your search term must have 3 or more characters.

$52.60
In Stock
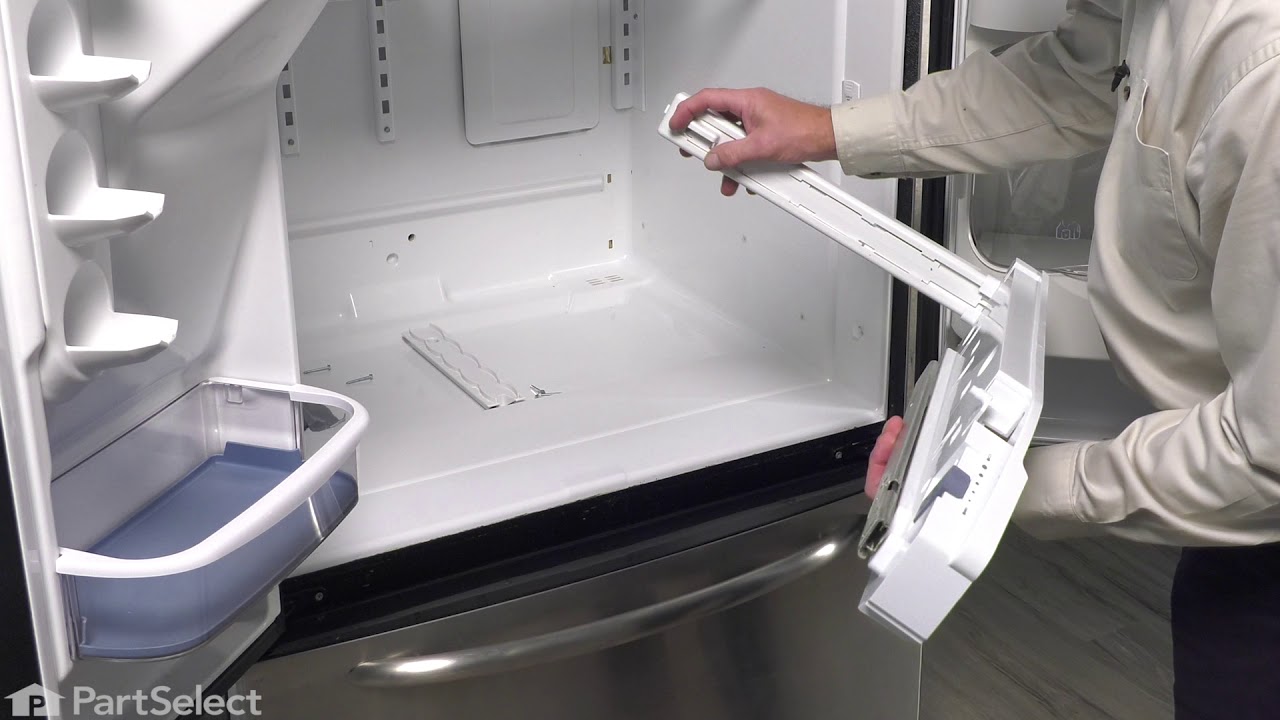
Pantry End Cap Kit, LH and RH
Part #W10874836
This manufacturer-approved Refrigerator Pantry End Cap Kit, also known as the Refrigerator Drawer Support, is a kit containing all parts of the Pantry End Cap. It snaps into place on the appliance’s pantry drawer to help contain the items inside and to keep your refrigerator door from sliding all the way out. It is rated as "medium" diff...Read moreiculty to install, is constructed of plastic and comes in white. If broken or missing, the pantry drawer will not stay in place and the part should be replaced. Refer to your user manual and model number to ensure this is the correct part for you. This kit includes both the right and left side end caps, as well as the pins that will hold them in place. To replace an end cap, remove the three screws holding it in place. Then, remove the pin and end cap, replacing the old end cap with the new end cap. In the past, the left and right end caps were sold separately, but the part has been updated and now includes both sides. The part is sold as a kit, and unfortunately, as such none of the parts are available individually.
Read less

$38.32
In Stock
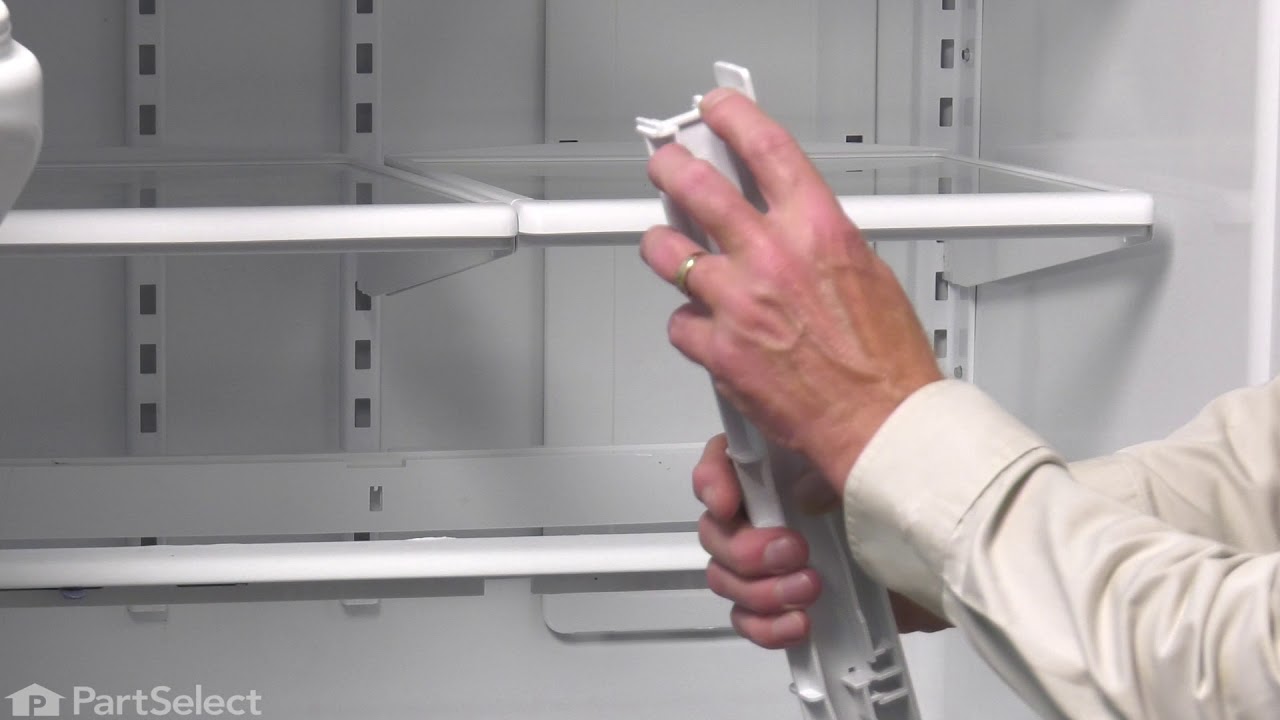
Refrigerator Center Rail
Part #WPW10326469
This OEM Center Rail is a white plastic part which supports the crisper frame, which holds the crisper. Fifteen inches long and white in colour, if broken, the support may no longer hold properly. Refer to your model number and user manual to see if this part will be right for your appliance. This part is a very easy repair which only ta...Read morekes a few minutes and does not require any tools. Just slide the crisper drawers out, lift out the glass shelf, slide the new rale into place and replace the glass shelf and crisper drawers. This part is sold individually and not as part of a set.
Read less

$214.33
In Stock
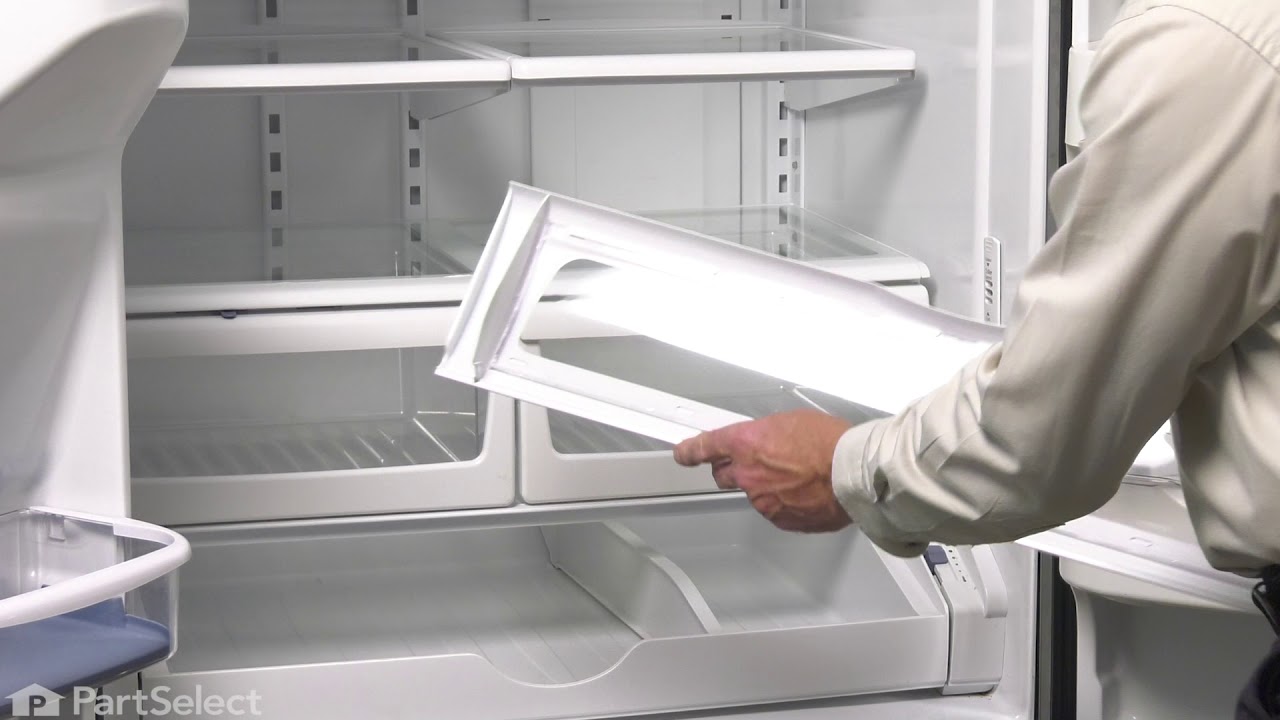
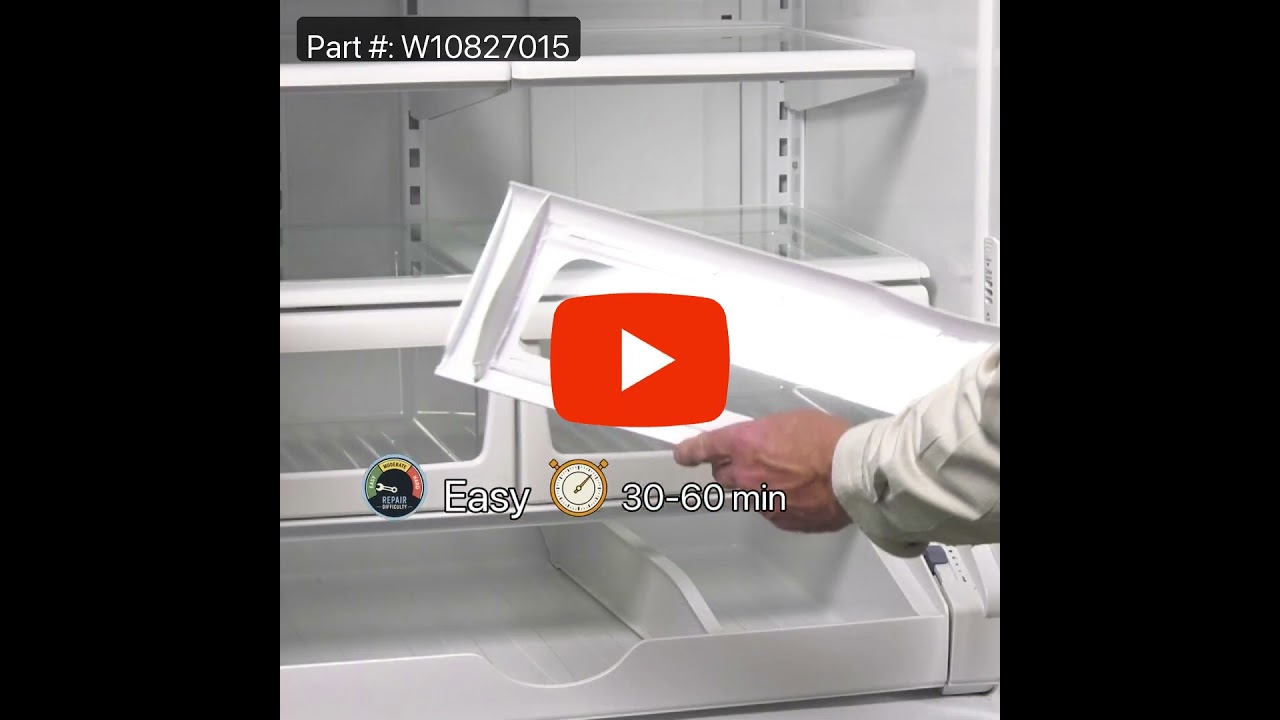
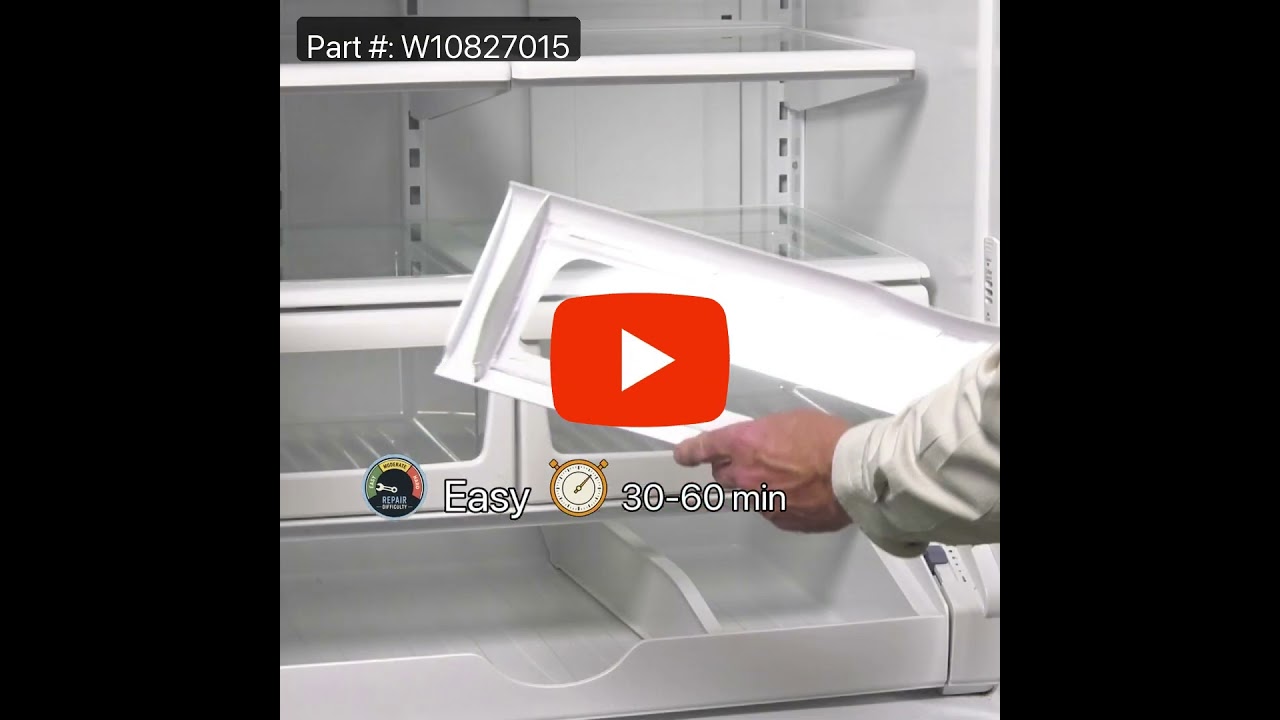
Refrigerator Pantry Drawer Door Cover
Part #W10827015
The pantry drawer lid helps keep everything inside the drawer, it acts as a cover and keeps your drawer at the proper temperature by creating a seal. If the door will not open or close, or if the drawer section is too cold, you may need to replace the lid. The pantry drawer lid is a genuine OEM part.

$147.86
In Stock
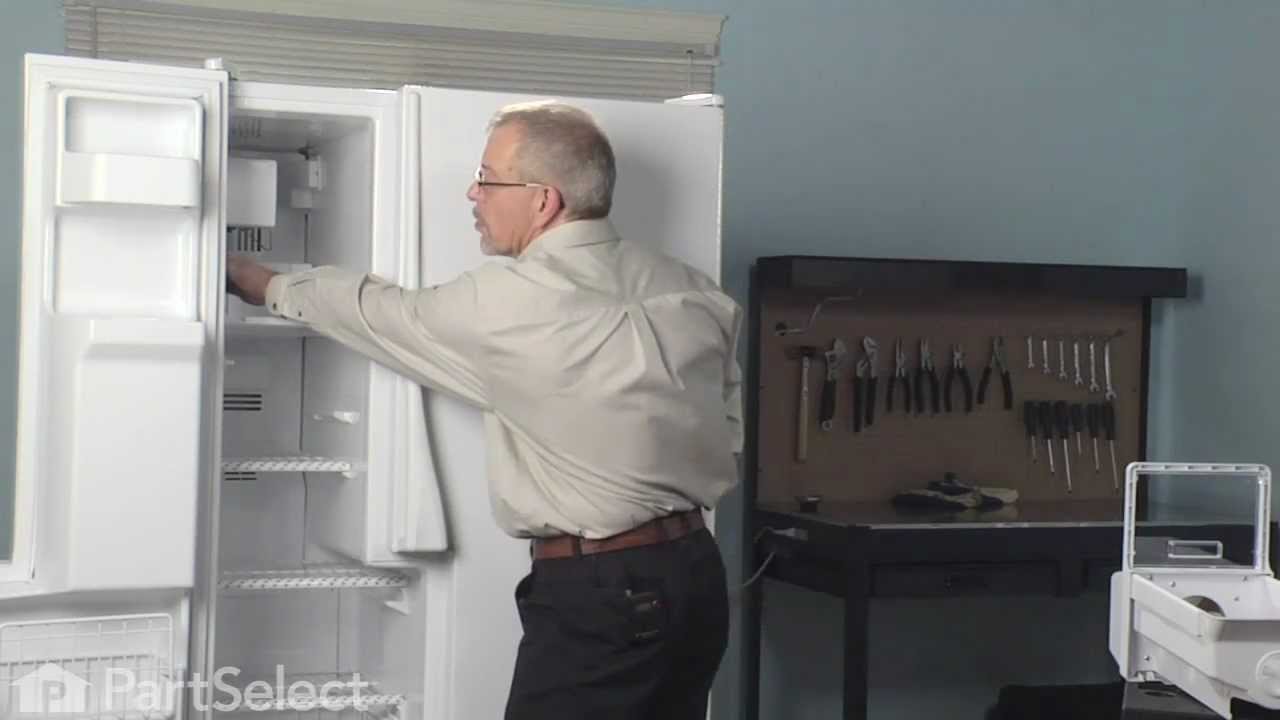
Replacement Ice Maker
Part #D7824706Q
This modular ice maker assembly replaces worn-out units to restore ice production in refrigerators. It includes the ice mold and control device but excludes the cover, ice level arm, wire harness, and mounting hardware, which must be reused or ordered separately. Unplug the refrigerator before installation and use work gloves for safety. Check compatibility with your model number before purchase.

$43.83
In Stock

$69.52
In Stock
Refrigerator Electronic Control Board
Part #WPW10503278
This electronic control board is a critical component in refrigerator systems, responsible for regulating temperature settings and managing cooling and defrost cycles. If your appliance is experiencing issues such as inconsistent temperatures, failure to start, prolonged operation, or ineffective defrosting, replacing the control board ma...Read morey resolve the problem. Installation requires a small flat blade screwdriver and should be performed with the refrigerator unplugged to ensure safety. Please note that this board must be programmed after installation to function correctly. For precise installation steps and programming instructions, refer to the manufacturer’s manual specific to your refrigerator model.
Read less

$96.02
In Stock
Icemaker Control Assembly
Part #W10190935
This part is used to help tell the icemaker what to do - it turns the timing cams and the ejector blades. Motor is not sold separately.

$89.78
In Stock
Compressor Start Device and Capacitor
Part #W10613606
This includes both the run capacitor and the start relay. The capacitor helps the compressor kick on and off while maintaining a constant temperature to keep things frozen in your freezer.
The start relay boosts the compressor, and then shuts off as soon as the motor gets up to speed and the overload provides extra protection against excessive temperatures.

$15.35
In Stock
Refrigerator Humidity Control Slide
Part #WP67005864
This part mounts on the crisper drawer cover and is used to limit the amount of air that gets into the crisper.

$88.52
In Stock
Refrigerator Door Shelf Bin
Part #WPW10371193
This refrigerator door shelf bin provides convenient storage for bottles, jars, condiments, and other everyday items, helping keep the refrigerator organized and making the most of the available door space. The clear design makes it easy to see contents at a glance while keeping frequently used items within reach. If the original bin is c...Read moreracked, damaged, or missing, replacing it can restore storage capacity and help prevent items from tipping or falling when the door is opened and closed. Designed for reliable daily use, this replacement shelf bin helps maintain the function and organization of your refrigerator.
Read less

$40.90
In Stock
Door Switch
Part #W11396033
This light switch may also be known as a refrigerator door switch or a light switch kit, and is compatible with your refrigerator. The function of the refrigerator door switch is to turn on the light when your fridge door is open, and to make sure it is off when your refrigerator door is closed. The reason you would need to replace this p...Read moreart is if your light is not turning on when your door is open. For this repair, you will need a putty knife, and a small flat-blade screwdriver.
Read less

$309.67
In Stock
Refrigerator Crisper Frame
Part #WP67003854
This crisper drawer frame supports the drawer and the shelf above it, helping organize produce and maintain airflow for freshness. It features raised edges to contain spills and fits select Whirlpool and related brand refrigerators. The glass and humidity controls are not included and should be transferred from the original frame.
Common Symptoms of the AFF2534FEB11
How this model fails, and the parts that fix it.
Ice maker not making ice
Fixed by
these parts
these parts


Show All
Light not working
Fixed by
these parts
these parts


Show All
Door won’t open or close
Fixed by
these parts
these parts


Show All
Leaking
Fixed by
these parts
these parts


Show All
Fridge too warm
Fixed by
these parts
these parts


Show All
Ice maker won’t dispense ice
Fixed by
these parts
these parts
Show All
Will Not Start
Fixed by
these parts
these parts
Show All
Noisy
Fixed by
these parts
these parts


Show All
Fridge too cold
Fixed by
these parts
these parts

Show All
Freezer not defrosting
Fixed by
these parts
these parts


Show All
Fridge and Freezer are too warm
Fixed by
these parts
these parts
Show All
Freezer section too warm
Fixed by
these parts
these parts
Show All
Frost buildup
Fixed by
these parts
these parts


Show All
Door Sweating
Fixed by
these parts
these parts


Show All
Clicking sound
Fixed by
these parts
these parts

Show All
Freezer too cold
Fixed by
these parts
these parts
Show All
Ice maker dispenses too much ice
Fixed by
these parts
these parts

Show All
Ice maker dispenses too little ice
Fixed by
these parts
these parts
Show All
Won’t start
Fixed by
these parts
these parts
Show All
Fridge runs too long
Fixed by
these parts
these parts
Show All
Too warm
Fixed by
these parts
these parts
Show All
Not dispensing water
Fixed by
these parts
these parts
Show All
Watch our pros, then fix it yourself.
See how others fixed this model. Time, tools, difficulty, and steps that lead to victory!
View More