ACS3350AC (PACS3350AC0) Amana Range - Overview

Enter a part description. DIY Heroes keep it simple, eg. "belt" or "pump".

Search filter:
Clear Filter
Your search term must have 3 or more characters.
Burner Grate Pads - Kit of 5 – Part Number: 814323
$18.27
In Stock
Burner Grate Pads - Kit of 5
★★★★★
★★★★★
(16)
Part #814323
These pads go on the bottom of your gas cooktop grates to prevent them from moving and scratching the top of your appliance.
Flat Style Oven Igniter – Part Number: 786324
$83.55
In Stock
Flat Style Oven Igniter
★★★★★
★★★★★
(13)
Part #786324
You must reuse the original bracket. Be very careful to not touch the black element part of this igniter as it is very fragile.
Spark Ignition Electrode – Part Number: WPY0316773
$61.17
In Stock
Spark Ignition Electrode
★★★★★
★★★★★
(2)
Part #WPY0316773
This spark ignition electrode is just over an inch in length. It comes with a mounting bracket and is used for some gas ranges and ovens.
Oven Igniter – Part Number: WP31940001
$140.76
Special Order
Oven Igniter
★★★★★
★★★★★
(3)
Part #WP31940001
This flat style gas oven igniter has ceramic housing and comes with a connector. The igniter body is just over three inches in length. Be very careful to not touch the black element part of this igniter as it is very fragile.
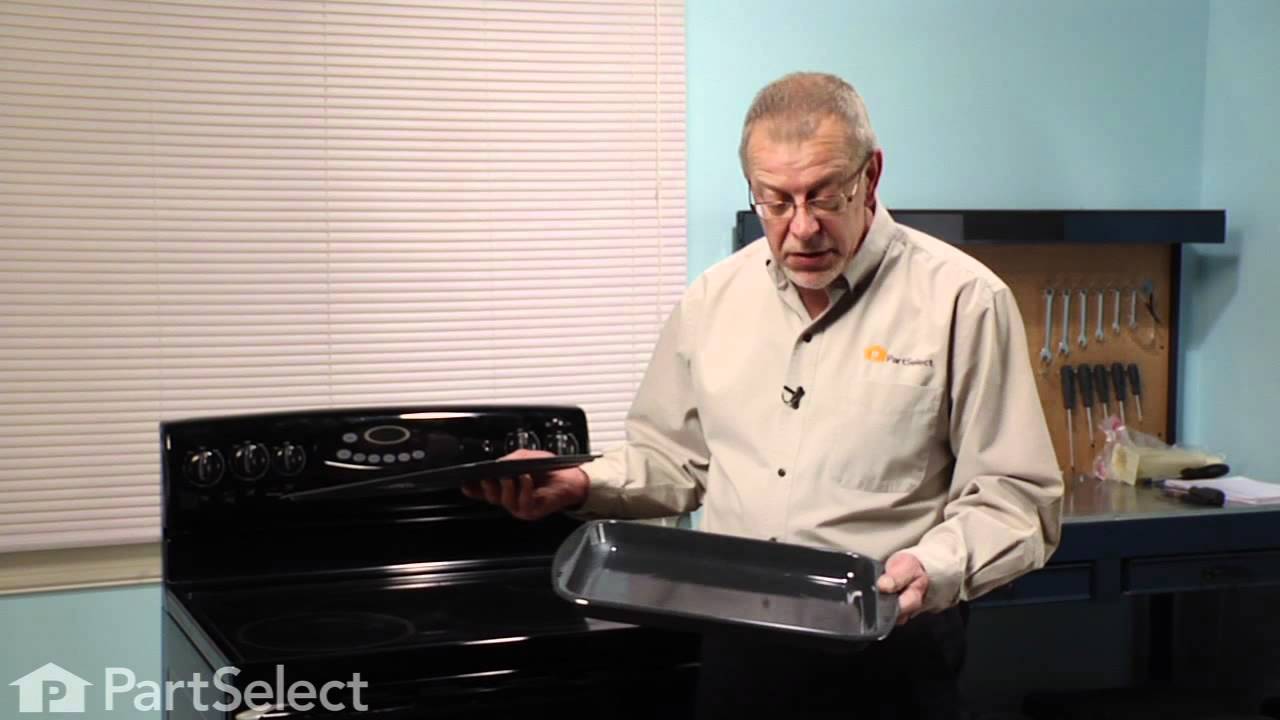
2 Piece Broiler Pan – Part Number: 4396923
$66.88
In Stock
2 Piece Broiler Pan
★★★★★
★★★★★
(2)
Part #4396923
This broiler pan and roasting rack set features a two-piece design that allows fat to drain away for cleaner cooking and reduced splatter. Made with a durable, high-heat resistant porcelain finish, it offers reliable performance and easy cleanup. Measuring approximately 16 3/4 inches long by 12 3/4 inches wide and 1 3/4 inches high, it provides a practical solution for everyday broiling and roasting.
Wire Oven Rack – Part Number: WP314763J
$74.95
In Stock
Wire Oven Rack
Part #WP314763J
This wire oven rack is used on some ovens and ranges. It is twenty-three inches long and it is made of metal.
Double Burner Bowl – Part Number: WP315600B
No Longer Available
Double Burner Bowl
★★★★★
★★★★★
(2)
Part #WP315600B
This black double burner bowl is eighteen inches long and nine and a half inches wide.
Stand Mixer Screw – Part Number: WP4159193
$12.95
In Stock
Stand Mixer Screw
Part #WP4159193
This screw is sold individually.
Range Hex Nut – Part Number: WP488130
$12.05
Special Order
Range Hex Nut
Part #WP488130
Part may differ in appearance, but functions same as original.
Surface Burner Head – Part Number: WP7504P109-60
No Longer Available
Surface Burner Head
Part #WP7504P109-60
Sold individually.
Hinge Kit - Left Side – Part Number: R0706010
No Longer Available
Hinge Kit - Left Side
Part #R0706010
Screw – Part Number: WP693995
$9.85
In Stock
Screw
Part #WP693995

Common Symptoms of the ACS3350AC

How this model fails, and the parts that fix it.

Watch our pros, then fix it yourself.

See how others fixed this model. Time, tools, difficulty, and steps that lead to victory! View More

Search repair tips from other customers using simple keywords like "replace", "fit", "remove", "inspect". DIY doesn't mean you have to do it alone!

Search filter:
Clear Filter
Your search term must have 3 or more characters.
Oven wouldn't heat. Glow ignitor was weak and wouldn't ignite flame.
93 of 102 people found this instruction helpful.
  • John from Niles, MI
  • Easy
  • 15 - 30 mins
  • Screw drivers
After shutting off the gas and removing the oven door, which simply slid off of the hinges, I removed the oven plate. The ignitor was attached to the manifold. I removed that and noted the wires were attached back behind a hole in the back of the oven. I thought I would have to access them from the back but when I pulled on them I was able to reach them from the front. I was surprised to find plastic lugs covering the wire ends, rather than ceramic. I attached the new ignitor wires and reused the plastic lugs, as no ceramic ones came with the new ignitor. I carefully slid the new ignitor back into the cage/shield attached to the manifold and replaced the manifold. I then turned the gas back on and tested the ignitor (which worked perfectly) before replacing the oven plate. The repair took less than 30 minutes, but my wife and I thoroughly cleaned the door and interior while we had it apart. The hardest part was getting the door back on the hinges, but this too was accomplished after several attempts. The oven heats up beautifully now.
Was this helpful?
Thank you for voting!
Oven not working but broiler was working fine.
75 of 89 people found this instruction helpful.
  • mark from macomb, MI
  • A Bit Difficult
  • 15 - 30 mins
  • Nutdriver
Checked lower oven burner for a problem. Oven Ignitor looked like it was glowing and working properly but the gas valve would not open to let the gas flow to burner. I had read on a forum that just because the oven ignitor looks good does not mean it is creating the proper resistance to open the gas valve. So I took my chances and replace d the ignitor (because it was cheaper than the gas valve) and now the oven works like new.
Was this helpful?
Thank you for voting!
several grate pads fell out/lost /broke during cleaning
61 of 67 people found this instruction helpful.
  • Sabrina from Mooresville, NC
  • Really Easy
  • Less than 15 mins
The only real issue was locating the proper adhesive to ensure that the new pads would not fall out. The small insert paper slip in the package noted that a RTV adhesive should be used. After much searching at the home improvement super store, I learned it would be found at an auto supply store. It is black, and is for high temp use. It i s available in a small tube for around $2.00. The RTV is usually used to make gaskets for heat/oil exposure in auto repair. I did have trouble removing a broken stub from a pad that had broken off in the hole. I used an awl to get what I could and push the rest into the hole deeper, then insert a new pad with along with the adhesive.
Was this helpful?
Thank you for voting!