


 My Orders


A8241RT-L Admiral Cooktop - Overview
Diagrams for A8241RT-L
See every part. Know exactly what you need.


Enter a part description. DIY Heroes keep it simple, eg. "belt" or "pump".
Search filter:
Clear Filter
Your search term must have 3 or more characters.

$35.81
In Stock

$30.40
In Stock
Screw
Part #W11233072
This is a multi-use and multi-appliance screw. It can be used on a microwave, refrigerator, range/oven, air conditioner, dehumidifier, washer, or dryer. The measurements of this screw are 8 x 1/2 inch. It has 6 threads. Refer to the manual provided by the manufacturer for further information on repair and accurate guidance. Remember to wear work gloves as a safety precaution.

$135.34
In Stock
Burner Head Cap with Spark Electrode
Part #WP3412D024-09
This is a black burner head with the spark electrode.
NOTE: This part has been updated and there is no longer a gasket seal required.

$144.52
In Stock
Spark Module - Oven
Part #8215557
This part sends enough current to the igniter to create a spark to the bottom of the burner cap.

$37.35
In Stock
Range Top Burner Knob (Black)
Part #WP74001253
This top burner knob is just over two inches in diameter. It is black in color and is made of plastic. This knob has white lettering denoting the off, low, light, and high positions. It also has a red indicator line and a line of decorative red flames of various sized denoting the temperature level. This knob will accept a 'D' shaped shaft.

$111.31
On Order

$10.41
In Stock

$9.88
Special Order
Valve Screw
Part #W10491986
Part might differ in appearance, but functions same as original. Sold individually.

No Longer Available
Power Cord
Part #12400044

No Longer Available
DISCONTINUED
Part #7720P146-60

$173.21
Special Order
No Longer Available
USE WPL 12001209
Part #5125A234-60
Common Symptoms of the A8241RT-L
How this model fails, and the parts that fix it.
Will Not Start
Fixed by
these parts
these parts


Show All
Gas igniter glows, but will not light
Fixed by
these parts
these parts
Show All
Element will not heat
Fixed by
these parts
these parts
Show All
Gas smell
Fixed by
these parts
these parts
Show All
Watch our pros, then fix it yourself.
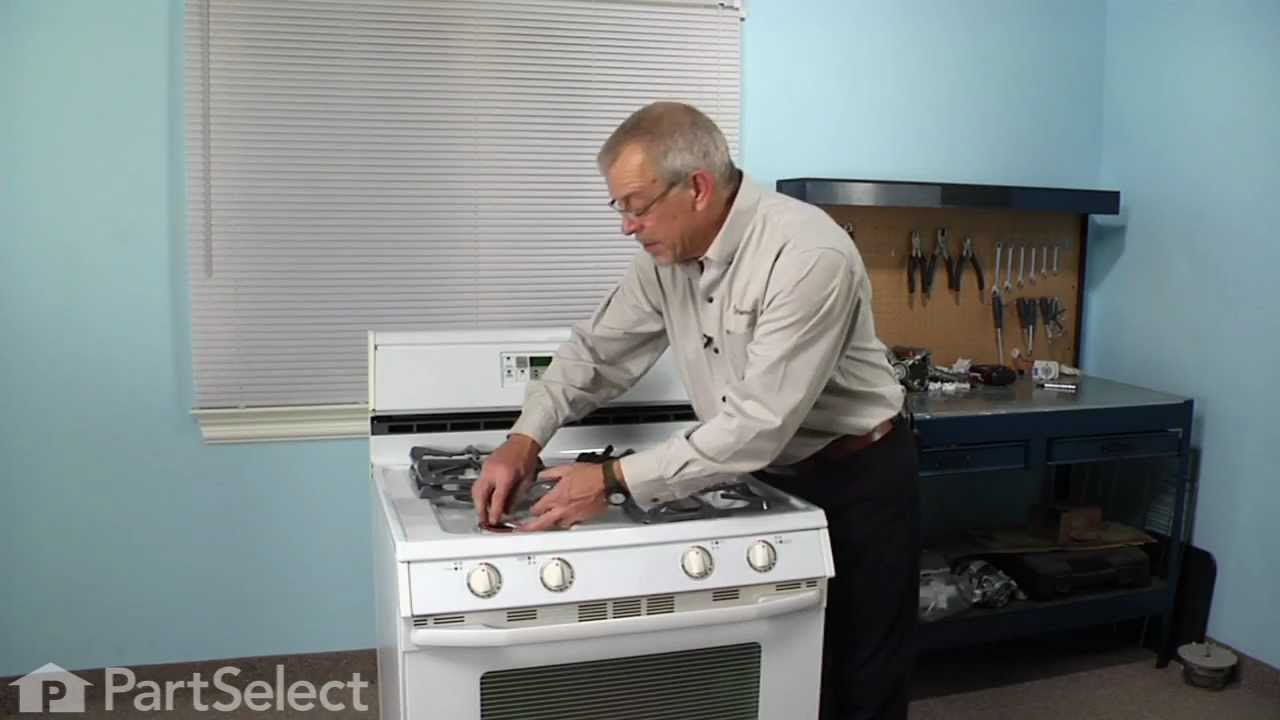
See how others fixed this model. Time, tools, difficulty, and steps that lead to victory!
View More