


 My Orders


91143475890 Kenmore Cooktop - Overview
Diagrams for 91143475890
See every part. Know exactly what you need.

Enter a part description. DIY Heroes keep it simple, eg. "belt" or "pump".
Search filter:
Clear Filter
Your search term must have 3 or more characters.

$21.95
Special Order
Drip Bowl - 6"
Part #WB31K5024
This is a drip bowl for your range or cooktop. The drip bowl sits beneath the burner of an electric range and collects any spills that occur while cooking. The bowl is 6 inches in diameter and represents the smaller burner for your range. This product is sold individually and is an authentic OEM part sourced directly from the manufacturer.

$91.36
Special Order
Surface Burner Terminal Block Kit
Part #WB17X210
This kit comes with the terminal block, mounting clip and wires.

$20.95
Special Order
Drip Bowl - 8 Inch
Part #WB31K5025

$67.38
Special Order
Range Indicator Light
Part #WB25X10024

No Longer Available
Infinite Control
Part #WB23K5043

No Longer Available
INFINITE CONTROL-1400W
Part #WB23K5042

No Longer Available

No Longer Available
INF KNOB (AD)
Part #WB03T10038
No Longer Available
KNOB (WHT)
Part #WB03T10037
No Longer Available
KNOB INF (BLACK)
Part #WB03T10039
No Longer Available
KNOB INF (BQ)
Part #WB03T10185
No Longer Available
MAIN TOP WIRE HARNESS
Part #WB18K5429
Common Symptoms of the 91143475890
How this model fails, and the parts that fix it.

Watch our pros, then fix it yourself.
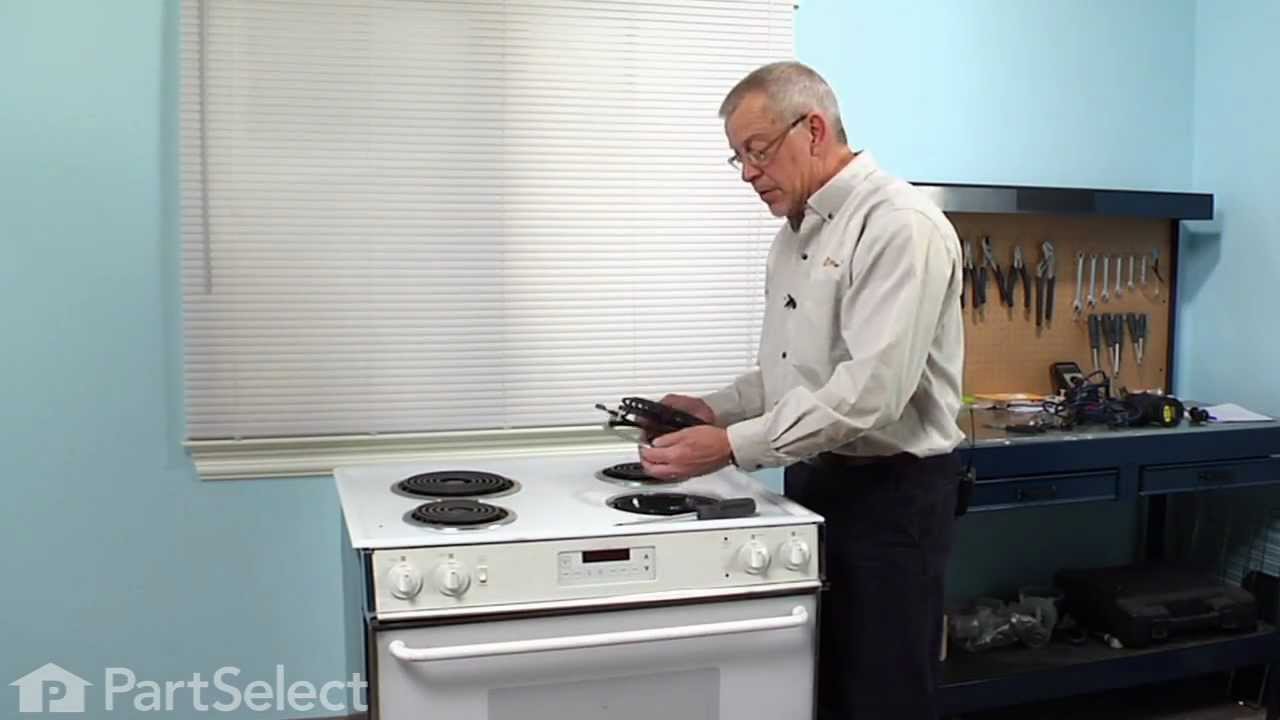
See how others fixed this model. Time, tools, difficulty, and steps that lead to victory!
View More
Search repair tips from other customers using simple keywords like "replace", "fit", "remove", "inspect". DIY doesn't mean you have to do it alone!
Search filter:
Clear Filter
Your search term must have 3 or more characters.
Previous home owners replaced 3 drip bowls with wrong style
3 of 4 people
found this instruction helpful.
I removed the heating elements and the drip bowls (wrong style). I then positioned the correct drip bowls on the stove and reinserted the heating elements. I snapped the heating coils into the small slots on the far side of the bowls to make sure that the heating elements would lay flat.
The whole process took less than 2 minutes.
The whole process took less than 2 minutes.
Other Parts Used:


Was this helpful?
Thank you for voting!