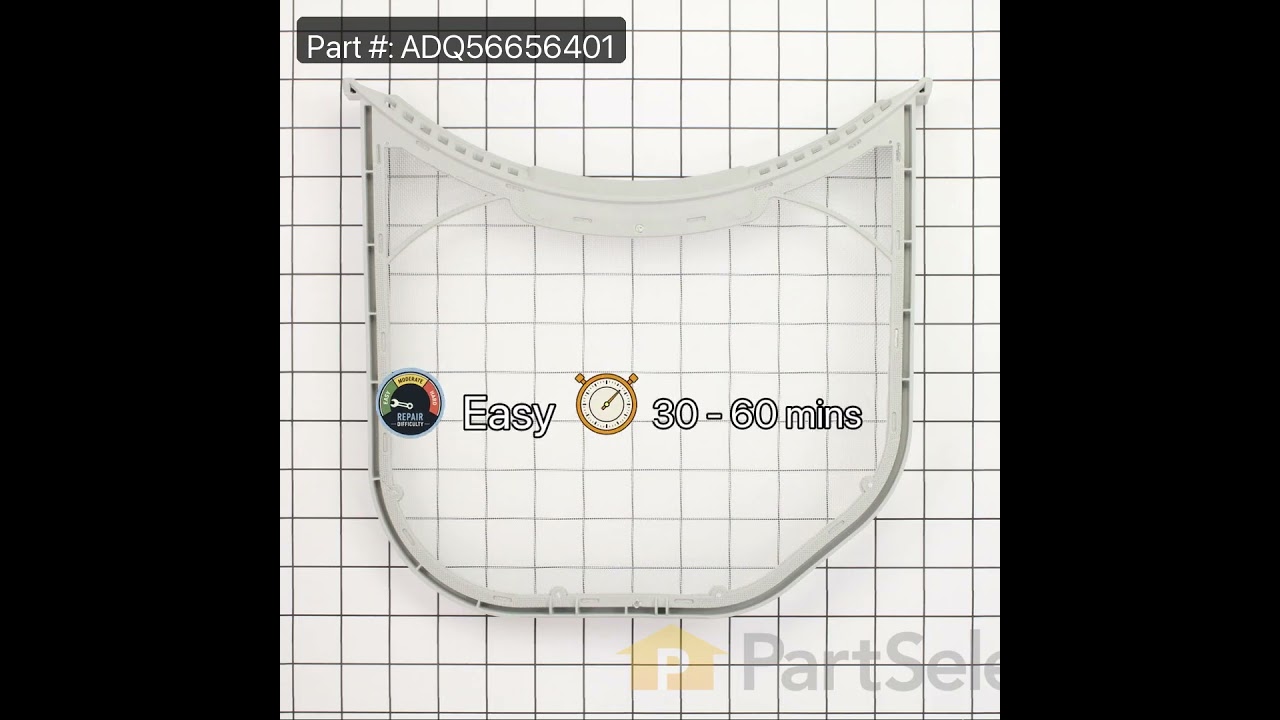
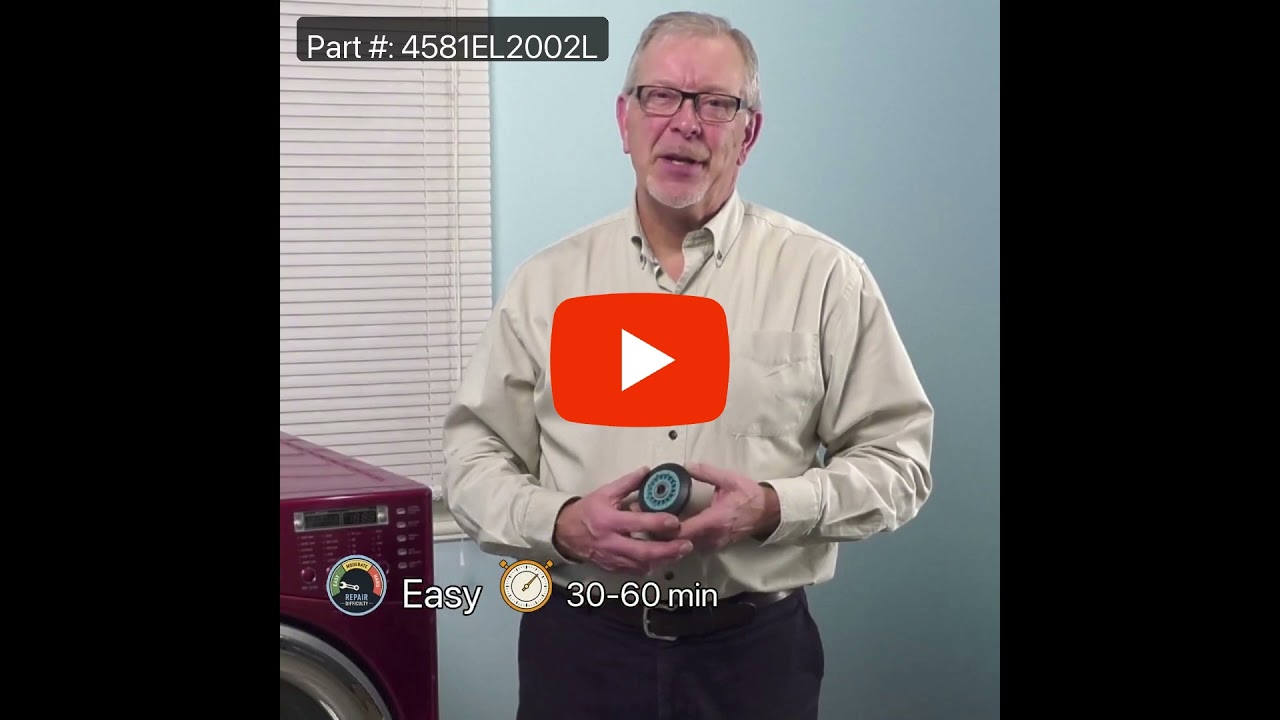
The drum support roller for your dryer holds the drum in place while the drum turns on the support wheels. The drum roller is round with a bearing in the middle and measures approximately 3 inches in diameter. If the dryer is noisy, won’t tumble, or takes too long to dry, you might need to replace the support roller. It is recommended tha...Read moret you replace both rollers at once. The bearing inside this roller is self-lubricating, so no grease will be required. Please remember to disconnect the power to your appliance before starting your repair. This is a genuine OEM part.
Ask our experts a question about this model and we'll get back to you as soon as possible!
We may have answered a similar question already! Search questions and answers left by others using simple keywords like "fit", "broken", "easy", or "quality" to find questions that match.
Search filter:
Clear Filter
Your search term must have 3 or more characters.
Sort by:
Prev
1
2
3
Next
Sorry, we couldn't find any existing answers that matched.Try using some different or simpler keywords, or submit your new question by using the "Ask a Question" button above!
Michael - For model number 79681182310
July 28, 2021
When I turn the dryer on it seems to light up on the control panel properly, however there are some problems.1. After selecting the drying mode the time display still flashes and the mode light turns off after the start button is pushed. 2. If the dry level buttons are pushed then the time dry lights advance
3. when other selectors are pushed then the time lights advance. It would seem that one of the control cars is bad. What would you suggest
Hello Michael, Thank you for the question. Normally this is an indication the Main PCB Board needs to be replaced. We hope this helps!
It heats up for about 5 minutes then it goes to cool down but the clothes are still wet
Hi John, thank you for reaching out. We would suggest checking the moisture sensor bar, part number PS3529161. You may need to replace it to fix the issue. We hope this sorts out your problem!
Hello. I did two loads of laundry just fine. Then on the third load the dryer decided to give me problems. The dryer turns on, the motor engages, but the drum will not spin. If I manually try to turn the drum, it takes effort to make it spin. I would appreciate any assistance on diagnosing the problem. Thank you so much.
Hi Freda, thank you for reaching out. Check the belt for signs of wear or damage. If it is fine, the issue could be with the idler pulley, part number PS3523032. It helps to tension the drive belt. If it is not functioning properly, it can prevent the drum from spinning. You may need to replace it to fix the issue. We hope this solves your problem!
Dryer will not turn on . It has power because the light inside dryer comes on when the door is open. Unplugged for 60 seconds and plugged back in and did not help.
Hello Charles, thank you for your question. We suggest replacing the Thermal Fuse PS3530485. The next most common issue would be a defective Door Switch PS3529308. If either the thermal fuse or the door switch has blown, the dryer will not start. We are pleased to have been able to help.
Hello and thank you for writing.
It certainly sounds like it could be a faulty thermal fuse PS3530485 and/or possibly a faulty door switch PS3529308, you should check the part(s) for signs of damage, and replace as necessary. We hope this helps. Please contact us anytime if you require further assistance.
See how others fixed this model. Time, tools, difficulty, and steps that lead to victory!View More
Search repair tips from other customers using simple keywords like "replace", "fit", "remove", "inspect". DIY doesn't mean you have to do it alone!
Search filter:
Clear Filter
Your search term must have 3 or more characters.
Dryer making a thumping and squealing noise when running
132 of 171 peoplefound this instruction helpful.
Mark from WAVERLY, OH
Easy
30 - 60 mins
Screw drivers, Wrench (Adjustable), Wrench set
Had to replace front drum support rollers. Removed screws underneath top in back that held bracket that keeps top in place. Slid top towards rear and lifted up. Removed 4 screws that hold plastic front panel in place (inside..2 on each corner) Unplugged front panel electric plugs to remove panel. Opened door..removed 2 screws at bottom of
... Read more door opening. Removed screws on top of front panel. Unplugged door switch plug. Removed front panel. Removed right front roller with 9/16th wrench for nut. Adjustable for back of stud. Lifted up on drum to get roller out. Reversed to install. Left roller a bit harder to get to stud. Removed and installed same as right side. Did not attempt to replace rear rollers. Have them if needed but very much more involved to replace.
Read less
Was this helpful?
Thank you for voting!
Dryer would run with no heat
98 of 116 peoplefound this instruction helpful.
Richard from ORMOND BEACH, FL
Easy
30 - 60 mins
Screw drivers
I actually went to mr fix it on u tube. Great instruction on how to take dryer apart. First I unplugged the dryer. I found I could reach the heating system by removing the lint tube in the back of the dryer. I put my I phone with the light on inside the back of the dryer and tested the connections to see if all were working. The thermal f
... Read moreuse was not working. I removed the two wires , red on top and white on the bottom. Then used a small Phillips screwdriver to remove the two mounting screws and removed the fuse. I then used a vacuum to clear any lint from the back of the dryer and inside the dryer. This took me about an hour and a half. I did it this way because I did not want to disassemble the entire dryer to get to the components. I received the fuse in 3 days and tested it. It was fine. I then put it in the dryer screwed it in place, connected the wires. Replaced the lint tube. This took about 10 minutes. Dryer is running great.
Read less
Was this helpful?
Thank you for voting!
Screeching during operation
66 of 101 peoplefound this instruction helpful.
CAROL from NAMPA, ID
Really Easy
More than 2 hours
Pliers, Screw drivers
Found disassembly video and watched several times. Suspected that one of the drum wheels had seized up. Found extreme volume of lint and hair inside unit as well as a dryer sheet melted on top of heating unit. Front left drum wheel was worn down from lint and hair jamming its movement. Video made it easy, not a really complicated piec
... Read moree of machinery. Replaced all 4 wheels due to normal wear on other three. Wanted to be sure drum evenly balanced on all 4. Parts came quickly and were easy to install. My sister and I did this together. Would not recommend doing it alone. Took time to vac and wipe down entire unit. Now it runs so quiet we have to look to see if it is operating. Got a brand new machine out of it, saved a couple of hundred dollars in repair bills, and found 11 cents inside the machine. For your own piece of mind, if you have had your dryer for several years, you need to open it up and clean it out. Its not hard... added note, we are both in our 60's... so if we can do it so can you.... Such a feeling of accomplishment, can't buy that in a store....



 My Orders