


 My Orders


79571033011 Kenmore Refrigerator - Overview

Enter a part description. DIY Heroes keep it simple, eg. "belt" or "pump".
Search filter:
Clear Filter
Your search term must have 3 or more characters.

$32.95
In Stock

$58.25
In Stock
Crisper Shelf Glass
Part #MHL42613217
This crisper shelf glass is a genuine replacement component designed to fit over the crisper drawers in side-by-side refrigerators. Made from durable tempered glass it provides a stable and transparent surface for organizing food and beverages while enhancing visibility within the fresh food compartment. The shelf helps maximize usable sp...Read moreace and supports the weight of various items without bowing or cracking. It serves as a direct replacement for broken chipped or warped shelves restoring both function and appearance. Installation is simple and requires no tools. Always verify compatibility with your specific refrigerator model before replacement.
Read less

$246.72
In Stock
Water Inlet Valve Assembly
Part #AJU72992601
This includes the primary and secondary valves along with the wire harness.

$20.85
Special Order

$46.15
In Stock
Refrigerator Door Switch
Part #6600JB1010A
This door switch is used in refrigerators. It is activated by the closing and opening of the door

$13.15
In Stock
Handle Screw
Part #MJB63190001
This handle screw, also known as a mounting bolt, is a mounting screw to help secure the door handle to your refrigerator door. If your handle is loose, you may just need to tighten the screw. If your screw is missing or broken, it may need to be replaced. There are multiple handle screws on your fridge, please consider ordering extra as ...Read morethey commonly wear at the same rate. This is about 1 inch long and metallic in color.
Read less

$40.65
In Stock
Ice Water Tube Assembly
Part #AJR56656503

$481.60
In Stock
Ice maker Assembly Kit
Part #AEQ72910409
This is an ice maker assembly kit designed for use within LG refrigerator-freezers. Ice makers are made to pull water from the water line, freeze it, and then store it in the form of cubes to be dispensed or crushed, depending on your preference and the model of the refrigerator. This assembly comes with the entire ice-making assembly, no...Read moret the portion that stores and dispenses the ice cubes from the dispenser. If your current ice maker is simply not making enough ice or any at all, or is broken or damaged in any way, it must be replaced. This ice maker assembly is made entirely of durable white plastic and connects via its single wire harness and features an on/off switch that needs to be turned on for it to function. This assembly is sold individually and does not come with any other ice maker parts.
Read less

$216.10
In Stock
Evaporator Fan Motor
Part #4681JB1027C
This 13-volt evaporator fan motor helps circulate air over the refrigerator coils. These coils will then convert the heat into cool air, which is then circulated from the freezer section to the fresh food section. If the fresh food section is too warm or the motor has failed, you will need to replace the evaporator fan motor. It is sugges...Read moreted to replace the thermistor when replacing the evaporator fan. The fan motor is in the freezer section of the refrigerator, and includes the harness and plug. Please remember to disconnect the power to the refrigerator before starting your repair. This is a genuine OEM part.
Read less

$97.71
In Stock
Secondary Water Inlet Valve
Part #MJX41869202
This valve helps your fridge deliver water to the ice maker and dispenser. If you’re not getting ice, the dispenser isn’t working, or you hear strange noises, this part might be the fix. It’s easy to install—just make sure it fits your model and turn off the power and water before replacing.

$105.79
In Stock

$100.97
In Stock
Refrigerator Door Bin
Part #AAP73051302
This door bin is for refrigerators. Door bin attaches to the inside of the refrigerator door and mostly holds jars and bottles.
Common Symptoms of the 79571033011
How this model fails, and the parts that fix it.
Leaking
Fixed by
these parts
these parts


Show All
Light not working
Fixed by
these parts
these parts

Show All
Door won’t open or close
Fixed by
these parts
these parts


Show All
Not dispensing water
Fixed by
these parts
these parts
Show All
Ice maker not making ice
Fixed by
these parts
these parts

Show All
Noisy
Fixed by
these parts
these parts

Show All
Fridge too warm
Fixed by
these parts
these parts
Show All
Door Sweating
Fixed by
these parts
these parts


Show All
Freezer not defrosting
Fixed by
these parts
these parts

Show All
Ice maker won’t dispense ice
Fixed by
these parts
these parts
Show All
Fridge and Freezer are too warm
Fixed by
these parts
these parts
Show All
Watch our pros, then fix it yourself.
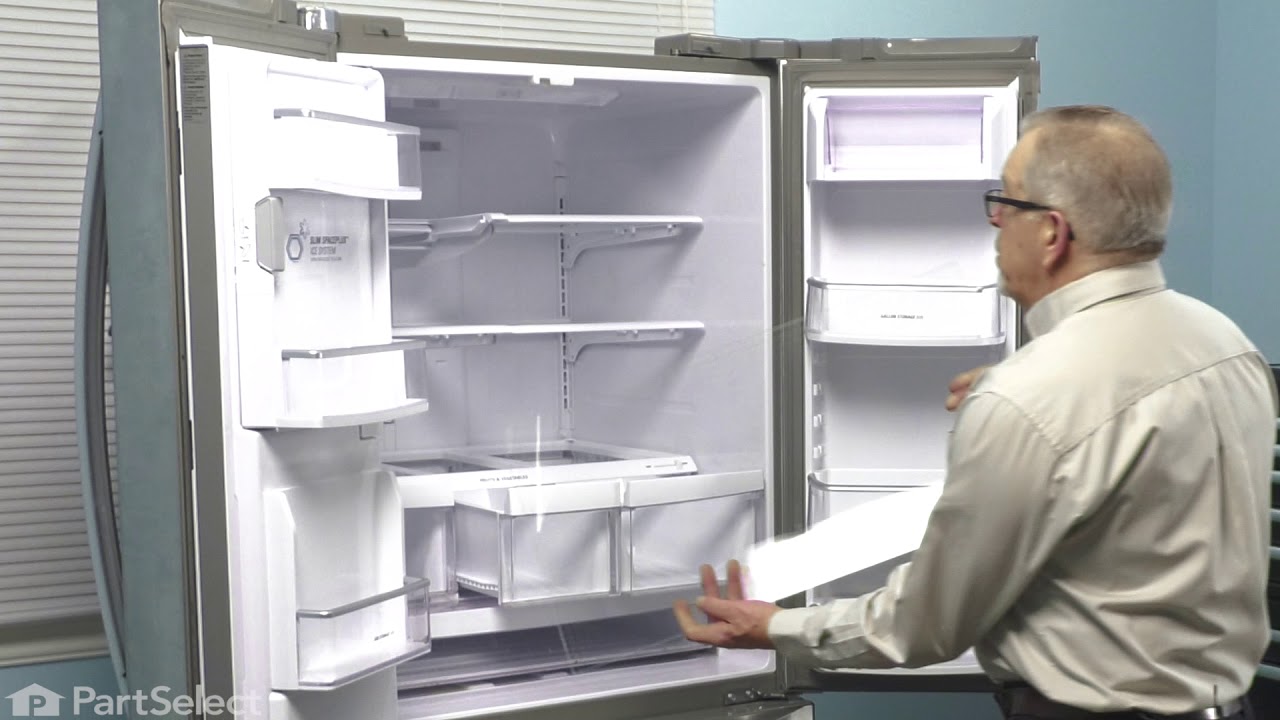
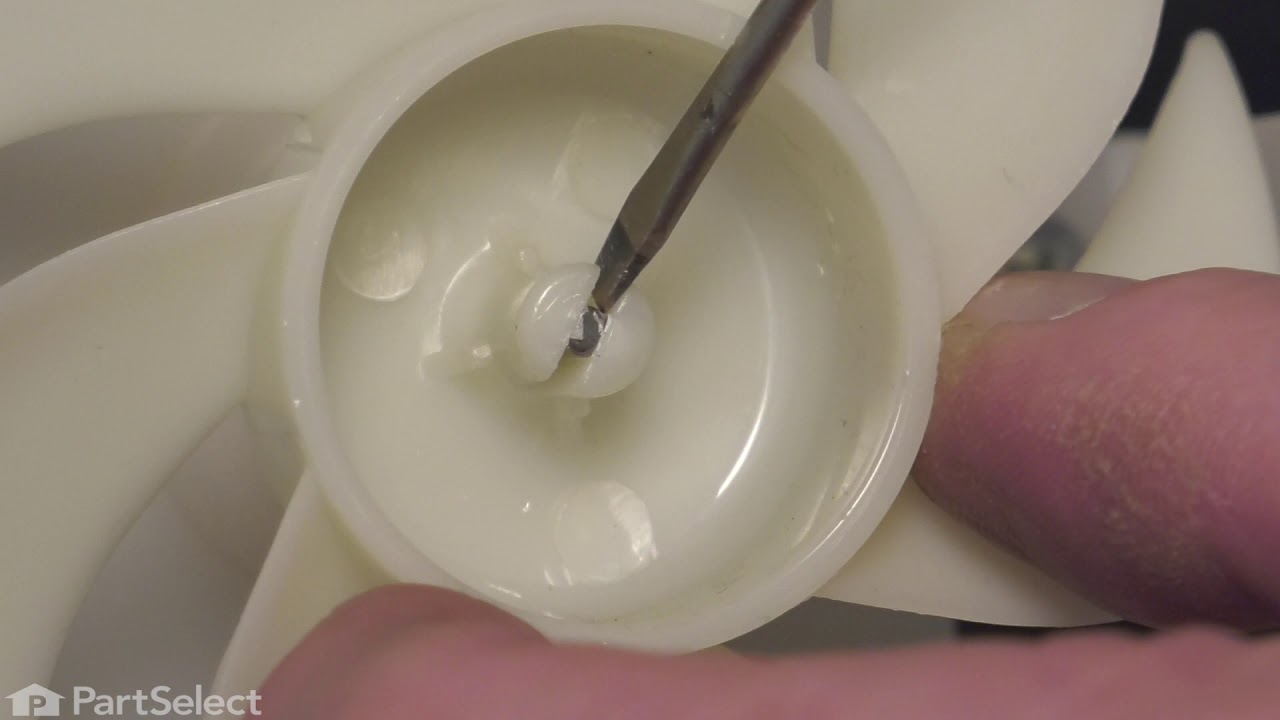
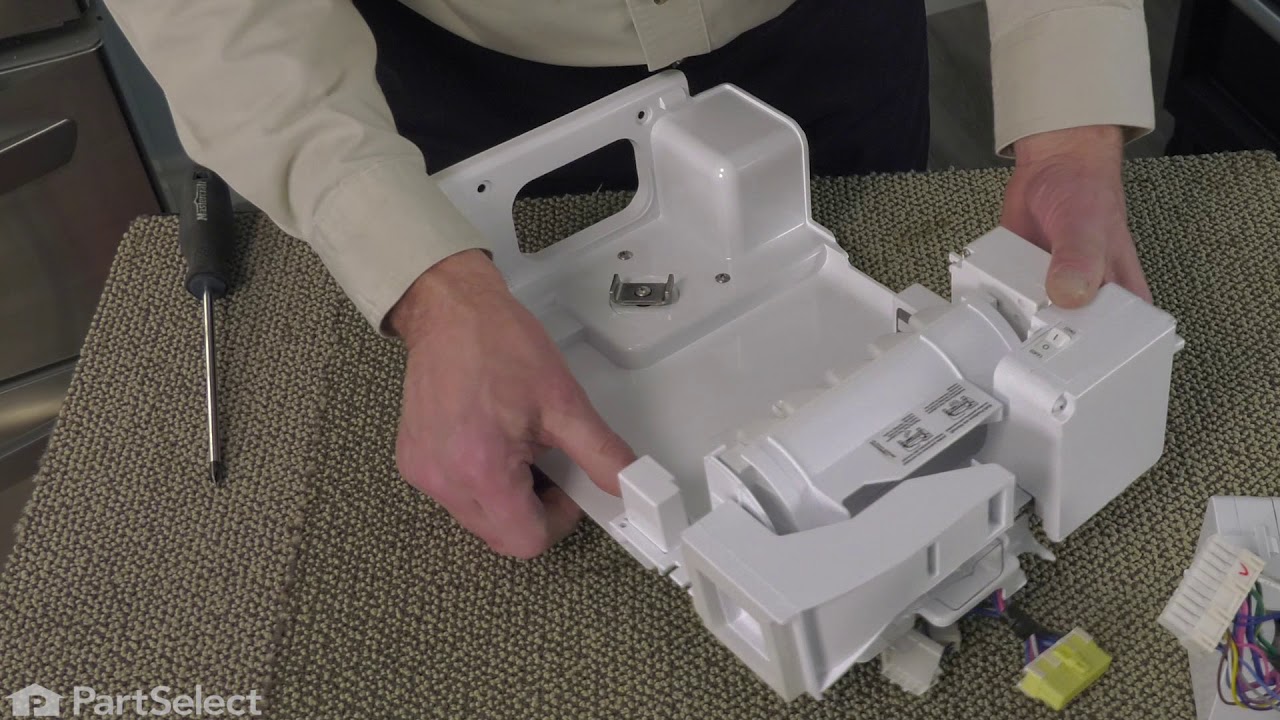
See how others fixed this model. Time, tools, difficulty, and steps that lead to victory!
View More