


 My Orders


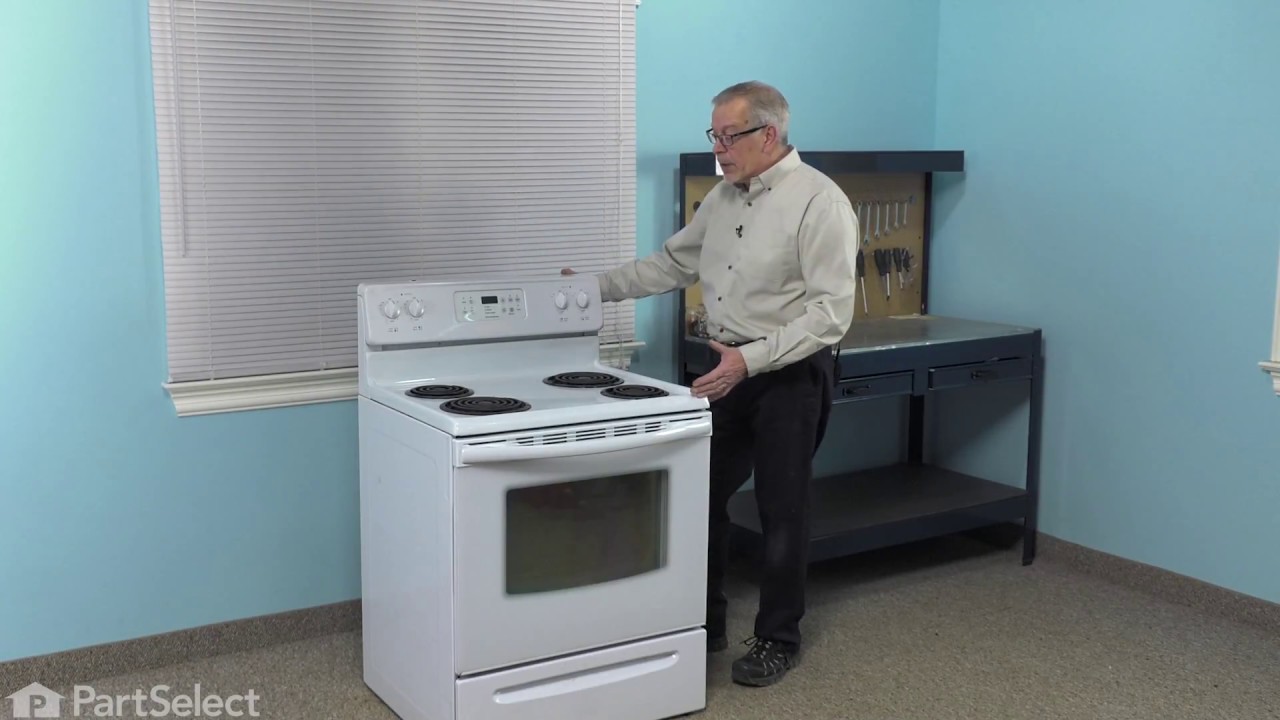
79071363708 Kenmore Range - Overview
Diagrams for 79071363708
See every part. Know exactly what you need.

Enter a part description. DIY Heroes keep it simple, eg. "belt" or "pump".
Search filter:
Clear Filter
Your search term must have 3 or more characters.

$83.52
In Stock
Temperature Sensor
Part #316490000
The temperature sensor, also known as an oven probe, detects the temperature within the oven cavity. This temperature sensor is 9 inches in length and is a genuine OEM part. If your oven is too hot, not heating evenly, or has little to no heat when baking, you may need to replace the temperature sensor. Please make sure to disconnect the power to your range before starting your repair.

$32.01
In Stock
Handle Mounting Screw
Part #316433300
This handle mounting screw works with your oven or range, and bolts the door handle to the door. It is approximately 2 inches in length and is an OEM part sourced directly from the manufacturer. If your oven door will not close or your door handle is loose or disconnected, you may need to tighten or replace the handle mounting screw.

$176.87
In Stock
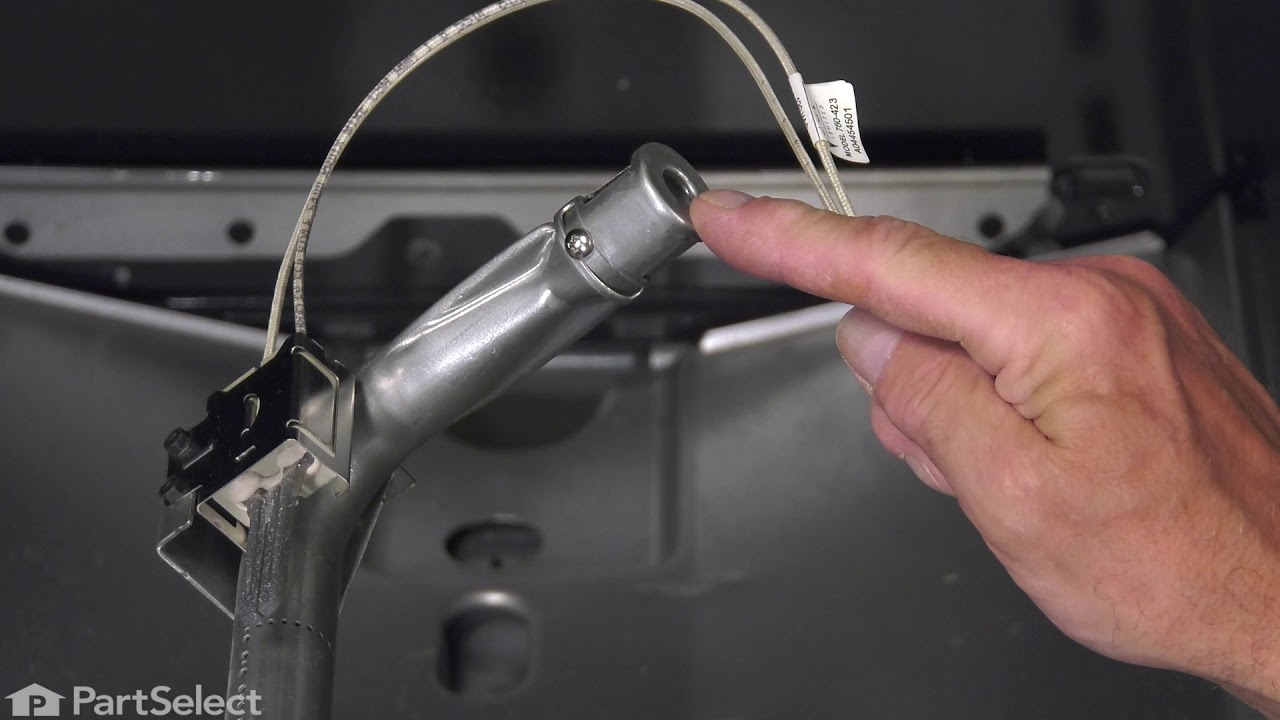
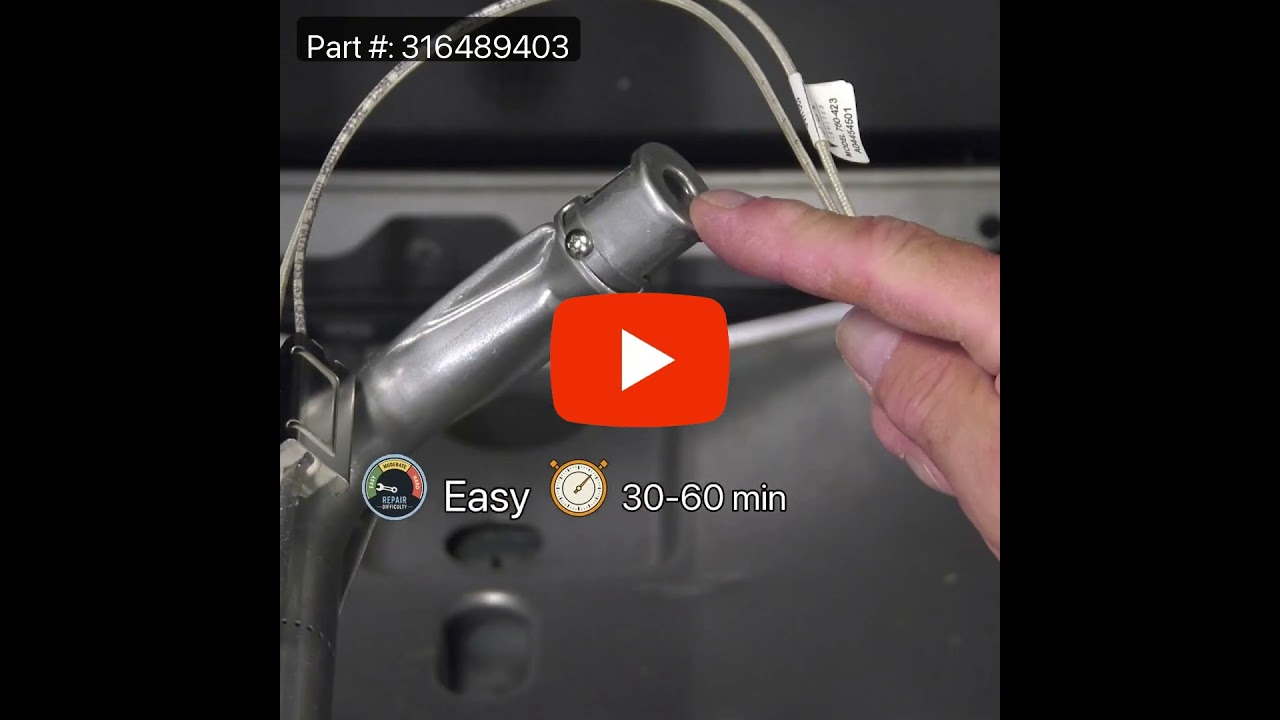
Oven Igniter
Part #316489403
This part has a long wire harness. This part ignites the gas to light the oven burner. The wire length is approximately 14 inches long.

$35.95
In Stock
Light Bulb
Part #316538904
This 40-watt appliance light bulb is a reliable replacement for use in select ranges, refrigerators, freezers, and microwaves. It provides bright, consistent lighting to help you see clearly inside your appliance. Installation is simple—just unscrew the old bulb and replace it with the new one. If the existing bulb is broken, disconnect p...Read moreower and use needle-nose pliers to safely remove the remaining base. Sold individually, this bulb is a commonly replaced part—consider keeping a spare on hand.
Read less

$34.95
In Stock

$135.91
In Stock

$105.07
In Stock
Oven Rack
Part #316496201
This is a replacement rack for your oven. The oven rack fits into grooves on the side of the oven wall, and acts as a shelf that you can place food items on when you want to cook them in the oven. This rack is 24 inches wide and 16 inches long, and is chrome in color. Occasionally, the rack will become warped or distressed, or it may be m...Read moreissing from your oven. In these cases, it will need to be replaced. To replace the rack, simply slide out the old rack and replace it with the new one.
Read less

$21.95
In Stock

$75.74
In Stock

$25.95
In Stock
GLIDE
Part #807047102
This front drawer glide supports the bottom storage or broil drawer, allowing it to slide smoothly in and out of the range. Designed to reduce friction and keep the drawer properly aligned, it helps ensure easy and stable operation. Replacing a worn or damaged glide can fix issues such as sticking, tilting, or uneven movement, restoring normal drawer function.

$17.55
In Stock
Leveling Leg Assembly
Part #5304509869
Sold Individually. These legs should be adjusted to make your appliance level on uneven flooring.

No Longer Available
Sealed Burner Head - 14k
Part #316223400
Manuals & Care Guides for 79071363708
Click to downloadInstall
Installation Instructions
(0.62MB)
Install
Installation Instructions
(2.05MB)
Manual
Owner's Manuals
(4.82MB)
Common Symptoms of the 79071363708
How this model fails, and the parts that fix it.
Little to no heat when baking
Fixed by
these parts
these parts


Show All
Oven is too hot
Fixed by
these parts
these parts
Show All
Gas igniter glows, but will not light
Fixed by
these parts
these parts


Show All
Will Not Start
Fixed by
these parts
these parts

Show All
Oven not heating evenly
Fixed by
these parts
these parts
Show All
Element will not heat
Fixed by
these parts
these parts

Show All
Door won’t close
Fixed by
these parts
these parts


Show All
Gas smell
Fixed by
these parts
these parts
Show All
Door won’t open after self cleaning cycle
Fixed by
these parts
these parts

Show All
Touchpad does not respond
Fixed by
these parts
these parts

Show All
Watch our pros, then fix it yourself.
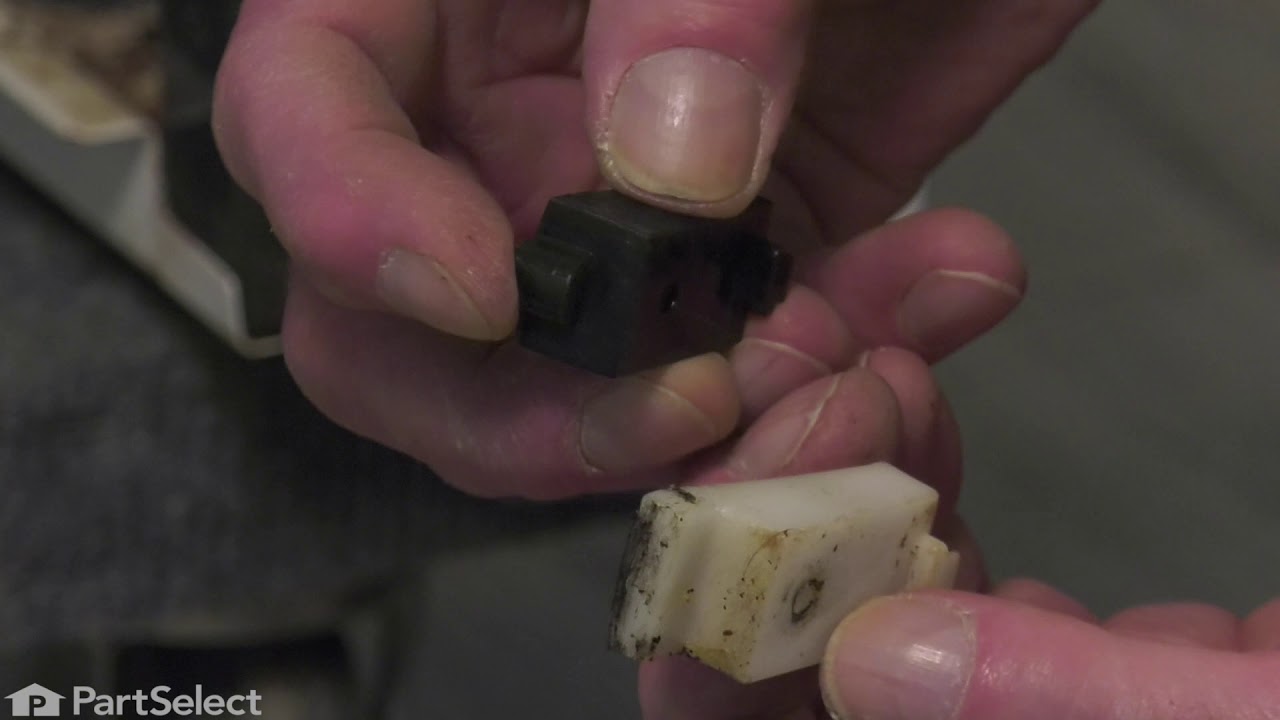
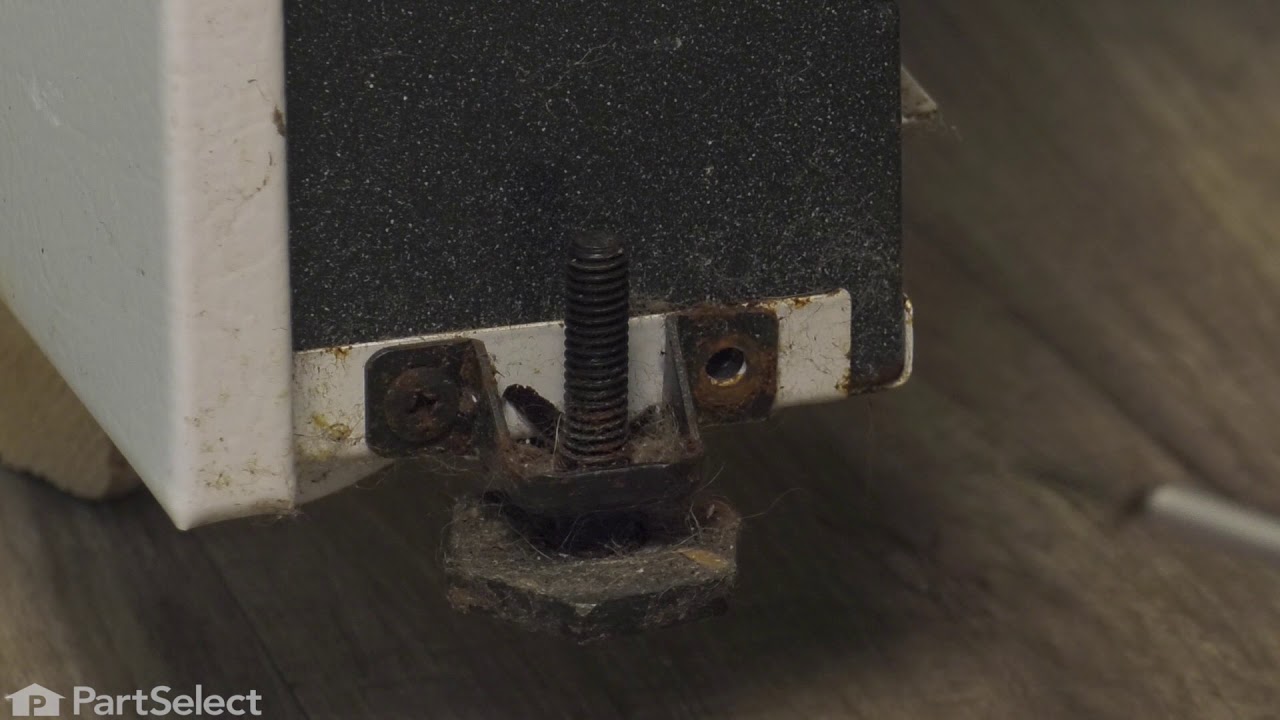
See how others fixed this model. Time, tools, difficulty, and steps that lead to victory!
View More