


 My Orders


79064091308 Kenmore Range - Overview
Diagrams for 79064091308
See every part. Know exactly what you need.

Enter a part description. DIY Heroes keep it simple, eg. "belt" or "pump".
Search filter:
Clear Filter
Your search term must have 3 or more characters.

$19.75
In Stock
Drip Bowl - 8"
Part #316048413
This drip bowl is located beneath the element and catches any spills. It is sold individually and has a diameter of approximately 10 inches.

$35.95
In Stock
Light Bulb
Part #316538904
This 40-watt appliance light bulb is a reliable replacement for use in select ranges, refrigerators, freezers, and microwaves. It provides bright, consistent lighting to help you see clearly inside your appliance. Installation is simple—just unscrew the old bulb and replace it with the new one. If the existing bulb is broken, disconnect p...Read moreower and use needle-nose pliers to safely remove the remaining base. Sold individually, this bulb is a commonly replaced part—consider keeping a spare on hand.
Read less

$75.74
In Stock

$24.58
In Stock
Light Lens Indicator
Part #316557300
This range indicator light lens is designed to cover and protect the appliance’s indicator light, allowing you to easily see when a burner or oven is in use. Made from clear, heat-resistant plastic, it helps shield internal components from grease, moisture, and everyday wear. Replacement is ideal if the original lens is cracked, discolored, or missing, helping restore visibility and maintain safe, reliable operation.

$17.55
In Stock
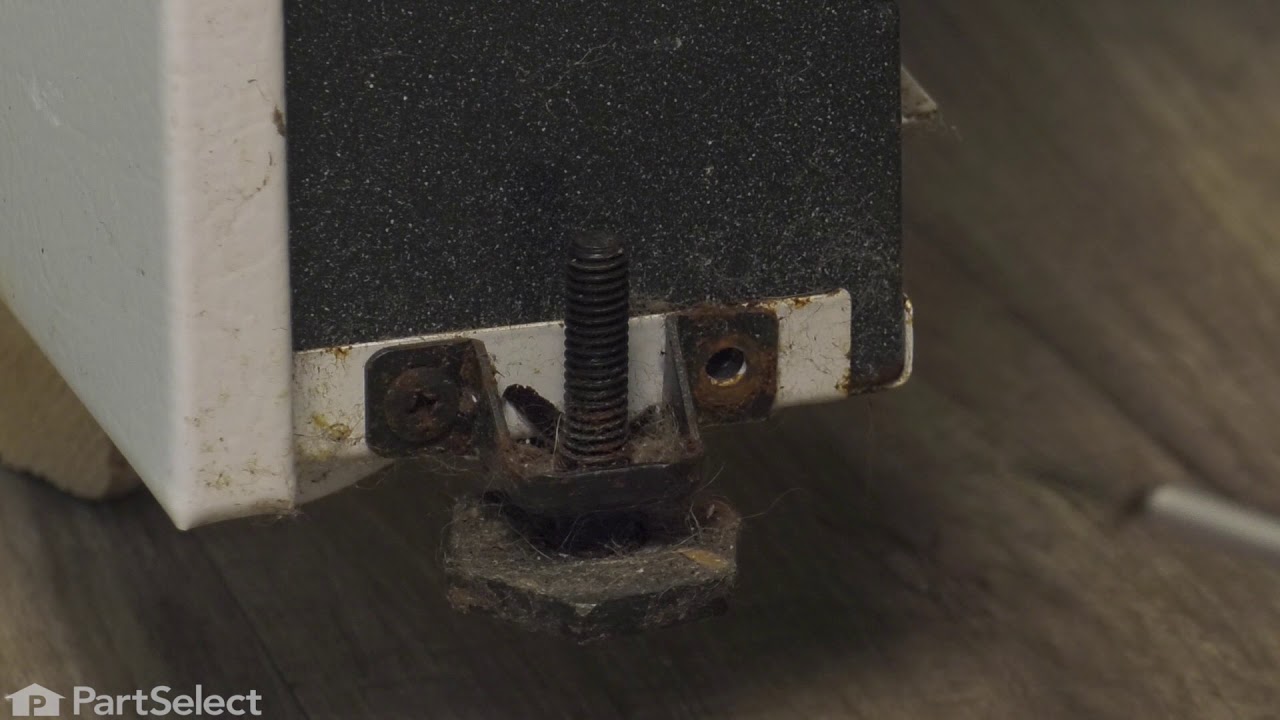
Leveling Leg Assembly
Part #5304509869
Sold Individually. These legs should be adjusted to make your appliance level on uneven flooring.

$183.50
In Stock
Oven Door Seal with Clips
Part #316239700
Designed to maintain a tight seal around your oven door, this gasket helps prevent heat loss during baking and roasting. It plays a key role in keeping the oven’s internal temperature stable, which is essential for even cooking results. The gasket is installed along the door frame and can be replaced by gently removing the old seal and pr...Read moreessing the new one into the existing channel. If you notice heat escaping, longer cooking times, or visible wear on the seal, it’s likely time for a replacement.
Read less

$195.95
Special Order
HANDLE
Part #316545300
his oven door handle is for ranges.
Wear work gloves to protect your hands when installing this part.

$24.95
In Stock

$9.95
In Stock
Screw
Part #5303288565
This is an authentic mounting screw, which works with ranges, wall ovens, cooktops and warming drawers.

$29.95
In Stock

$21.95
Special Order
Thermostat Bulb Clip
Part #5303284616

$29.95
In Stock
Manuals & Care Guides for 79064091308
Click to downloadCommon Symptoms of the 79064091308
How this model fails, and the parts that fix it.


Watch our pros, then fix it yourself.
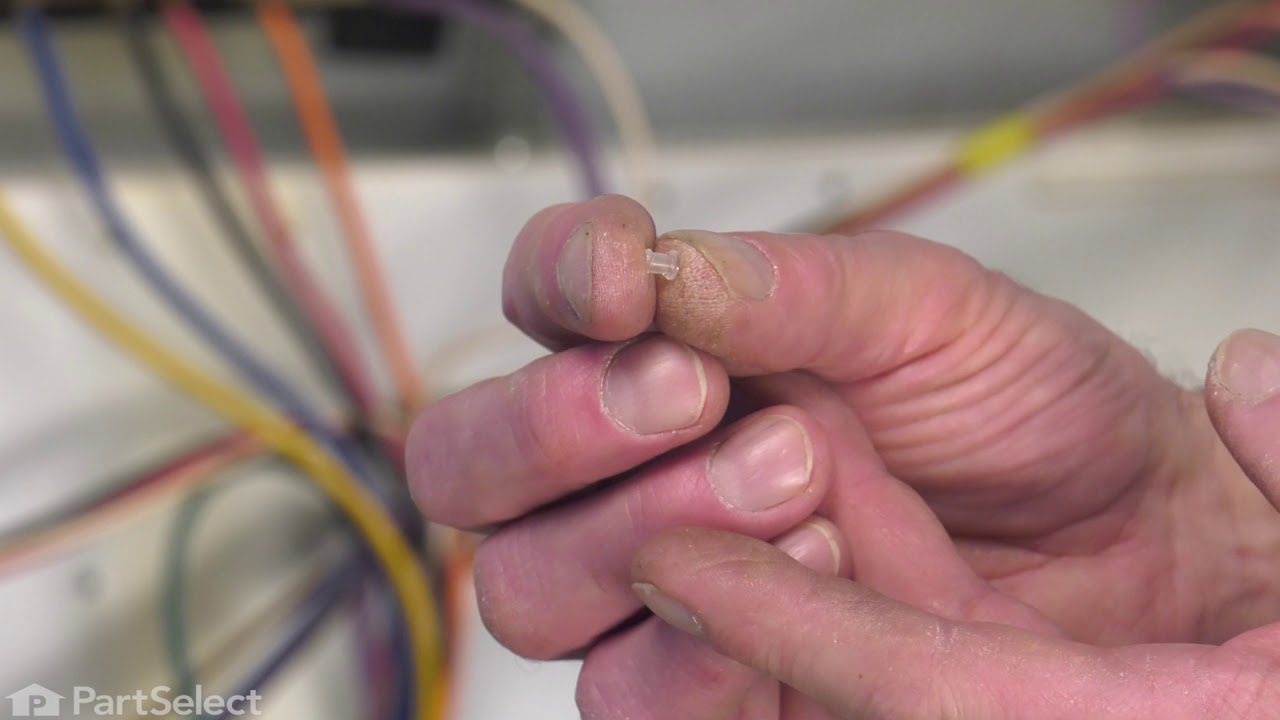
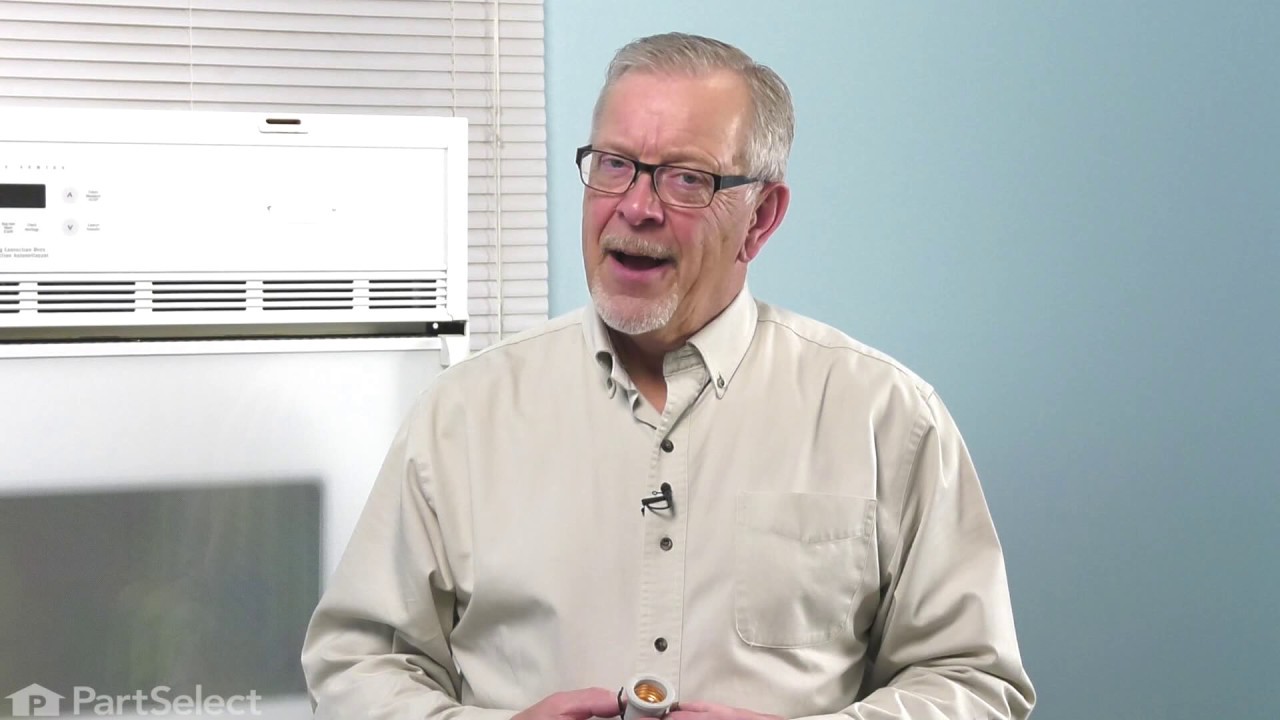
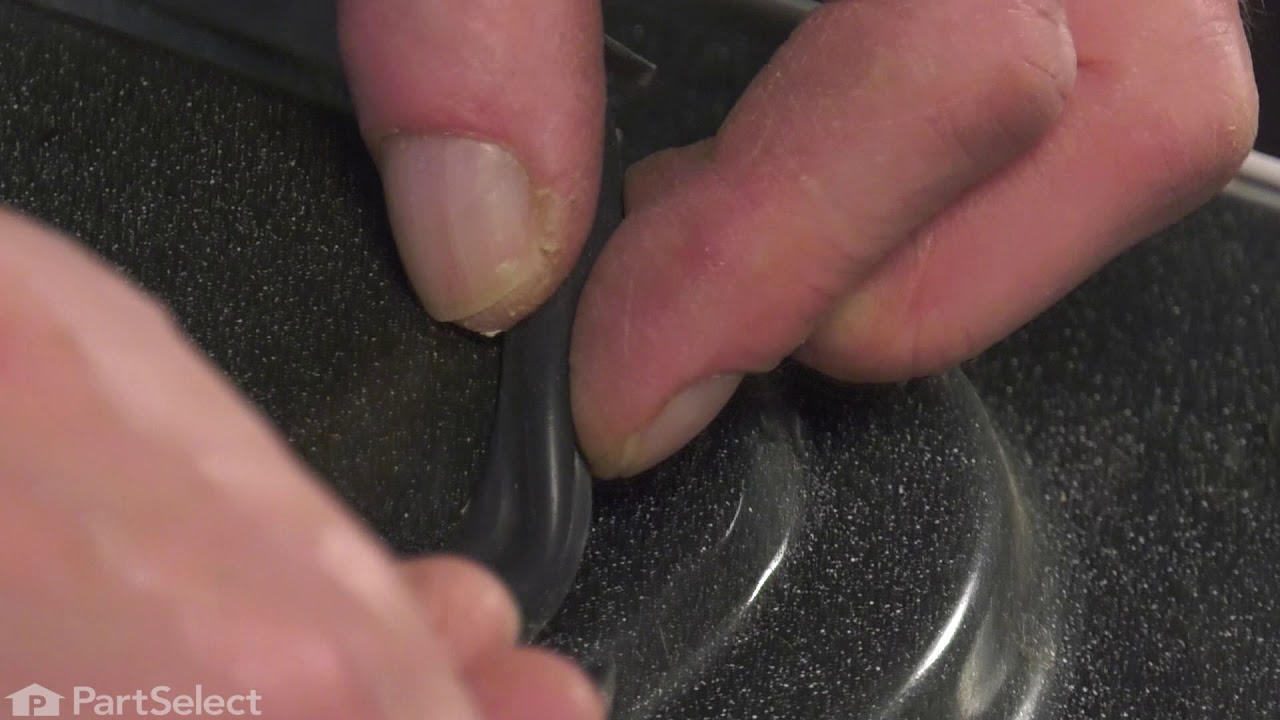
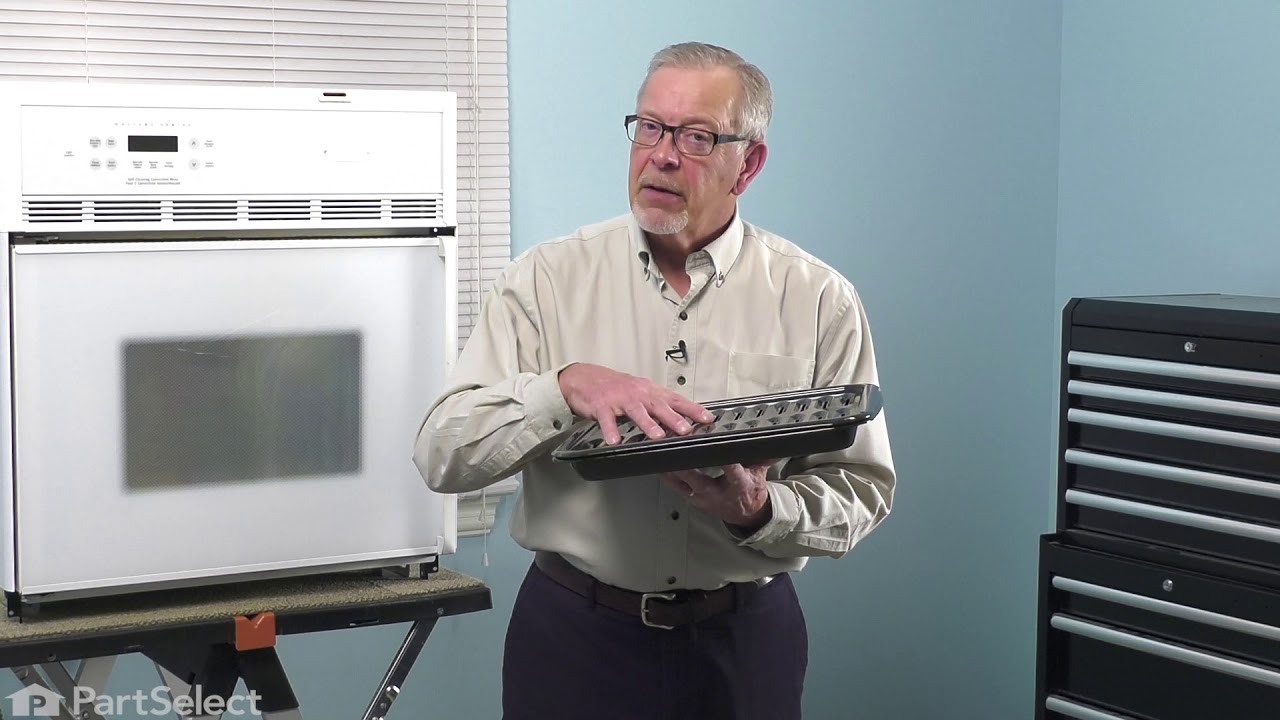
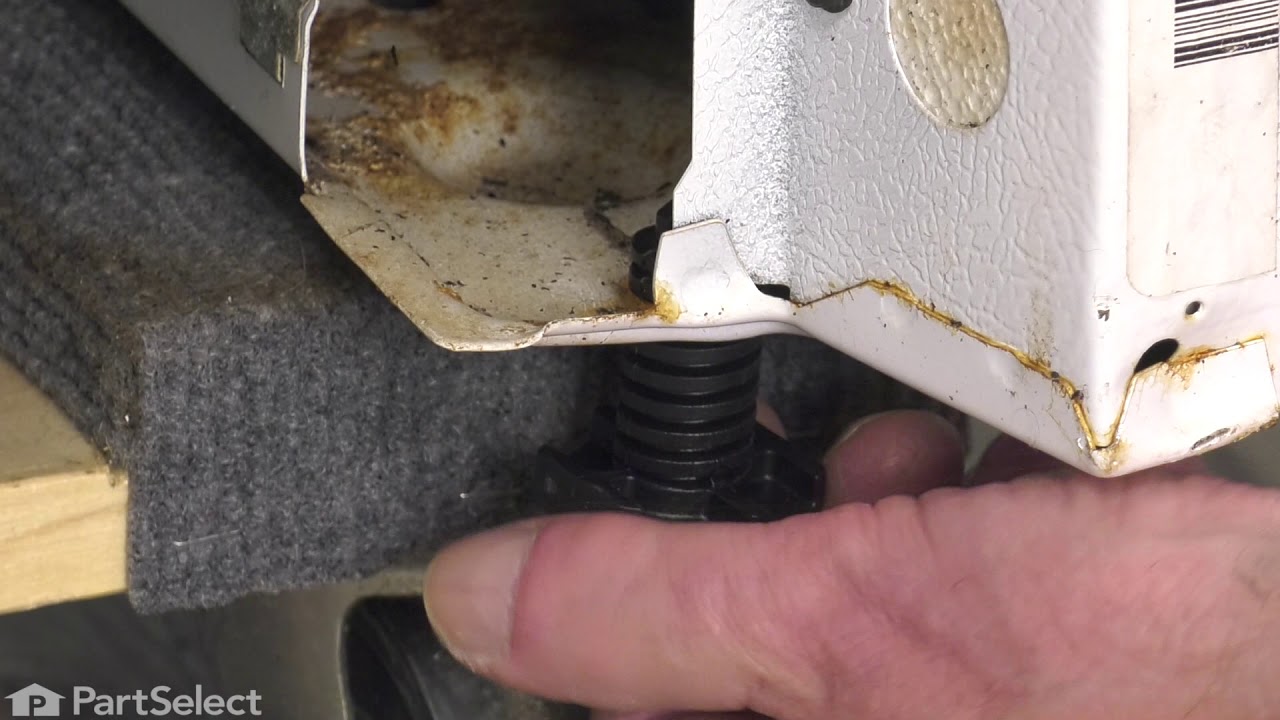
See how others fixed this model. Time, tools, difficulty, and steps that lead to victory!
View More