79061751104 Kenmore Range - Overview

Diagrams for 79061751104

See every part. Know exactly what you need.

Enter a part description. DIY Heroes keep it simple, eg. "belt" or "pump".

Search filter:
Clear Filter
Your search term must have 3 or more characters.
Terminal Block Kit – Part Number: 5303935058
$20.88
In Stock
Terminal Block Kit
★★★★★
★★★★★
(45)
Part #5303935058
This surface burner terminal block kit comes with interchangeable mounting brackets, terminal box, ceramic wire nuts, heat shrink protective tubing and wires.
Infinite Burner Switch - Large Element – Part Number: 316436001
$56.61
In Stock
Infinite Burner Switch - Large Element
★★★★★
★★★★★
(98)
Part #316436001
This surface burner switch controls the stove top 8-inch surface burner temperature. This switch is 240-volt, 2100-2600 watt, and 8.8-10.8 amp. If your element is not defective but will not heat, you may need to replace the switch. This burner switch is a genuine OEM part. It is recommended to disconnect the power to your range before you start your repair.
Drip Bowl - 8" – Part Number: 316048413
$19.75
In Stock
Drip Bowl - 8"
★★★★★
★★★★★
(18)
Part #316048413
This drip bowl is located beneath the element and catches any spills. It is sold individually and has a diameter of approximately 10 inches.
Surface Element - 8 Inch - 2600W – Part Number: 316442301
$51.65
In Stock
Surface Element - 8 Inch - 2600W
★★★★★
★★★★★
(23)
Part #316442301
This surface burner element is eight inches in diameter. It has five turns, 2600 watts and looped terminal ends. The element provides heat to the cooking surface on your range. If your element is not heating, you may need to replace this part. Please make sure the power has been disconnected and the element is turned off and had time to cool before starting your repair. The element is a genuine OEM part. It is sold individually.
Rear Drawer Glide – Part Number: 3051163
$11.53
In Stock
Rear Drawer Glide
★★★★★
★★★★★
(10)
Part #3051163
This rear drawer glide is for your bottom range drawer. It is sold individually.
Light Bulb – Part Number: 316538904
$35.95
In Stock
Light Bulb
★★★★★
★★★★★
(9)
Part #316538904
This 40-watt appliance light bulb is a reliable replacement for use in select ranges, refrigerators, freezers, and microwaves. It provides bright, consistent lighting to help you see clearly inside your appliance. Installation is simple—just unscrew the old bulb and replace it with the new one. If the existing bulb is broken, disconnect power and use needle-nose pliers to safely remove the remaining base. Sold individually, this bulb is a commonly replaced part—consider keeping a spare on hand.
Main Terminal Block Kit – Part Number: 5304409888
$48.78
In Stock
Main Terminal Block Kit
★★★★★
★★★★★
(11)
Part #5304409888
Terminal blocks (also called terminal boards or strips) provide a convenient means of connecting individual electrical wires.
6-Inch Coil Burner Element – Part Number: 318372211
$43.51
In Stock
6-Inch Coil Burner Element
★★★★★
★★★★★
(10)
Part #318372211
This element has looped terminal ends and comes with a black medallion center. This element is a genuine OEM replacement part, has looped terminal ends, comes with a black medallion center, and fits most electric ranges. All burners are made of a heating wire that produces heat from electricity. Remove the non-functional burner element from the terminal block (or receptacle). Use a multi-meter to check for continuity. Check the end of the terminals for corrosion or heat damage. If there is corrosion or heat damage, replace the whole terminal block or receptacle at the same time you replace the damaged coil. Before you start this repair, make sure that the element is turned off and cool to the touch.
Infinite Burner Switch - Small Element - 240V – Part Number: 316436000
$96.98
In Stock
Infinite Burner Switch - Small Element - 240V
★★★★★
★★★★★
(11)
Part #316436000
This switch controls the stove top surface burner.
PROBE – Part Number: 316233903
$59.16
In Stock
PROBE
★★★★★
★★★★★
(8)
Part #316233903
Note: Connector could be different than original. If so cut & splice wires together with porcelain wire nuts.
HANDLE KIT, BLACK – Part Number: 5304537685
$120.57
Special Order
Indicator Light Lens – Part Number: 318228310
$24.95
In Stock

Manuals & Care Guides for 79061751104

Click to download

Common Symptoms of the 79061751104

How this model fails, and the parts that fix it.

Watch our pros, then fix it yourself.
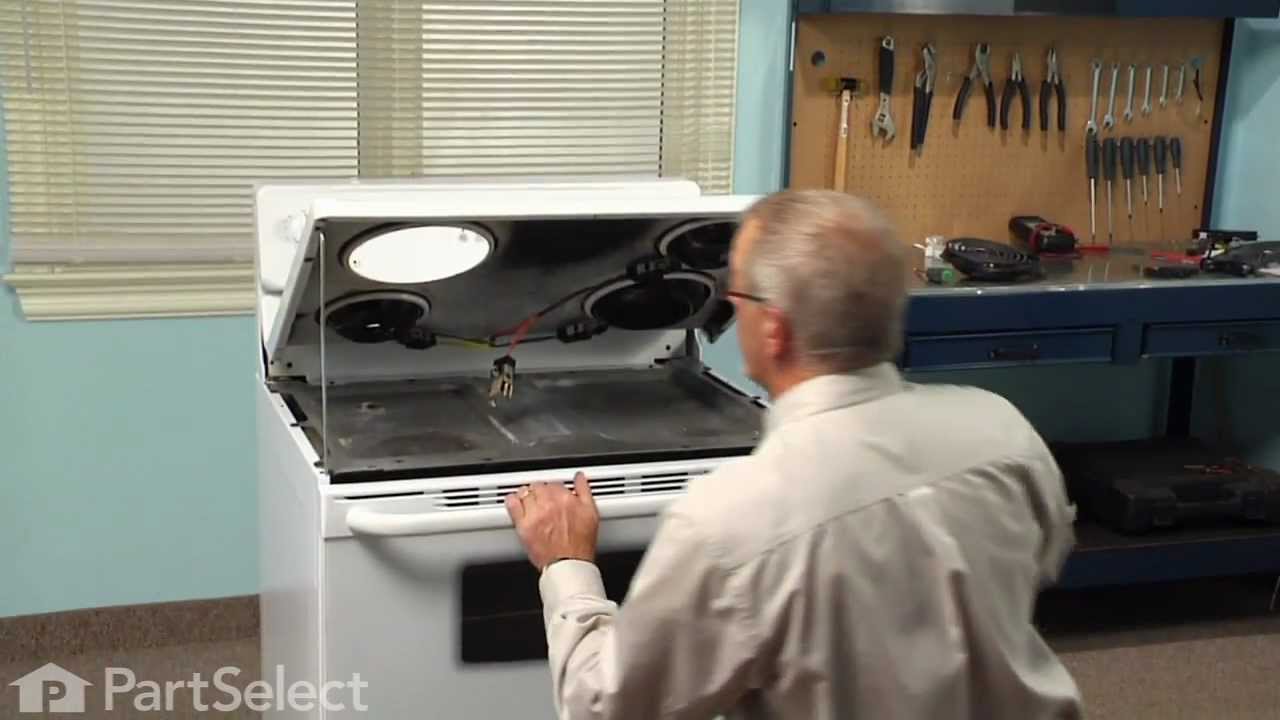
See how others fixed this model. Time, tools, difficulty, and steps that lead to victory! View More

Search repair tips from other customers using simple keywords like "replace", "fit", "remove", "inspect". DIY doesn't mean you have to do it alone!

Search filter:
Clear Filter
Your search term must have 3 or more characters.
Back Burner didn't function
136 of 152 people found this instruction helpful.
  • William from Burke, VA
  • Easy
  • 15 - 30 mins
  • Screw drivers
We moved into our townhouse about 6 yrs ago. During the home inspection we checked the range and saw the Red light come on when we turned on each burner. After moving in we realized the large back burner did not work. The light came on but the element never got hot. I of course replaced the element but that did not work. Several years passed and we just ignored the issue. We just got by with 3 burners. Lately we realized how much easier it would be to have all four burners working. Knowing that we will be selling our townhome soon we figured we should either fix the problem or replace the range.

I didn't want to call a repair man because I didn't want to be charged a $150 to have him come out and they to pay extra for parts (and of course a 2nd visit). So I went to www.Partselect.com and typed in the model of my range. Found the diagrams for my range and saw that from the switch ran a pair of wires to a Universal Receptacle (aka Terminal Block Kit). I figured since the Red light turns on when I turn the switch on it has to be the Terminal Block.

I ordered the part from www.Partselect.com ($14.00 including shipping) and replaced the part. The burner still would not get hot. I decided to test the switch. I removed the Control Panel cover (which is secure by 2 screws just below the digital clock). Once the cover was off, I saw the Blue wires going from the switch to the Terminal Block. To test the switch, I disconnected the two Blue Wires from connectors H1 and H2 and temporarily connected them to H1 and H2 of another switch. Sure enough, when I turned the other switch the element got hot.

So I placed another order from www.Partselect.com for a replacement switch ($50 including shipping). When that part came, I flipped the electrical circuit going to the range. I then removed the Control Panel cover again. With the new switch in hand (holding it near the old switch still attached to the Control Panel, I used the pliers to pull out each wire from it's connector and place it to it's corresponding connector on the new switch. Once all the wires were connected to the new switch, I pulled the knob of the switch off then used a phillips screwdriver to remove the two screws holding the switch to the control panel. I replaced the old switch with the new one put the screws back in, replaced the knob. Turned the circuit back on and tested to make sure that the element got hot. When it did, then I replaced the Control Panel cover and enjoyed a nice dinner that was cooked in less time than we're accustomed to because of the new burner. So I spent a total of $64.00 to fix our range. Less than half the amount I would've spent if I called for a technican. And far less then buying a new range.

Partselect is a great resource for information. They have diagrams and schematics available to view and/or download. And when ordering it's a snap because there's an "Add to Cart" button next to each part it lists. So there's no confusion. I've already recommended Partselect.com to about 5 people. And will continue to do so!!
Was this helpful?
Thank you for voting!
Cord was not tightened enough by delivery crew.
109 of 174 people found this instruction helpful.
  • Timothy from Spring Valley, AL
  • Really Easy
  • 15 - 30 mins
  • Screw drivers, Socket set
PF alarm appeared on display. Noticed clicking when cord was moved. Had arced for some time and melted original block. New part slightly different. Only has 3 lugs, old one had six. Stack using washers provided. Take note of colors before disassembly. Use caution while working through access opening. The edges are sharp. Only tools neede d are phillips screwdriver, deep socket for lug nuts. Nut driver optional. Hope this is helpful.
Was this helpful?
Thank you for voting!
drawer was tilting and wouldn't slide open easily.
75 of 78 people found this instruction helpful.
  • jennifer from La Habra, CA
  • Really Easy
  • Less than 15 mins
The old glides were broken off so I didn't know I needed these glides until I saw the parts section of the Manuel. When they arrived I snapped them in with no effort at all.
P.S. The shipping is fantastic here......i ordered on Monday received them on Tuesday. Now that's shipping:>)
Was this helpful?
Thank you for voting!