


 My Orders


79049443410 Kenmore Wall Oven - Overview
Diagrams for 79049443410
See every part. Know exactly what you need.


Enter a part description. DIY Heroes keep it simple, eg. "belt" or "pump".
Search filter:
Clear Filter
Your search term must have 3 or more characters.

$48.78
In Stock
Main Terminal Block Kit
Part #5304409888
Terminal blocks (also called terminal boards or strips) provide a convenient means of connecting individual electrical wires.

$62.31
In Stock
Temperature Sensor
Part #5304504897
This oven temperature sensor, also known as an oven probe, monitors the internal temperature of the oven cavity to ensure accurate and consistent heating. Measuring 6 inches in length and made of durable metal, it’s designed to replace faulty sensors that may cause overheating, uneven baking, or F3/F4 error codes. This genuine replacement...Read more part is compatible with select models. Always disconnect power to the appliance before beginning installation for safety.
Read less

$135.91
In Stock

$68.42
In Stock

$314.34
In Stock
Bake Element
Part #318601604
This hidden bake element is an essential heating component located beneath the oven floor panel, providing consistent heat for baking, roasting, and warming. Designed with a durable ceramic sheath to protect the heating coil, it ensures reliable performance and even temperature distribution. The element measures approximately 13 to 13.3 i...Read morenches in width and 11 inches in depth, making it a perfect fit for standard oven cavities. If your oven is producing little or no heat, baking unevenly, or showing visible damage such as cracks or blistering, replacing the bake element can restore optimal functionality. Installation is straightforward—simply disconnect power, remove the floor panel, and replace the element with the new one.
Read less

$107.17
In Stock

$24.95
In Stock

$36.95
In Stock
Door Spacer
Part #318165800

$29.95
In Stock

$232.90
In Stock

$107.50
In Stock
ELEMENT
Part #5304521498
If your oven isn’t broiling properly or heating from the top, this broiler element might be the fix. It’s the part that gives off heat for broiling and is built to handle high temperatures. It’s easy to install—just make sure to turn off the power first. Check your model number before ordering to make sure it fits.

$33.95
In Stock
Common Symptoms of the 79049443410
How this model fails, and the parts that fix it.
Little to no heat when baking
Fixed by
these parts
these parts


Show All
Element will not heat
Fixed by
these parts
these parts
Show All
Oven is too hot
Fixed by
these parts
these parts
Show All
Will Not Start
Fixed by
these parts
these parts
Show All
Oven not heating evenly
Fixed by
these parts
these parts
Show All
Little to no heat when broiling
Fixed by
these parts
these parts
Show All
Watch our pros, then fix it yourself.
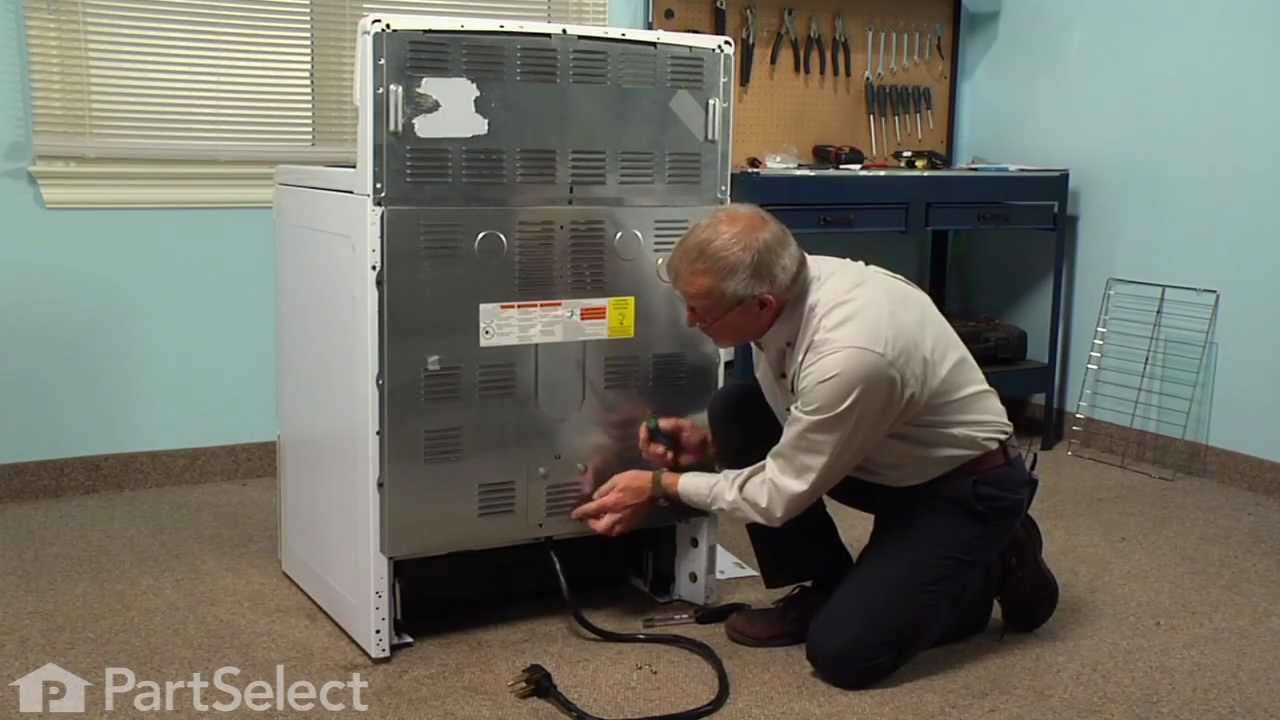
See how others fixed this model. Time, tools, difficulty, and steps that lead to victory!
View More