


 My Orders


79042519313 Kenmore Range - Overview
Diagrams for 79042519313
See every part. Know exactly what you need.


Enter a part description. DIY Heroes keep it simple, eg. "belt" or "pump".
Search filter:
Clear Filter
Your search term must have 3 or more characters.

$48.78
In Stock
Main Terminal Block Kit
Part #5304409888
Terminal blocks (also called terminal boards or strips) provide a convenient means of connecting individual electrical wires.

$62.31
In Stock
Temperature Sensor
Part #5304504897
This oven temperature sensor, also known as an oven probe, monitors the internal temperature of the oven cavity to ensure accurate and consistent heating. Measuring 6 inches in length and made of durable metal, it’s designed to replace faulty sensors that may cause overheating, uneven baking, or F3/F4 error codes. This genuine replacement...Read more part is compatible with select models. Always disconnect power to the appliance before beginning installation for safety.
Read less

$116.36
In Stock

$162.93
In Stock
Radiant Element with Limiter - 1200W
Part #318178110
The 6” radiant cooking element with limiter fits under the glass cooktop and supplies heat to the cooking area. If your element is not heating, you can test the element for continuity with a multimeter. If the element doesn’t have continuity you will need to replace the element. If it doesn’t have continuity it is suggested to check the e...Read morelement switch because it could be defective and need to be replaced. This element is 1200 watts and is a genuine OEM part. The manufacturer suggests making sure the cooking element is cooled before starting the repair. Please remember to disconnect the power to the appliance before starting the repair.
Read less

$152.45
In Stock
Dual Element with Limiter
Part #316555800
This cooktop element gives you two heating sizes in one—9 inches and 6 inches—so you can cook with different pots and pans easily. It heats up fast and evenly, helping meals cook just right. If your current burner isn’t working well or heating unevenly, this part is a great replacement. It’s built to last and fits many models. Just be sure to turn off the power before installing.

$135.91
In Stock

$81.35
In Stock
Dual Infinite Switch
Part #318191023
This switch allows you to choose which size burner you require according to the size of the pots and pans you're using.

$189.86
Special Order
RACK
Part #5304514983
This is an OEM oven rack, which works with ranges, wall ovens and microwave oven combos.

$36.95
In Stock
Door Spacer
Part #318165800

$100.93
In Stock

$102.78
In Stock
Surface Burner Switch - 240V
Part #318293830
This burner switch controls power delivery to the surface element, allowing accurate heat adjustment during cooking. Reliable switching improves safety and cooking precision. Replacing a faulty switch restores responsive control and consistent heating.

$29.95
In Stock
Common Symptoms of the 79042519313
How this model fails, and the parts that fix it.
Element will not heat
Fixed by
these parts
these parts


Show All
Little to no heat when baking
Fixed by
these parts
these parts


Show All
Will Not Start
Fixed by
these parts
these parts
Show All
Oven is too hot
Fixed by
these parts
these parts
Show All
Oven not heating evenly
Fixed by
these parts
these parts
Show All
Little to no heat when broiling
Fixed by
these parts
these parts
Show All
Watch our pros, then fix it yourself.
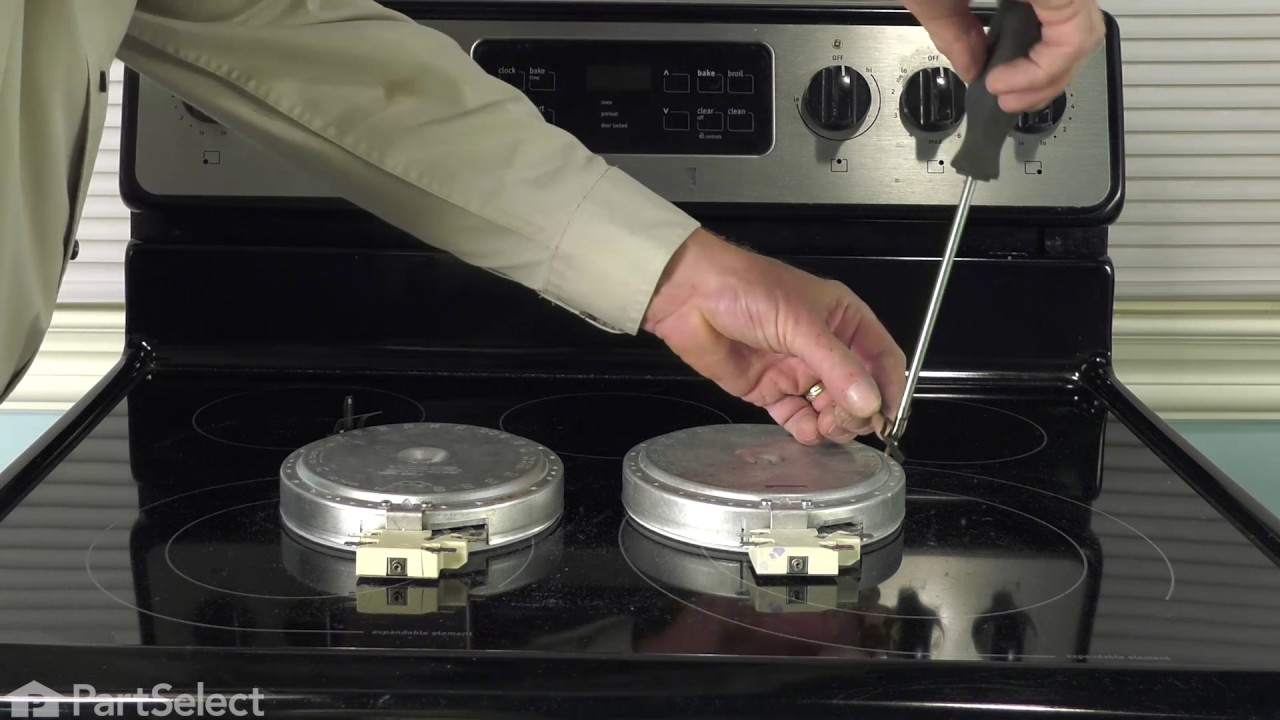
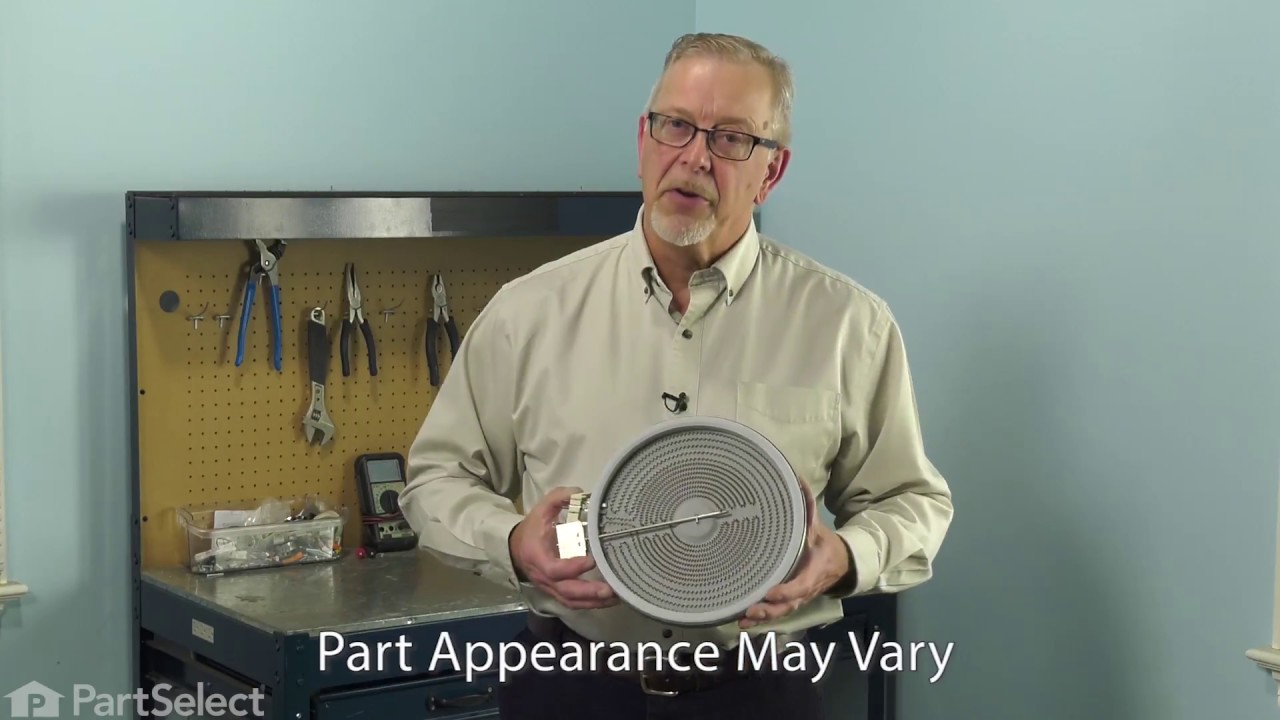
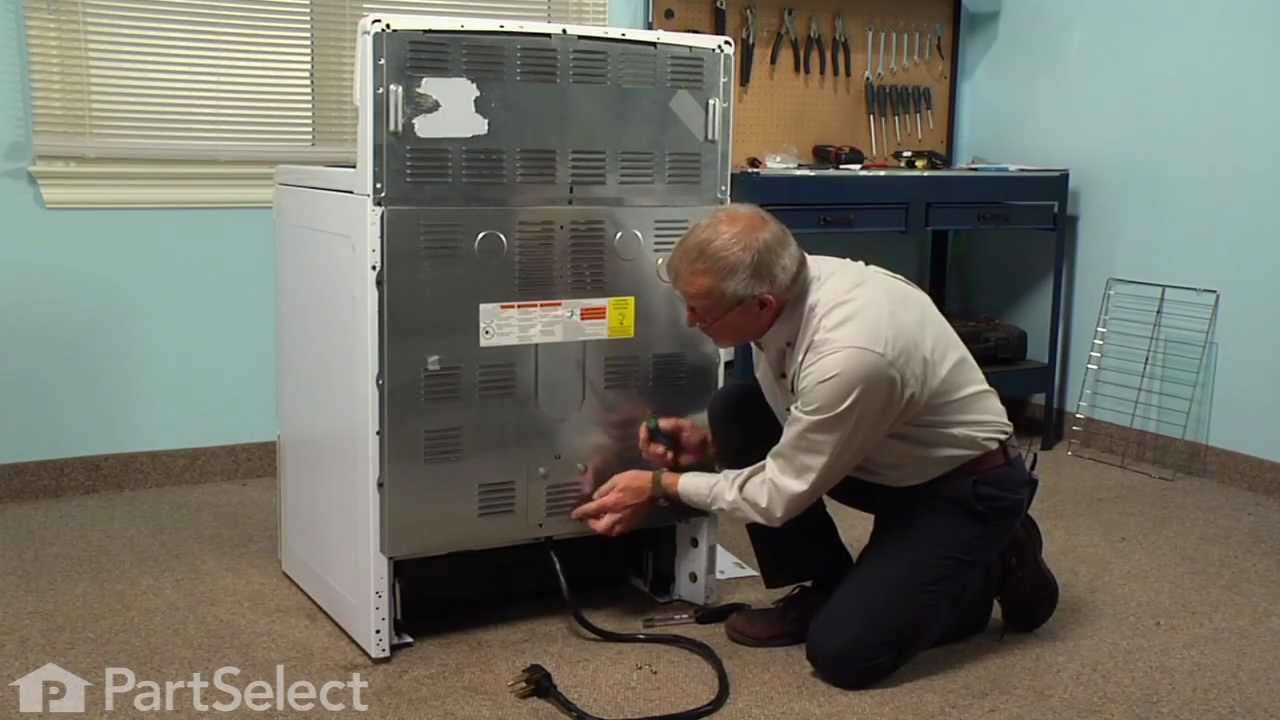
See how others fixed this model. Time, tools, difficulty, and steps that lead to victory!
View More