


 My Orders


77F Magic Chef - Overview
Models starting with 77F
Click on the best match to narrow your results.
- 77F-5EXWW Magic Chef Range (Magic Chef Range/Stove/Oven Model 77F-5EXWW (77F5EXWW, 77F 5EXWW) Parts)
- 77FK-5EXWM Magic Chef Microwave Oven Combo (Electric)
- 77FK-5EXWW Magic Chef Wall Oven (Electric)
- 77FN-5EVWM Magic Chef Microwave Oven Combo (Electric)
- 77FN-5EVWW Magic Chef Wall Oven (Electric)
- 77FN-5EXWM9 Magic Chef Microwave Oven Combo (Electric)
Enter a part description. DIY Heroes keep it simple, eg. "belt" or "pump".
Search filter:
Clear Filter
Your search term must have 3 or more characters.

$26.41
In Stock
Light Bulb - 40W
Part #8009
This an authentic OEM 40-Watt replacement light bulb, used in a number of household appliances. It is specially designed to withstand extreme temperatures, which is why these replacement bulbs are most often used to light the inside of refrigerators and ranges. It features a standard socket base, which means you simply unscrew the burnt-o...Read moreut bulb and screw in the replacement. Depending on the appliance you may require a screwdriver or nut driver to access the light bulb. We recommend you wear work gloves while handling this replacement part. It is constructed of glass and metal and is sold individually. Depending on the appliance and location of the bulb within it, you may want to consider disconnecting power and using a flashlight for easier access to unscrewing and re-screwing in your bulb during this repair.
Read less

$30.40
In Stock
Screw
Part #W11233072
This is a multi-use and multi-appliance screw. It can be used on a microwave, refrigerator, range/oven, air conditioner, dehumidifier, washer, or dryer. The measurements of this screw are 8 x 1/2 inch. It has 6 threads. Refer to the manual provided by the manufacturer for further information on repair and accurate guidance. Remember to wear work gloves as a safety precaution.

$66.88
In Stock
2 Piece Broiler Pan
Part #4396923
This broiler pan and roasting rack set features a two-piece design that allows fat to drain away for cleaner cooking and reduced splatter. Made with a durable, high-heat resistant porcelain finish, it offers reliable performance and easy cleanup. Measuring approximately 16 3/4 inches long by 12 3/4 inches wide and 1 3/4 inches high, it provides a practical solution for everyday broiling and roasting.

$81.24
In Stock
Range Bake Element
Part #WPY04000066
This spade style bake element with push on wire terminals is 16 inches wide. It has a terminal depth of three inches and a total element length of nineteen inches. This element comes with an instructions sheet and is intended for use with electric ovens.

$12.95
In Stock

$157.59
In Stock
Broil Element (15 Inch long x 12 Inch wide)
Part #WPY04000048
This oven broil element with push on terminals can be used with some electric ranges or ovens. It comes with four screws and an instructions sheet. This element also has a terminal depth of three inches and a total element length of eighteen inches.

$30.43
Special Order
KNOB
Part #W11238392

$86.57
Special Order
Door Seal - Top
Part #WP7212P006-60
This oven door seal is seventeen and a half inches long. It is made of rubber and has a metal hook on either end to hold it in place. This seal sits on top of the glass window pane.

$16.60
Special Order
Microwave Fuse 15 Amp 250v
Part #WPY01050009

$19.58
In Stock
Range Thermostat Clip
Part #WP7112P004-60
This clip is used to secure the thermostat bulb. They are sold individually.

No Longer Available
Clock Knob
Part #7711P419-60
This clock knob is not quite an inch long. It is all white in color and is made entirely of plastic.

$49.45
Special Order
Common Symptoms of models starting with 77F
How this model fails, and the parts that fix it.
Little to no heat when baking
Fixed by
these parts
these parts

Show All
Element will not heat
Fixed by
these parts
these parts

Show All
Little to no heat when broiling
Fixed by
these parts
these parts
Show All
Oven not heating evenly
Fixed by
these parts
these parts
Show All
Won’t turn on
Fixed by
these parts
these parts

Show All
Oven is too hot
Fixed by
these parts
these parts
Show All
Watch our pros, then fix it yourself.

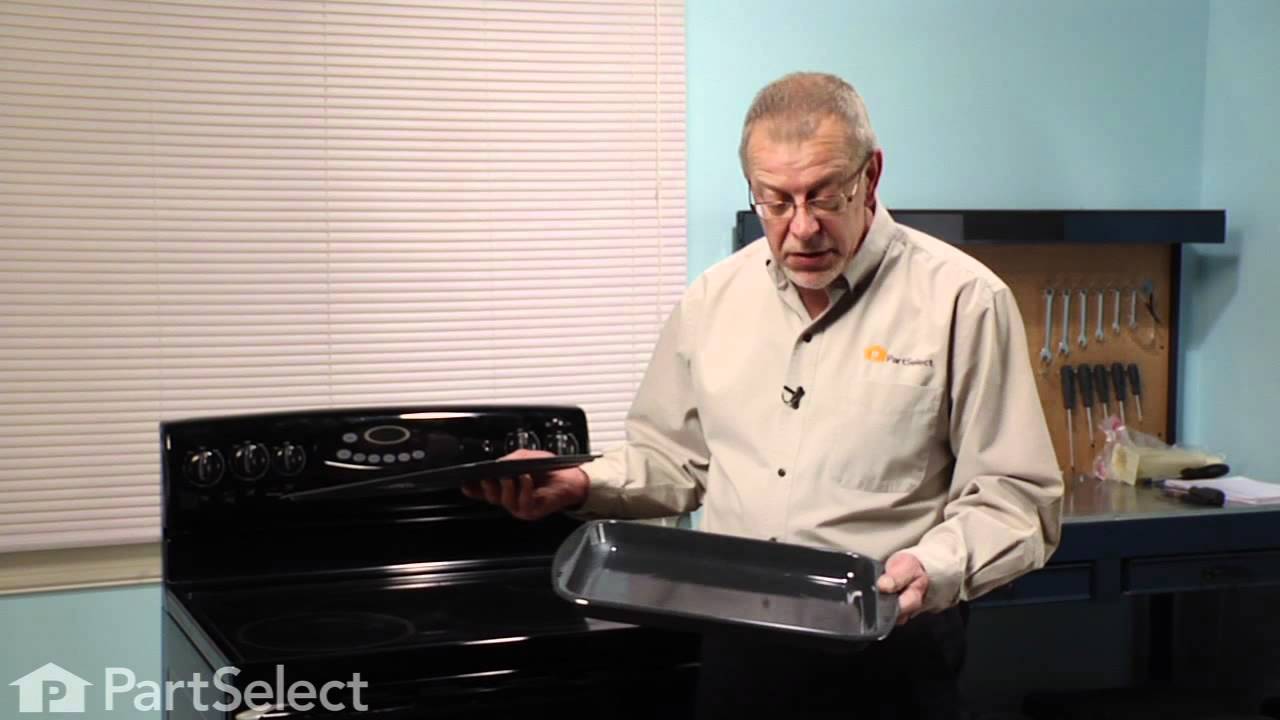
See how others fixed this model. Time, tools, difficulty, and steps that lead to victory!
View More
Search repair tips from other customers using simple keywords like "replace", "fit", "remove", "inspect". DIY doesn't mean you have to do it alone!
Search filter:
Clear Filter
Your search term must have 3 or more characters.
Inner Oven Glass broken
29 of 42 people
found this instruction helpful.
I removed two retainer screws which released the outside panel.
Next I removed 2 screws which hold the middle glass pane from one of its retainer brackets.
The was another panel with 4 screws to remove before reaching the final glass inner assembly.
Once that panel was reoved with the broken glass it was time to put the rep ... Read more acement glass assembly back together.
Read less
Other Parts Used:


Was this helpful?
Thank you for voting!