


 My Orders


7430A REV A Norge Dryer - Overview

Enter a part description. DIY Heroes keep it simple, eg. "belt" or "pump".
Search filter:
Clear Filter
Your search term must have 3 or more characters.

$21.14
In Stock
Multi Rib Belt - 92-1/4"
Part #341241
This dryer drum belt has four ridges, three grooves and is 1/4" wide.

$12.00
In Stock
Dryer Retaining Ring
Part #WP9703438
This metallic retaining ring is less than an inch in diameter. It is made entirely of metal.

$63.91
In Stock
High Limit Kit
Part #LA-1053
This kit comes with three separate thermal fuses and is usually used with clothes dryers that have a fan mounted on the motor shaft. Included within this kit is the high limit (Limit: 258) the gas high limit (Limit: 240) and the gas and electric high limit thermostat (Limit: 300).

$96.93
In Stock
Lint Filter
Part #WP53-0918
If your clothes are taking longer to dry or coming out with lint, it might be time to replace your dryer’s lint filter. This easy-to-install part catches lint and debris during each cycle, helping your dryer work better and keeping your clothes cleaner. Just slide out the old filter and pop in the new one—it’s a quick fix that can make a big difference in drying performance and safety.

$35.75
In Stock

$71.45
In Stock
Heating Element Kit - 240V 4750W
Part #LA-1044
This 240-volt, 4750-watt heating element kit is designed to restore proper heat output in select dryer models. It generates the heat necessary to dry clothing efficiently during each cycle. If your dryer is taking longer than usual to dry clothes or isn’t producing heat at all, the heating element may need replacement. Installation requir...Read morees disconnecting the power and using basic tools such as a putty knife, quarter-inch nut driver, and needle nose pliers. This kit is sold individually and does not include additional accessories.
Read less

No Longer Available
Rear Drum Support Roller Kit
Part #LA-1008
Included in this rear drum support roller kit are 4 screws, 1 spacers, 2 washers, 2 retaining rings, 2 rear rollers, and 2 cylinder support shafts.
*** Note: Per manufacturer this kit has been updated now to have one spacer that is the thickness of 2 spacers. To get these parts separately, please search by model#.

$18.92
In Stock
Blower Wheel Clamp
Part #WP312967
This blower wheel clamp is less than an inch long and is used for some clothes dryers to hold the blower wheel firmly in place. This green clamp is made of metal.

$17.55
In Stock

$10.40
In Stock

$107.64
In Stock
Door Seal
Part #WP31001529
If this part appears to be too wide for your particular appliance, per the manufacturer, all you have to do is pull it apart.

$13.89
In Stock
Common Symptoms of the 7430A REV A
How this model fails, and the parts that fix it.
Noisy
Fixed by
these parts
these parts


Show All
Drum Not Spinning
Fixed by
these parts
these parts
Show All
Door won’t close
Fixed by
these parts
these parts

Show All
Won’t Start
Fixed by
these parts
these parts

Show All
Not Heating
Fixed by
these parts
these parts

Show All
Too hot
Fixed by
these parts
these parts
Show All
Heat stays on after drum has stopped
Fixed by
these parts
these parts
Show All
Door Pops Open
Fixed by
these parts
these parts
Show All
Door latch failure
Fixed by
these parts
these parts

Show All
Will Not Start
Fixed by
these parts
these parts
Show All
Will not agitate
Fixed by
these parts
these parts

Show All
Touchpad does not respond
Fixed by
these parts
these parts
Show All
Watch our pros, then fix it yourself.


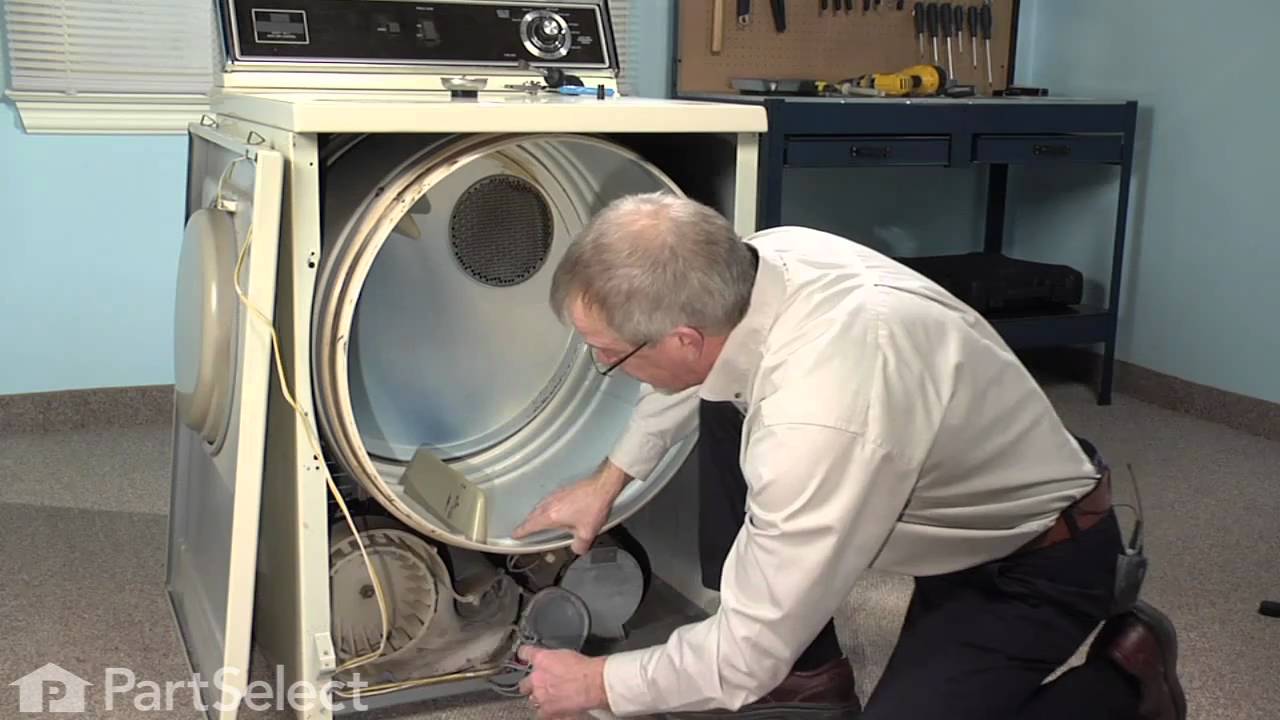
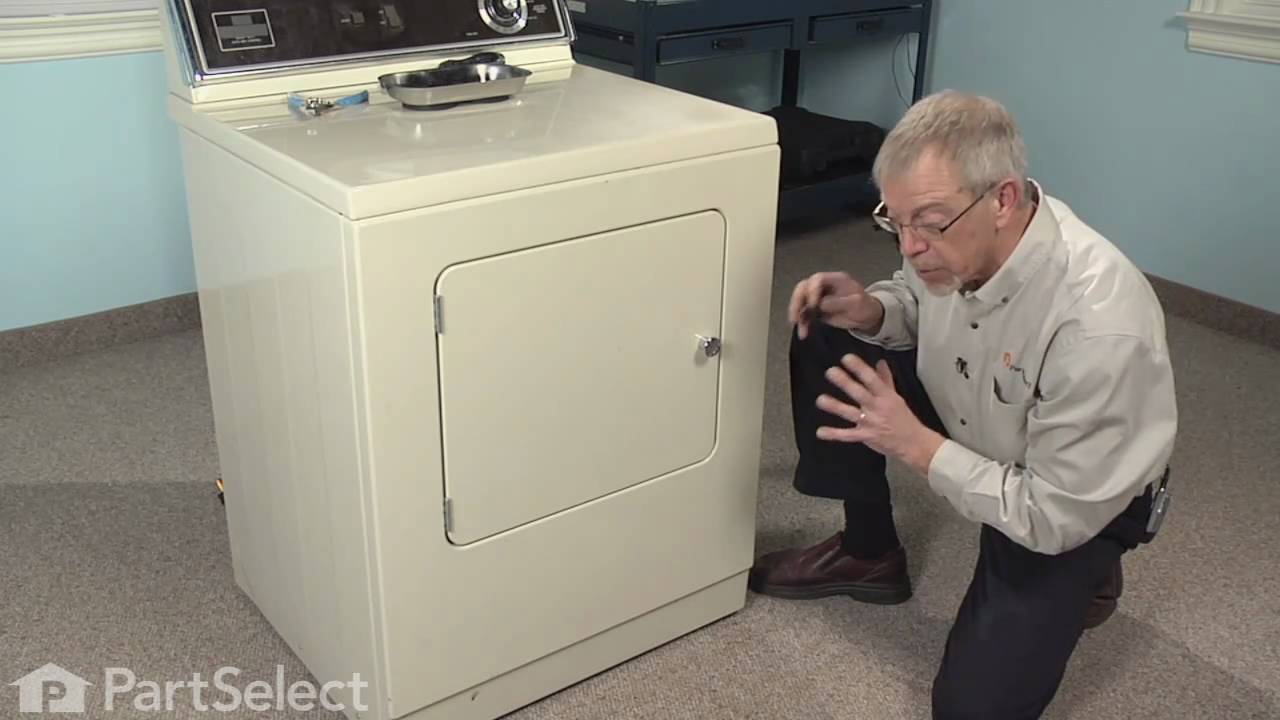
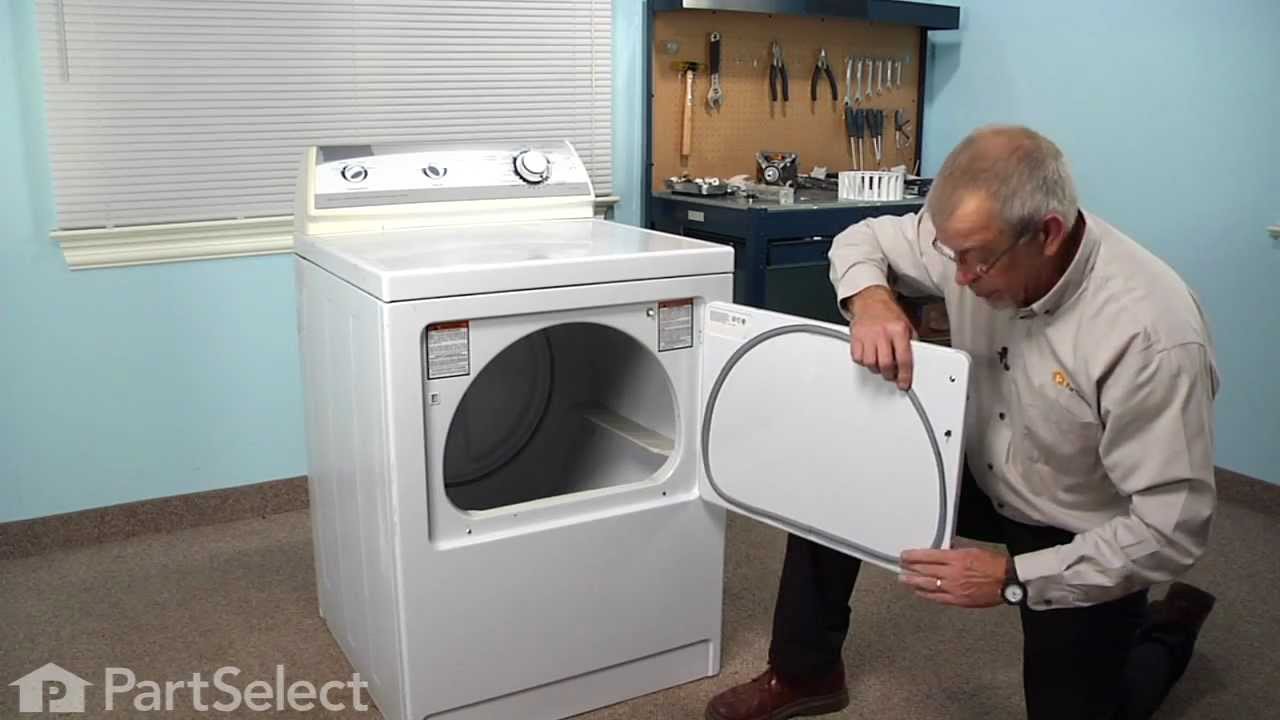
See how others fixed this model. Time, tools, difficulty, and steps that lead to victory!
View More