


 My Orders


71022 LG Refrigerator - Overview

Enter a part description. DIY Heroes keep it simple, eg. "belt" or "pump".
Search filter:
Clear Filter
Your search term must have 3 or more characters.

$32.95
In Stock

$65.95
In Stock
Primary Water Valve - Single Coil
Part #MJX41178908
This single-coil water inlet valve is designed for use in refrigerators and controls the flow of water to both the ice maker and water dispenser. It plays a critical role in maintaining consistent water delivery ensuring proper ice production and dispenser functionality. The valve helps regulate pressure and timing optimizing system perfo...Read morermance and preventing issues such as slow ice output weak water flow or interruptions in dispensing. Common symptoms of a failing valve include no water dispensing ice maker failure or leaks near the dispenser area. Installation requires disconnecting the appliance from power and water supply and verifying compatibility with your specific model before replacement.
Read less

$216.10
In Stock
Evaporator Fan Motor
Part #4681JB1027C
This 13-volt evaporator fan motor helps circulate air over the refrigerator coils. These coils will then convert the heat into cool air, which is then circulated from the freezer section to the fresh food section. If the fresh food section is too warm or the motor has failed, you will need to replace the evaporator fan motor. It is sugges...Read moreted to replace the thermistor when replacing the evaporator fan. The fan motor is in the freezer section of the refrigerator, and includes the harness and plug. Please remember to disconnect the power to the refrigerator before starting your repair. This is a genuine OEM part.
Read less

$54.95
In Stock
Temperature Sensor
Part #6615JB2005H
Keep your refrigerator running efficiently with this defrost sensor and thermistor assembly. It monitors the evaporator coil temperature to help regulate the defrost cycle, preventing frost buildup and maintaining proper airflow. If your fridge is struggling to stay cool or showing signs of frost overload, this part may need replacing. It...Read more comes with a fuse and wire harness for a complete and straightforward installation.
Read less

No Longer Available

$57.15
In Stock

$68.15
Special Order
Holder Assembly,Gasket
Part #4931JJ2002A

No Longer Available
Light Bulb
Part #6912JB2004M

$138.12
In Stock
Slide Rail - Left Side
Part #5218JA1010F

$36.25
In Stock
Defrost Sensor Assembly
Part #6500JB2001B

$59.35
Special Order
Drawer Guide
Part #4974JJ1031A

No Longer Available
Door Gasket - Black
Part #4987JJ2002Q
This door gasket is used to make an air-tight seal for the cabinet when the door is closed.
Exact Part matches for your search term

No Longer Available
No Longer Available

No Longer Available
No Longer Available
Common Symptoms of the 71022
How this model fails, and the parts that fix it.
Leaking
Fixed by
these parts
these parts


Show All
Not dispensing water
Fixed by
these parts
these parts
Show All
Noisy
Fixed by
these parts
these parts


Show All
Door won’t open or close
Fixed by
these parts
these parts


Show All
Fridge too warm
Fixed by
these parts
these parts
Show All
Ice maker not making ice
Fixed by
these parts
these parts
Show All
Freezer not defrosting
Fixed by
these parts
these parts

Show All
Fridge and Freezer are too warm
Fixed by
these parts
these parts
Show All
Watch our pros, then fix it yourself.
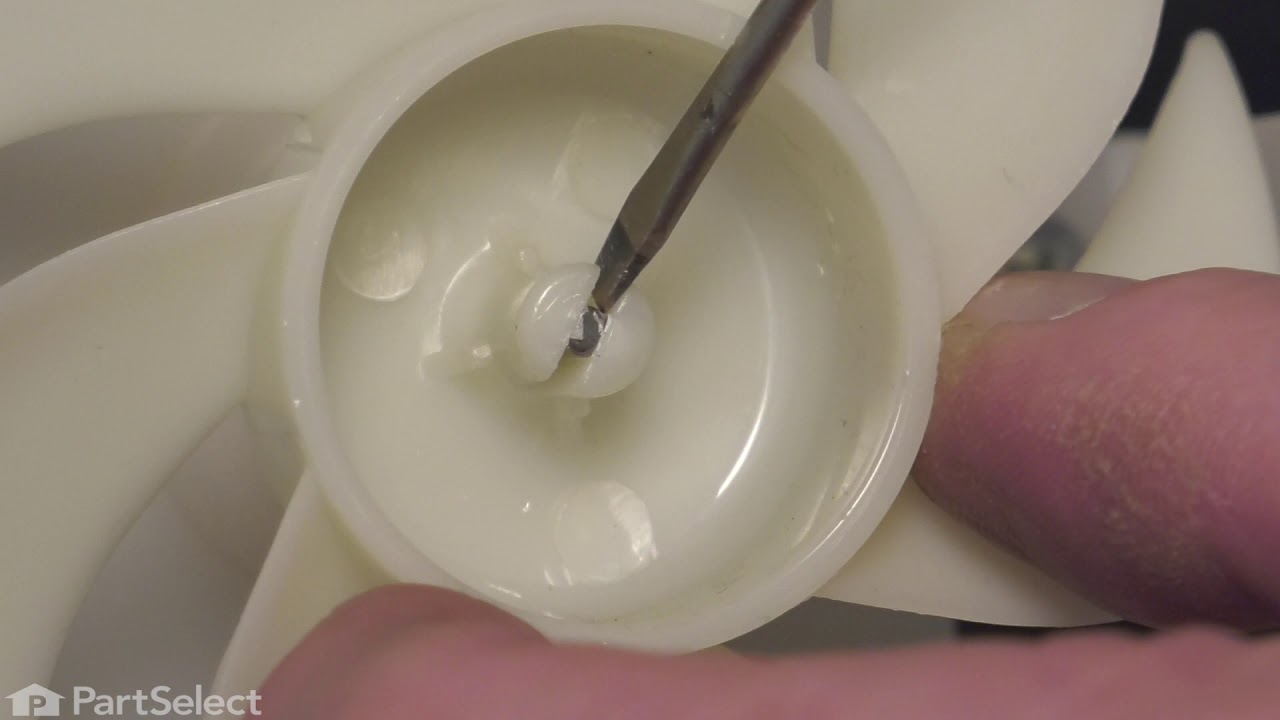
See how others fixed this model. Time, tools, difficulty, and steps that lead to victory!
View More
Search repair tips from other customers using simple keywords like "replace", "fit", "remove", "inspect". DIY doesn't mean you have to do it alone!
Search filter:
Clear Filter
Your search term must have 3 or more characters.
Very bad noise which stopped when the door was opened
15 of 20 people
found this instruction helpful.
The Refrigerator now runs very quite.
After watching several videos I started on mine and found that it was a bit different than any in the videos. However all but the back panel was shown and that was helpful.
The back panel was a bit difficult but a hair dryer seemed to help .
All in all it was a good choice to do it myse ... Read more lf as it was done quicker than waiting on a repair man.
Read less
Other Parts Used:


Was this helpful?
Thank you for voting!