


 My Orders


66575024102 Kenmore Range - Overview
Diagrams for 66575024102
See every part. Know exactly what you need.

Enter a part description. DIY Heroes keep it simple, eg. "belt" or "pump".
Search filter:
Clear Filter
Your search term must have 3 or more characters.

$26.41
In Stock
Light Bulb - 40W
Part #8009
This an authentic OEM 40-Watt replacement light bulb, used in a number of household appliances. It is specially designed to withstand extreme temperatures, which is why these replacement bulbs are most often used to light the inside of refrigerators and ranges. It features a standard socket base, which means you simply unscrew the burnt-o...Read moreut bulb and screw in the replacement. Depending on the appliance you may require a screwdriver or nut driver to access the light bulb. We recommend you wear work gloves while handling this replacement part. It is constructed of glass and metal and is sold individually. Depending on the appliance and location of the bulb within it, you may want to consider disconnecting power and using a flashlight for easier access to unscrewing and re-screwing in your bulb during this repair.
Read less

$112.60
In Stock
Oven Sensor
Part #WPW10181986
This temperature sensor detects the temperature within the oven cavity. This oven temperature sensor, for ranges, works together with the oven control board to measure and regulate the oven temperature. The sensor detects the temperature in the oven cavity. If the following symptoms occur, replacing the temperature sensor could be the sol...Read moreution: Little or no heat when baking, oven not heating evenly, oven will not start, and/or oven is overheating. Often, if the sensor is defective, the oven temperature will fluctuate and be inaccurate by more than 50 degrees. The tool needed for this replacement is a #2 square head screwdriver or a #2 Philips screwdriver. Remember to unplug the range before installing the part.
Read less

$60.26
In Stock

$30.40
In Stock
Screw
Part #W11233072
This is a multi-use and multi-appliance screw. It can be used on a microwave, refrigerator, range/oven, air conditioner, dehumidifier, washer, or dryer. The measurements of this screw are 8 x 1/2 inch. It has 6 threads. Refer to the manual provided by the manufacturer for further information on repair and accurate guidance. Remember to wear work gloves as a safety precaution.

$10.95
In Stock

$97.21
In Stock
SOCKT-LITE
Part #W11594027
The light socket on your electric range connects the power source to the light bulb. If your oven light is malfunctioning, you may need to replace the light socket. The light socket is located in the back of your range, so in order to access it you will need to remove the back panel. Many of our customers have rated this repair as easy, a...Read morend it should take less than 15 minutes. Before you begin this repair, make sure to disconnect the power source from your range. This is an OEM part sourced directly from the manufacturer.
Read less

$43.47
In Stock
Range Surface Burner Spark Igniter
Part #WP8523793
Struggling with a misbehaving range burner that wont light up? Hang tight, weve got just the solution: the Whirlpool Surface Burner Spark Igniter. This is an authentic, OEM part, designed specifically to revive the spark in your range burner. Heres the real deal about this simple yet crucial component: It is responsible for generating tha...Read moret initial spark that gets your burner going. And yes, its a dependable Whirlpool product, ensuring your range is back on track in no time. Dont worry about matching it up with your appliance. This trusty igniter pairs smoothly with certain models of Whirlpool, KitchenAid, Maytag, Jenn-Air, Amana, Inglis, and Magic Chef ranges, ovens, and stoves. Remember, safety first! Please unplug your range and turn off your gas supply before the installation. We also recommend wearing work gloves for added protection. Breathe new life into your stovetop with the Whirlpool Surface Burner Spark Igniter - and get back to preparing your favorite meals in no time.
Read less

$15.35
In Stock

$190.71
In Stock

$82.45
In Stock
Side Trim - Right Hand Side
Part #WP8523166
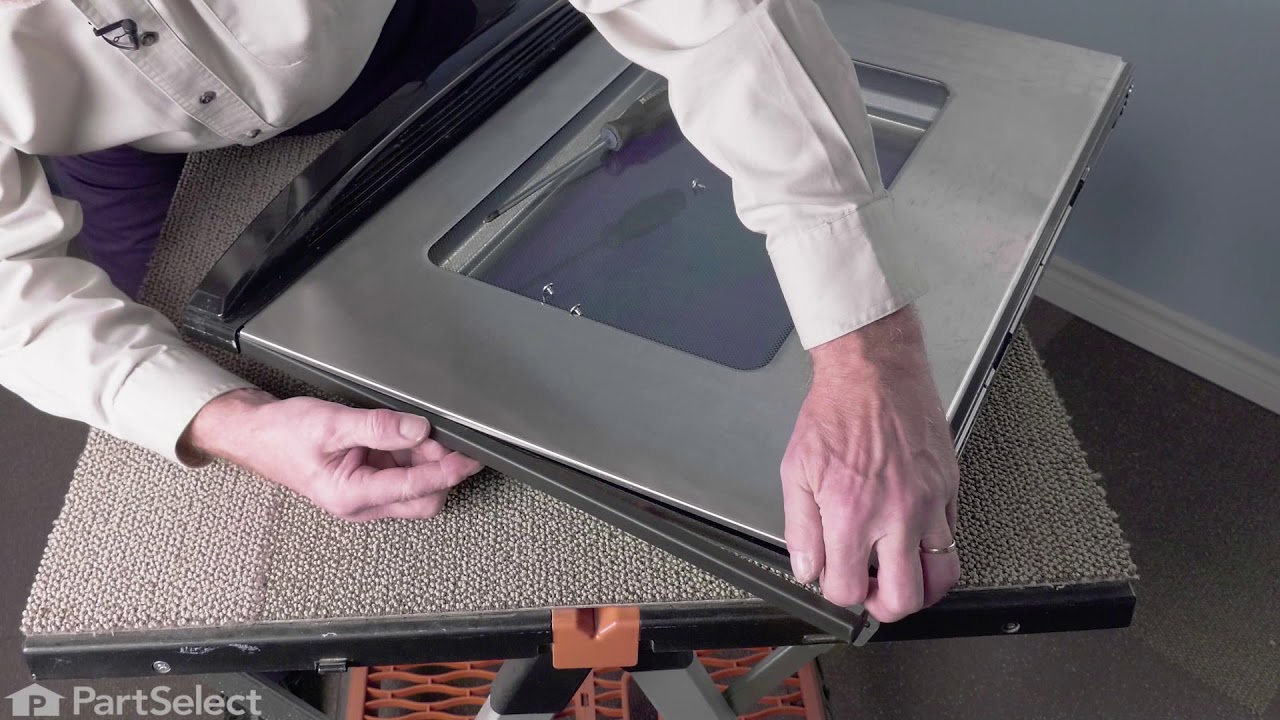
Give your oven door a clean, finished look with this white side trim piece. It fits on the right edge of the door, helping seal in heat and protect the glass. If your current trim is cracked or loose, replacing it can improve both the look and performance of your oven. You’ll need to take the door apart a bit to install it, but it’s a solid fix for a worn-out part.

$77.90
In Stock

$9.85
In Stock
Manuals & Care Guides for 66575024102
Click to downloadCommon Symptoms of the 66575024102
How this model fails, and the parts that fix it.
Little to no heat when baking
Fixed by
these parts
these parts


Show All
Will Not Start
Fixed by
these parts
these parts


Show All
Oven is too hot
Fixed by
these parts
these parts
Show All
Oven not heating evenly
Fixed by
these parts
these parts

Show All
Gas igniter glows, but will not light
Fixed by
these parts
these parts

Show All
Door won’t close
Fixed by
these parts
these parts


Show All
Element will not heat
Fixed by
these parts
these parts
Show All
Little to no heat when broiling
Fixed by
these parts
these parts
Show All
Door won’t open after self cleaning cycle
Fixed by
these parts
these parts

Show All
Watch our pros, then fix it yourself.


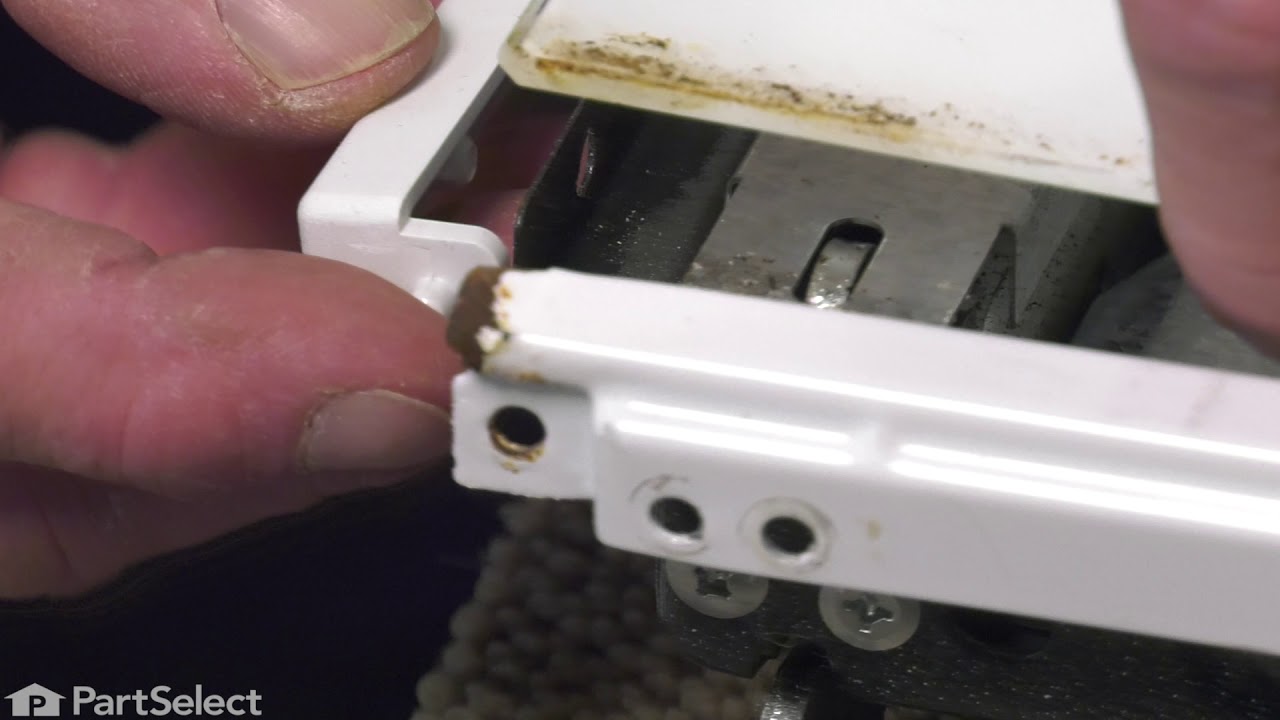
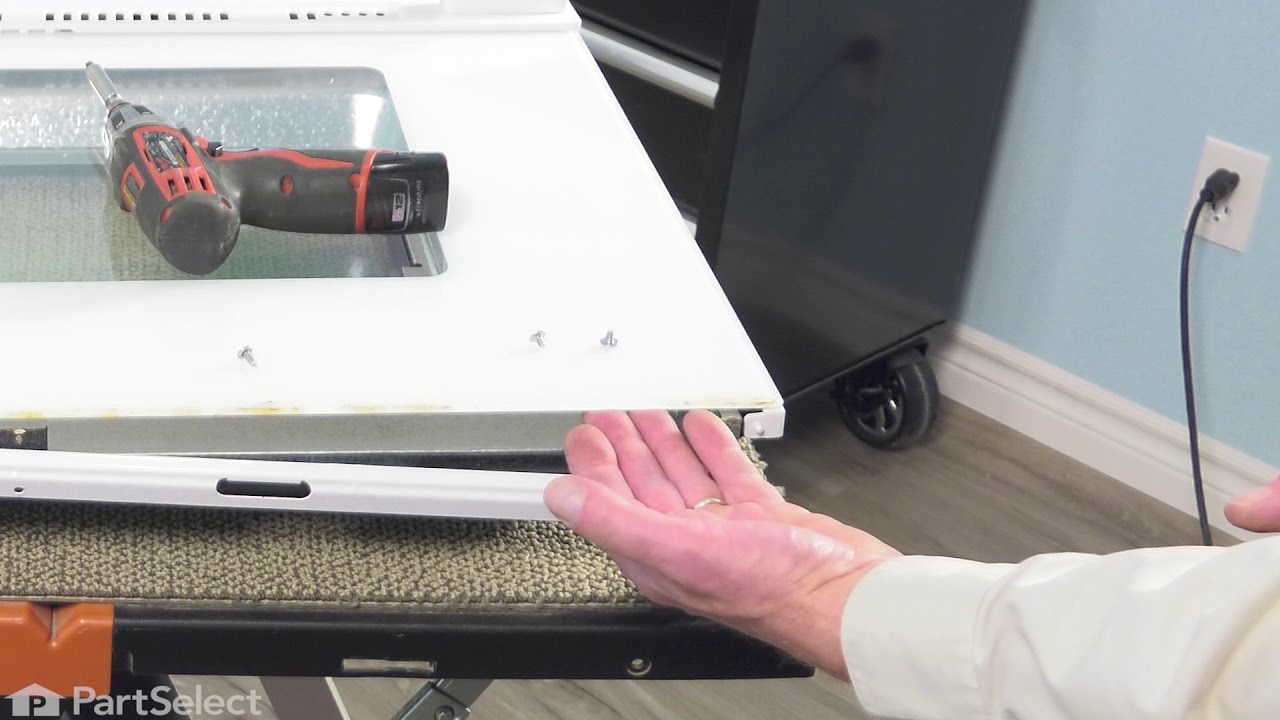
See how others fixed this model. Time, tools, difficulty, and steps that lead to victory!
View More