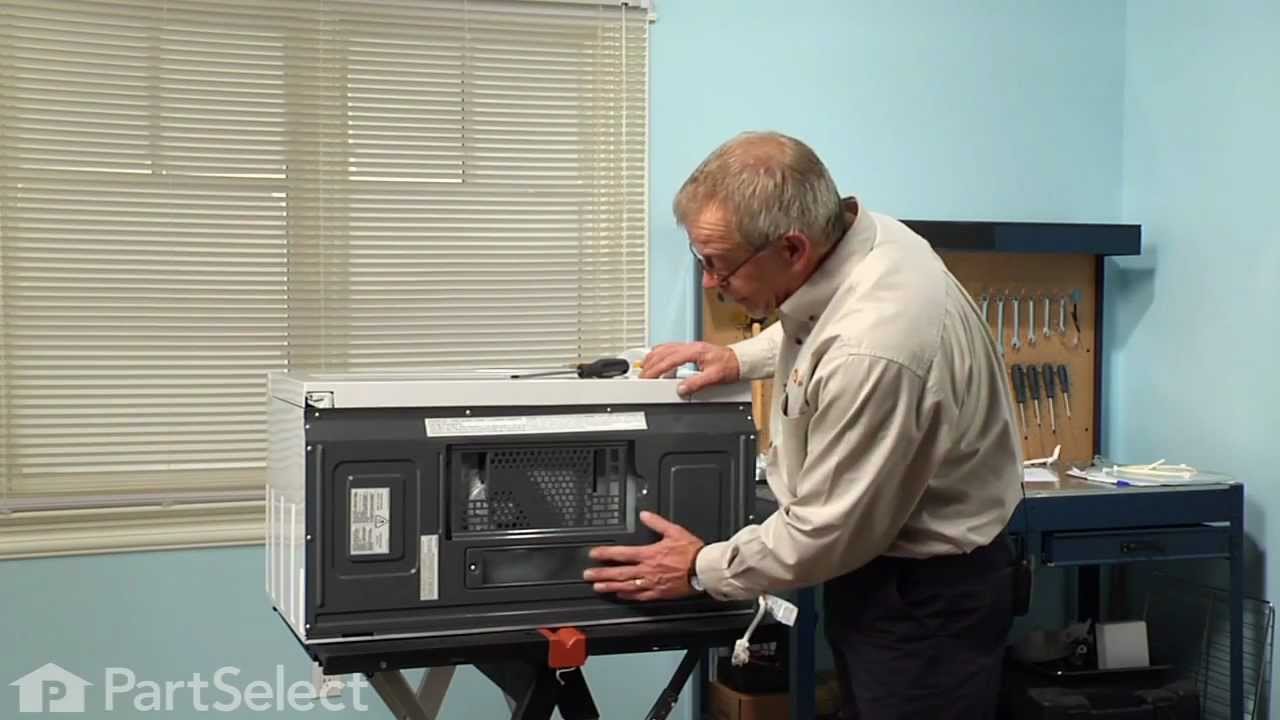
66569682992 Kenmore Microwave - Overview

Enter a part description. DIY Heroes keep it simple, eg. "belt" or "pump".

Search filter:
Clear Filter
Your search term must have 3 or more characters.
Light Bulb - 40W – Part Number: 8206232A
$10.49
In Stock
Light Bulb - 40W
★★★★★
★★★★★
(92)
Part #8206232A
This 40w light bulb is a replacement bulb constructed of glass and metal. It is an easy-to-install electrical part which produces 40w of light. If the bulb won't light up then it may be broken and should be replaced. The bulb attaches directly to an appropriate light socket and has a small screw-in base. To access the exterior light bulb, you will need to remove the panel on the bottom of the microwave using a Phillips screwdriver. If your exterior light bulb has not been changed before, it is probably held in place with some silicone. You will need to cut away this silicone to remove the old bulb. If you cannot access the silicone with a utility knife, it can be removed using dental floss. Once the silicone is removed, simply unscrew the old bulb, and replace it with the new one. Be sure to disconnect the power to the microwave before you begin this repair. This light bulb measures about 1 1/8 inches. We do not recommend using a higher-wattage bulb for this appliance, and can only recommend this specific bulb. If fixing the bulb does not solve your microwave light issue, it's possibly a problem with the socket, which means the socket and/or board will need to be replaced. This can be a more dangerous repair, so consult your user manual or a technician before attempting.
Glass Cooking Tray – Part Number: 4393799
No Longer Available
Glass Cooking Tray
★★★★★
★★★★★
(28)
Part #4393799
This tray is rotated when the microwave is turned on.
R Ceramic Fuse 20 A – Part Number: W11707984
$47.21
In Stock
R Ceramic Fuse 20 A
★★★★★
★★★★★
(12)
Part #W11707984
This part protects the microwave by shutting it off if there is an electrical surge.
DIODE – Part Number: W11256462
$38.45
In Stock
DIODE
★★★★★
★★★★★
(4)
Part #W11256462
This part allows power to go one way but not the other.
Microwave Damper – Part Number: W10843943
$91.76
In Stock
Microwave Damper
★★★★★
★★★★★
(5)
Part #W10843943
This assembly includes the damper door and frame.
Microwave Turn Ring – Part Number: W11252182
$52.79
In Stock
Microwave Turn Ring
★★★★★
★★★★★
(8)
Part #W11252182
This support ring sits underneath the glass turntable tray.
Microwave Screw – Part Number: W10841091
$10.35
Special Order
Microwave Screw
Part #W10841091
Sold individually.
Door Switch - 250V – Part Number: W10211972
$60.02
In Stock
Door Switch - 250V
★★★★★
★★★★★
(2)
Part #W10211972
This small but important switch helps keep your microwave safe by making sure it won’t run unless the door is properly closed. It tells the microwave’s control system whether the door is open or shut, helping prevent accidents and ensuring everything works as it should. If your microwave isn’t starting or heating, this part might be the fix you need. Installing it usually involves opening the microwave’s outer panel and replacing the switch near the door latch—just be sure to unplug the unit first and follow safety steps.
Drive Coupling – Part Number: W10435116
$37.26
Special Order
Drive Coupling
★★★★★
★★★★★
(6)
Part #W10435116
This part has a D-shaft for the motor shaft.
Mounting Bracket – Part Number: 8206334
$9.85
In Stock
Mounting Bracket
Part #8206334
This individual microwave mounting bracket attaches the vent grill to the cabinet. Most times, these are sold with the vent grill assembly.
Magnetron – Part Number: W10245183
$218.66
Special Order
Magnetron
★★★★★
★★★★★
(2)
Part #W10245183
This part is used to generate microwave energy/heat.
Screw – Part Number: WP4393834
$9.85
In Stock
Screw
Part #WP4393834
Sold individually.

Manuals & Care Guides for 66569682992

Click to download

Common Symptoms of the 66569682992

How this model fails, and the parts that fix it.

Watch our pros, then fix it yourself.

See how others fixed this model. Time, tools, difficulty, and steps that lead to victory! View More

Search repair tips from other customers using simple keywords like "replace", "fit", "remove", "inspect". DIY doesn't mean you have to do it alone!

Search filter:
Clear Filter
Your search term must have 3 or more characters.
broken glass turntable
405 of 422 people found this instruction helpful.
  • Deborah from Baltimore, MD
  • Really Easy
  • Less than 15 mins
No repair- just replaced glass turntable.
Right part I needed with first try
Was this helpful?
Thank you for voting!
light bult needed to be replaced
224 of 331 people found this instruction helpful.
  • Deborah from Millersville, MD
  • Difficult
  • Less than 15 mins
  • Screw drivers
The nightmare was that this microwave is installed under the cabinet....in order to get to the light bulb I had to pull out my stove then squeeze into the space between the stove and counter....my old microwave light bult was much easier to change.....Shame on Whirlpool for making this so difficult.....must be a better way to cover the li ght bulb so that we do not need a screwdriver to remove the door to get to the light bulb
Was this helpful?
Thank you for voting!
My microwave began suddenly making a loud humming noise while cooking food.
131 of 258 people found this instruction helpful.
  • Lindsay from Nampa, ID
  • A Bit Difficult
  • 1- 2 hours
  • Nutdriver, Screw drivers
My microwave began suddenly making a loud harsh humming noise while cooking food. I did not let it go on long enough to know if it cooked the food or not. I did some Internet research and learned that it was likely the Magnetron. The test for this was to run the microwave for at least a minute on the lowest power setting and see if the no ise cycled on and off. It did, so I (actually, my wife) ordered the part from partselect.com using the model number. I was successful in replacing the part, and we are back to microwave popcorn and quick defrost for a price that was less than a service call, however, it was time consuming, required a large work area, and access to 5 out of 6 sides of the unit. So proceed at your own discretion

Caution:

The first thing in every set of repair instructions was to discharge (short-circuit) the capacitor, as it may store large (as in lethal) amounts of electricity even when it is not connected to a power source. I had never done this, but found these instructions:

“Discharging your microwave's capacitor is absolutely essential in preventing injury to your microwave, your tools, and yourself. A capacitor stores a large amount of electricity even when your microwave is unplugged, and it must be discharged before beginning any repair.
A capacitor is discharged by creating a short circuit between each of the two capacitor terminals, and between each terminal and the chassis. The chassis is the metal mounting (bare metal surface) of the capacitor. Read these directions thoroughly before you proceed.
With your microwave unit unplugged, touch the blade of a well insulated screwdriver to one terminal. Gently slide the screwdriver forward until it reaches the other terminal, holding it there for a few seconds. Be aware that this often results in a loud and startling 'POP'.
Repeat this procedure in order to create a short circuit between each capacitor terminal and the chassis (bare metal mounting plate surface). This same method can be applied to a capacitor having three, and not two, terminals.”
I had not run my microwave in over a week, and then while my part was shipping, left my microwave 'unplugged' for more than two days, and my capacitor apparently discharged itself, although I did go through the above procedure carefully and completely - just in case.
Step-By-Step:
1. You must remove your microwave from the cabinets - it is impossible to repair otherwise. This is best accomplished with 2 strong people - my wife and I made it work, but wished for another guy.
a. While supporting the microwave, remove the two screws coming down through the cabinet above.
b. Lift the rear of the microwave as much as possible, then tilt the front down - there is a clip high on the left side, as well as the hinge/clips on the bottom.
c. If you do not lift it off the wall all at once, you may have to lift the rear even farther to remove it from the hinge/clips on the bottom.
Important Note: Always beware of the microwave door, if it is bent or broken and cannot retain a seal, the microwave not function as a safety feature to keep from releasing microwaves.
2. Remove the vent cover on the top/front of the microwave - be careful, it's plastic.
3. Remove the vent cover and light panel on the bottom of the microwave - this is several screws and some simple wire clips.
4. Remove the "shell" (top and sides) of the microwave - this is several more screws on the back. Make sure to remove the plate that is holding the cord in place on the top.
5. Remove the interface panel by the screws on the top (which had been hidden by the vent cover) - the wires can remain attached, just slide it aside.
6. Remove the metal cover on the right side at the rear; this will expose the Magnetron and the Capacitor. Remember to immediately test and discharge the capacitor!

7. After you discharge the capacitor, remove the other cover plate and the support bracket - in case you haven't noticed, this is a time and space consuming operation.

8. You
Was this helpful?
Thank you for voting!