


 My Orders


6654098915 Kenmore Wall Oven - Overview
Diagrams for 6654098915
See every part. Know exactly what you need.

Enter a part description. DIY Heroes keep it simple, eg. "belt" or "pump".
Search filter:
Clear Filter
Your search term must have 3 or more characters.

$26.41
In Stock
Light Bulb - 40W
Part #8009
This an authentic OEM 40-Watt replacement light bulb, used in a number of household appliances. It is specially designed to withstand extreme temperatures, which is why these replacement bulbs are most often used to light the inside of refrigerators and ranges. It features a standard socket base, which means you simply unscrew the burnt-o...Read moreut bulb and screw in the replacement. Depending on the appliance you may require a screwdriver or nut driver to access the light bulb. We recommend you wear work gloves while handling this replacement part. It is constructed of glass and metal and is sold individually. Depending on the appliance and location of the bulb within it, you may want to consider disconnecting power and using a flashlight for easier access to unscrewing and re-screwing in your bulb during this repair.
Read less

$15.35
In Stock

$97.21
In Stock
SOCKT-LITE
Part #W11594027
The light socket on your electric range connects the power source to the light bulb. If your oven light is malfunctioning, you may need to replace the light socket. The light socket is located in the back of your range, so in order to access it you will need to remove the back panel. Many of our customers have rated this repair as easy, a...Read morend it should take less than 15 minutes. Before you begin this repair, make sure to disconnect the power source from your range. This is an OEM part sourced directly from the manufacturer.
Read less

$10.95
In Stock

$66.88
In Stock
2 Piece Broiler Pan
Part #4396923
This broiler pan and roasting rack set features a two-piece design that allows fat to drain away for cleaner cooking and reduced splatter. Made with a durable, high-heat resistant porcelain finish, it offers reliable performance and easy cleanup. Measuring approximately 16 3/4 inches long by 12 3/4 inches wide and 1 3/4 inches high, it provides a practical solution for everyday broiling and roasting.

$10.50
In Stock
Screw
Part #WP488729
Metallic screw that is less than an inch long. Does not include the plastic washer.

$123.40
In Stock
Oven Bake Element 2600w 240v
Part #WP308180
This closed hinged style bake element is 15-3/4 inches long and 16-5/8 inches wide. The terminal depth is three inches and they are 1-3/4 inches apart.

$34.20
In Stock

$126.88
Special Order
Range Inner Door Glass
Part #WP3169203
Ensure your washing machine runs smoothly with this suspension spring set, designed to support and stabilize the outer tub during operation. Ideal for managing unbalanced loads, these springs help reduce vibration and noise, contributing to a more efficient and quieter laundry experience. The set includes two springs and should be install...Read moreed together for balanced performance. Always disconnect power to the appliance before beginning installation to ensure safety.
Read less

$17.38
In Stock

$10.95
In Stock

$22.50
Special Order
Common Symptoms of the 6654098915
How this model fails, and the parts that fix it.
Little to no heat when baking
Fixed by
these parts
these parts


Show All
Element will not heat
Fixed by
these parts
these parts

Show All
Oven not heating evenly
Fixed by
these parts
these parts
Show All
Little to no heat when broiling
Fixed by
these parts
these parts
Show All
Will Not Start
Fixed by
these parts
these parts

Show All
Oven is too hot
Fixed by
these parts
these parts
Show All
Door won’t close
Fixed by
these parts
these parts

Show All
Watch our pros, then fix it yourself.


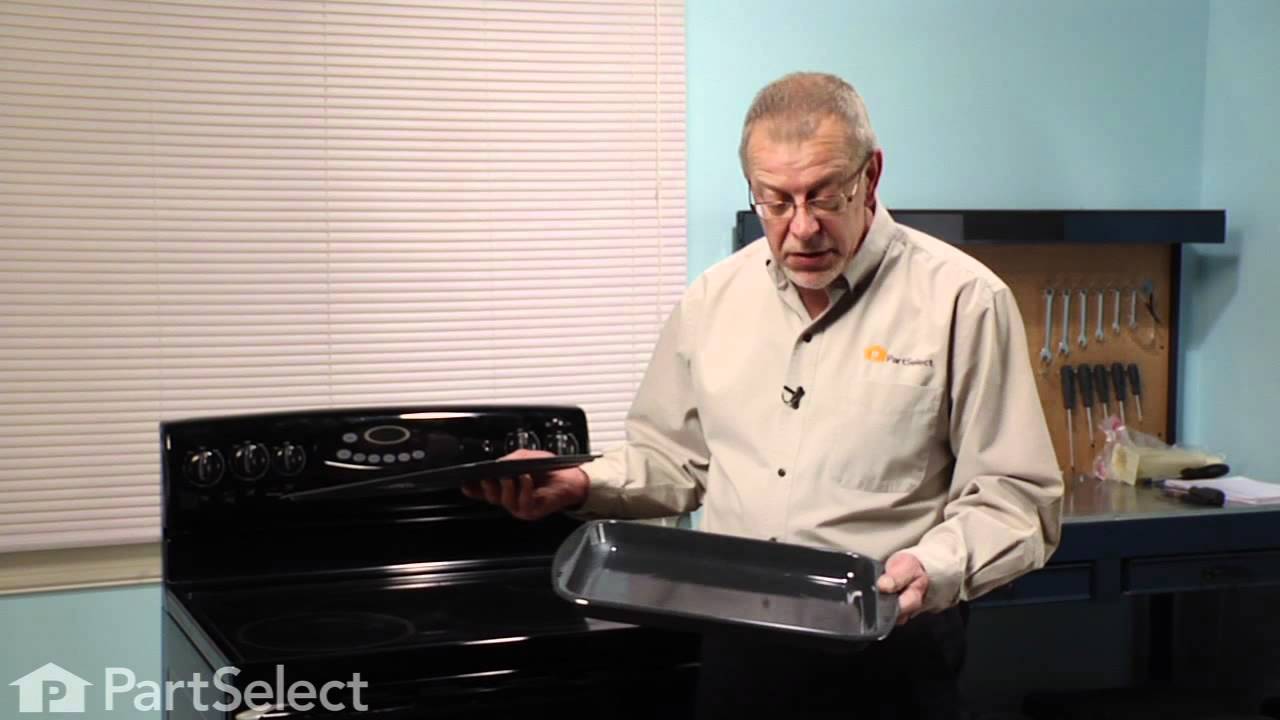
See how others fixed this model. Time, tools, difficulty, and steps that lead to victory!
View More