


 My Orders


66513633K903 Kenmore Dishwasher - Overview
Diagrams for 66513633K903
See every part. Know exactly what you need.

Enter a part description. DIY Heroes keep it simple, eg. "belt" or "pump".
Search filter:
Clear Filter
Your search term must have 3 or more characters.

$16.38
In Stock
Dishwasher Rack Track Stop
Part #WP8565925
The rack track stop on your dishwasher is designed to stop the dish rack at the appropriate place when opening and closing the rack. If your dishwasher is not cleaning your dishes properly, the rack stop may need to be replaced. The replacement part may differ slightly from the broken part, depending on the model. However, the different s...Read moretyles are interchangeable. This product is sold individually and comes in both a white and grey plastic version. Many of our customers found this repair to be very easy and takes less than 30 minutes to complete. Simply snap the old part out and snap the new part into place. You will not require any tools to complete the job. This is an authentic part approved by the manufacturer.
Read less

$62.14
In Stock
Chopper Assembly
Part #W10083957
This chopper assembly chops up/mince the food particles to prevent from clogging the dishwasher pump.

$53.85
In Stock
Dishwasher Heating Element
Part #W10518394
This manufacturer-certified heating element is used to create heat during the dry cycle and increase water temperature during portions of the wash cycle when certain options are selected. If your dishes are not drying or the water in the dishwasher is not getting hot you may need to replace the element. This kit includes the heater, two h...Read moreeater fasteners, and is a genuine OEM part. Please remember to disconnect the power before starting the repair. Use a multi-meter to test your heating element for continuity to determine whether this is the part that is causing your symptom. This part does not include any washers. To make your repair, disconnect the wires from the bottom of the element in the back, remove the plastic nuts holding it in place, remove the element, and repeat these steps in reverse order to install your new part. This is an easy repair that requires only a screwdriver, wrench set, and should take less than 30 minutes.
Read less

$94.28
In Stock
Dishwasher Drain Pump
Part #WPW10348269
This drain pump is used in dishwashers to remove water from the dishwasher tub. If the impeller in the dishwasher is damaged or the motor has been shorted out and will not drain, it is possible the body is cracked, causing leakage. To prevent this from happening, replace the drain pump. The tools needed for this installation are: Phillips...Read more screwdriver, 5/16 inch nut driver, 5/8 inch wrench, and a flathead screwdriver. Remember to unplug your dishwasher from the power source before beginning this installation project. Refer to the manual provided by the manufacturer for further installation instructions.
Read less

$38.33
In Stock
Rinse-Aid Dispenser Cap
Part #WP8558307
This rinse aid dispenser cap is a precision-molded component designed to seal the rinse aid compartment within compatible dishwashers. Constructed from durable, blue-colored plastic and equipped with a gasket, it ensures proper containment and timed release of rinse aid during the wash cycle. By maintaining a secure seal, the cap supports...Read more optimal cleaning and drying performance while preventing leaks and dispensing failures. This genuine OEM part meets manufacturer specifications and is compatible with a range of dishwasher models. Installation is simple and tool-free, involving a direct fit into the rinse aid reservoir.
Read less

$44.20
In Stock
Bi-Metal Fuse
Part #W10258275
This part is used as a safety device to protect the dishwasher circuit from overload. If the temperature gets to high it will shut off the electrical current to the heating unit in the appliance. Also known as Thermal Fuse.

$97.78
In Stock
Dishwasher Door Gasket with Strike - Black
Part #W10542314
The dishwasher door gasket and strike kit ensures a watertight seal and proper latch function to prevent leaks. Compatible with select Whirlpool, KitchenAid, Maytag, Jenn-Air, and other models, this OEM part restores optimal performance. Check for wear like tears or gaps before replacing. Follow safety measures and installation instructions for proper setup.

$14.22
In Stock
Dishwasher Friction Sleeve
Part #WP8268961
This part helps to keep your door quiet when it opens and closes.

$37.35
In Stock
Spinner Kit
Part #8193983
This is also called the 3rd-level spinner. This part works like a little spray arm at the top of your dishwasher.

No Longer Available
Touch-Up Paint - White
Part #72017
This 18 ml bottle of white appliance touch-up paint is used to cover scratches or marks on your appliance. The white touch-up paint can be used on refrigerators, microwaves, ranges, clothes dryers, and freezers. This is a genuine OEM part and includes a brush applicator. Please remember to wear gloves to protect your hands when applying this paint.

$339.72
In Stock
Dishwasher Circulation Pump And Motor
Part #WPW10757217
The part functions by spinning the impeller of the circulation pump, which is used to move the water through the spray arms during the wash cycle.

$35.15
In Stock
Manuals & Care Guides for 66513633K903
Click to downloadCommon Symptoms of the 66513633K903
How this model fails, and the parts that fix it.
Not cleaning dishes properly
Fixed by
these parts
these parts


Show All
Leaking
Fixed by
these parts
these parts


Show All
Not drying dishes properly
Fixed by
these parts
these parts


Show All
Will Not Start
Fixed by
these parts
these parts


Show All
Not draining
Fixed by
these parts
these parts


Show All
Noisy
Fixed by
these parts
these parts


Show All
Door latch failure
Fixed by
these parts
these parts


Show All
Will not dispense detergent
Fixed by
these parts
these parts

Show All
Will not fill with water
Fixed by
these parts
these parts


Show All
Door won’t close
Fixed by
these parts
these parts

Show All
Watch our pros, then fix it yourself.

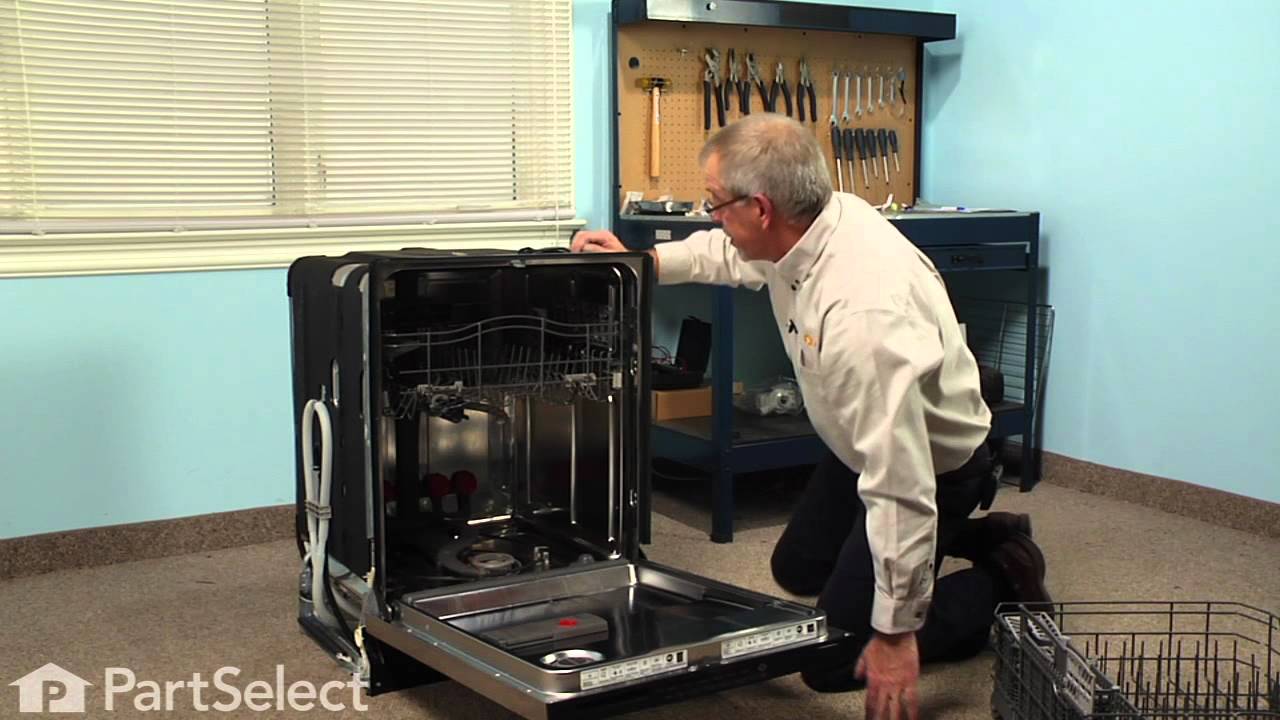
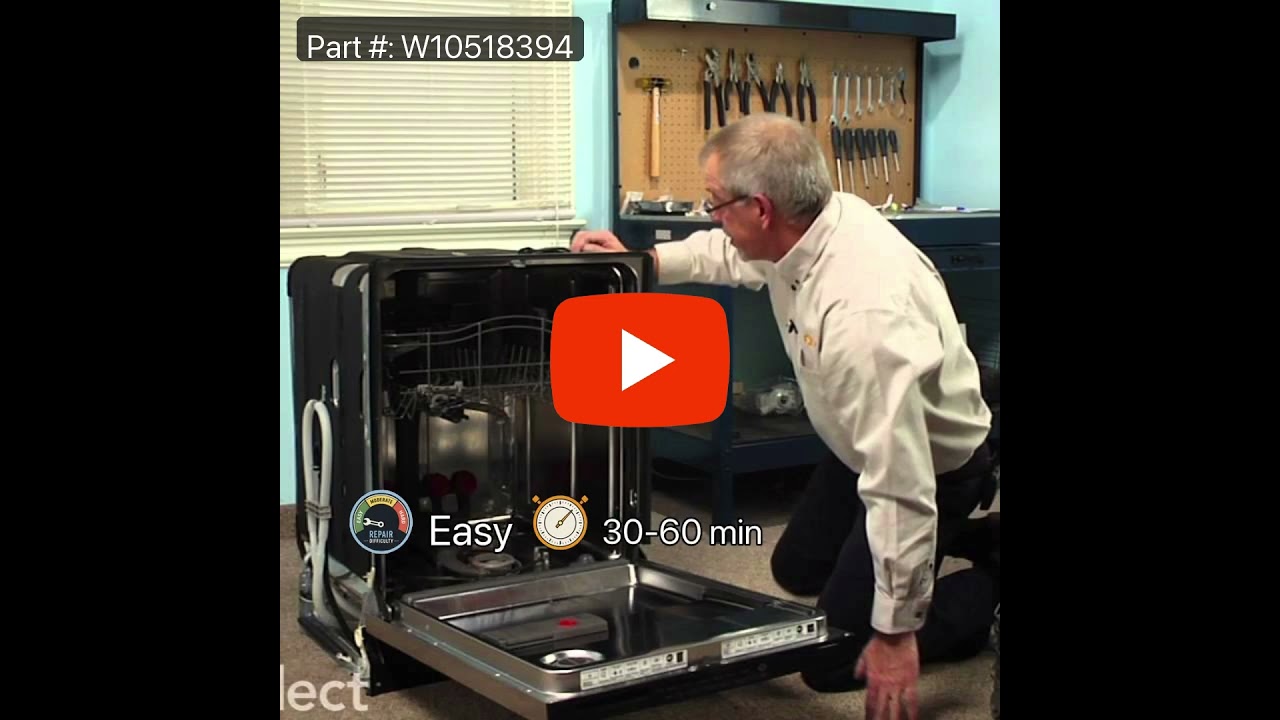
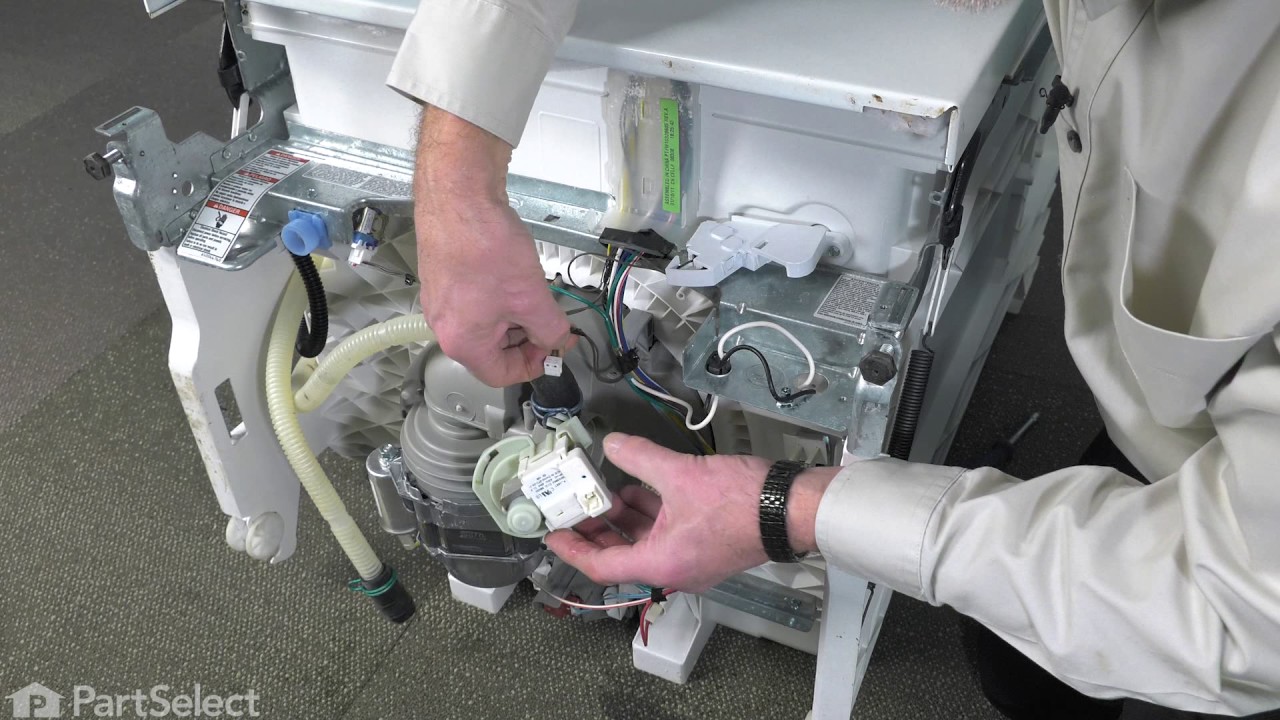

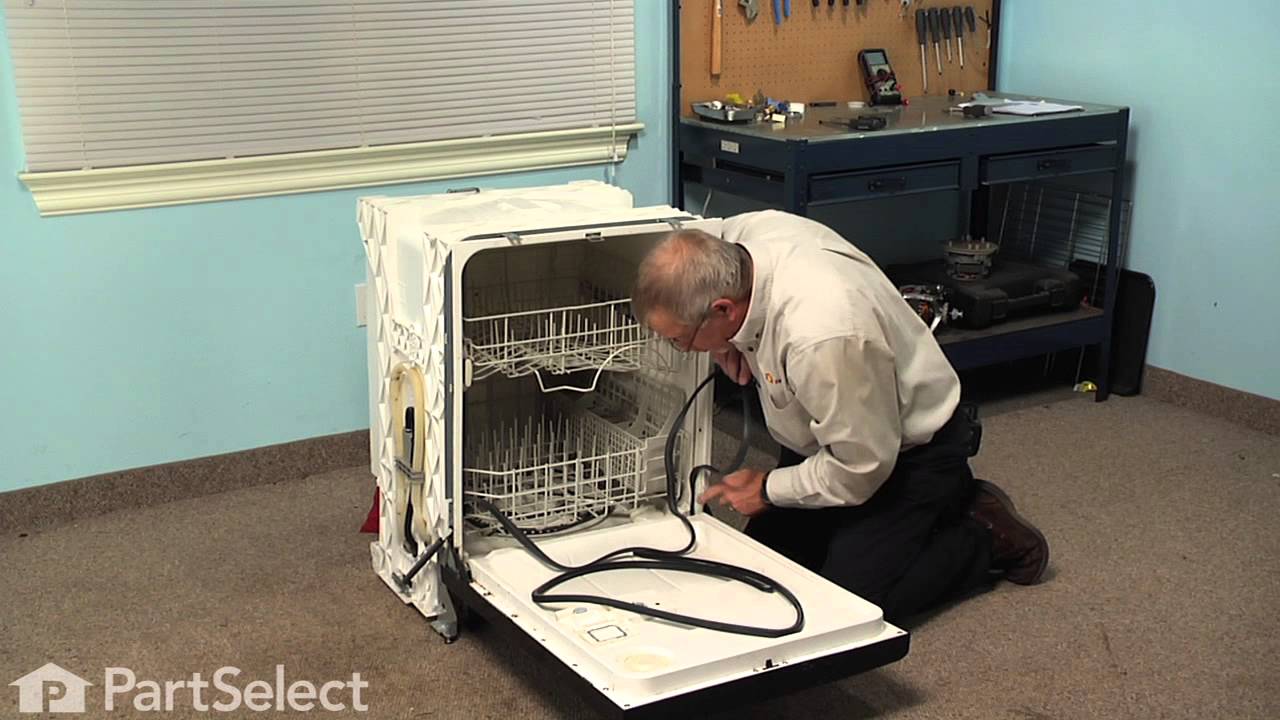
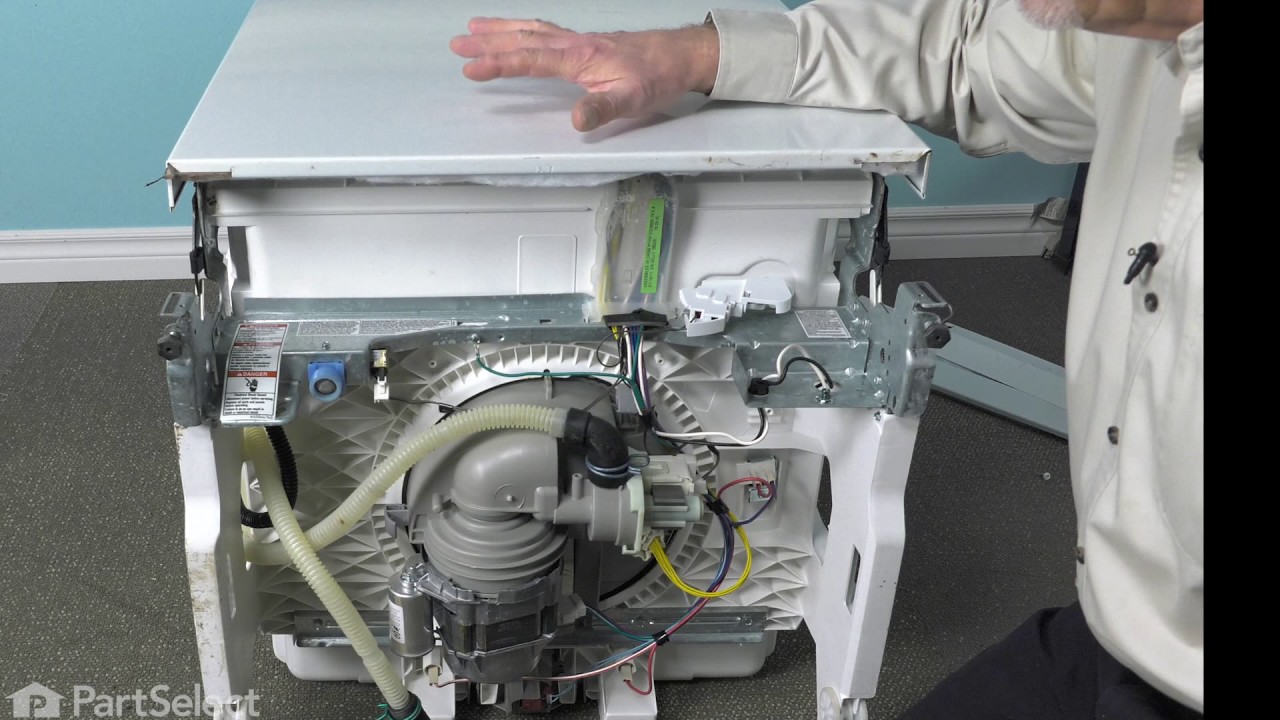
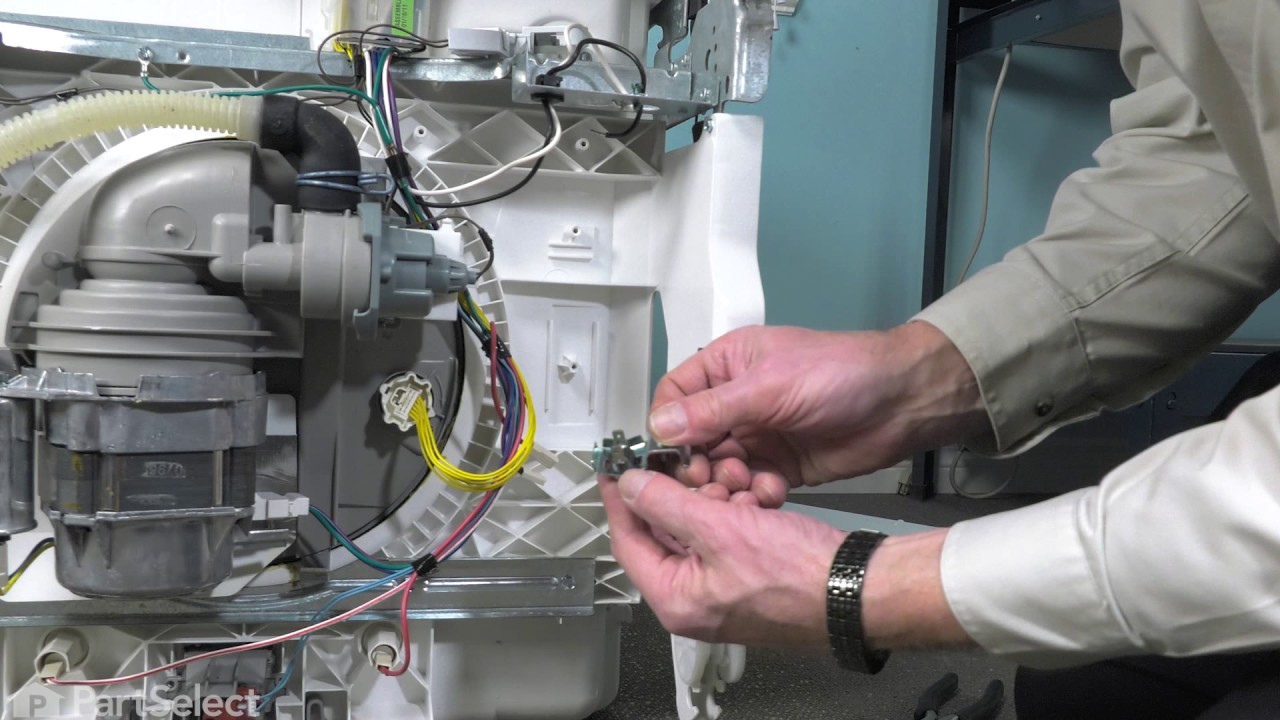
See how others fixed this model. Time, tools, difficulty, and steps that lead to victory!
View More