


 My Orders


62946795 Kenmore Range - Overview
Diagrams for 62946795
See every part. Know exactly what you need.

Enter a part description. DIY Heroes keep it simple, eg. "belt" or "pump".
Search filter:
Clear Filter
Your search term must have 3 or more characters.

$26.41
In Stock
Light Bulb - 40W
Part #8009
This an authentic OEM 40-Watt replacement light bulb, used in a number of household appliances. It is specially designed to withstand extreme temperatures, which is why these replacement bulbs are most often used to light the inside of refrigerators and ranges. It features a standard socket base, which means you simply unscrew the burnt-o...Read moreut bulb and screw in the replacement. Depending on the appliance you may require a screwdriver or nut driver to access the light bulb. We recommend you wear work gloves while handling this replacement part. It is constructed of glass and metal and is sold individually. Depending on the appliance and location of the bulb within it, you may want to consider disconnecting power and using a flashlight for easier access to unscrewing and re-screwing in your bulb during this repair.
Read less

$52.44
In Stock
Oven Bake Element
Part #WP74010750
This bake element has push-on terminal ends.
NOTE: This element has been updated by the manufacturer. New installation screws are required. Screws are sold separately.

$52.75
In Stock
Long Oven Sensor
Part #12001656
The oven sensor detects the temperature within the oven cavity and sends the information to the control board. If your oven is not heating evenly, has little or no heat when baking, or is too hot, you may need to replace the sensor. This long oven sensor kit comes with two harness adapters and is a genuine OEM part. Please remember to disconnect the power before starting your repair.

$33.95
In Stock
Leveler Foot Screw (Nylon)
Part #W11665456
This leveling leg is two inches long. It is all black in color and it is made entirely of plastic.

$111.60
In Stock

$30.40
In Stock
Screw
Part #W11233072
This is a multi-use and multi-appliance screw. It can be used on a microwave, refrigerator, range/oven, air conditioner, dehumidifier, washer, or dryer. The measurements of this screw are 8 x 1/2 inch. It has 6 threads. Refer to the manual provided by the manufacturer for further information on repair and accurate guidance. Remember to wear work gloves as a safety precaution.

$231.97
In Stock
Dual Radiant Element with Limiter
Part #W10823709
The Dual Radiant Surface Element with Limiter is an OEM replacement designed to efficiently distribute heat across the cooking surface of ranges. Equipped with a limiter for safety, it prevents overheating and ensures consistent cooking performance. Always unplug the range or turn off the circuit breaker before installing this part, and w...Read moreear work gloves to protect your hands. Verify compatibility with your specific model to ensure proper fit.
Read less

$179.14
In Stock
Inner Door Glass Pane
Part #74003645
Keep your oven safe and functional with this replacement interior door glass, the heat-resistant panel that lines the inside of your oven door. With dimensions of approximately 20 5/8" x 13 1/8", it fits select models and allows you to monitor cooking without opening the door. If your current glass is cracked or broken, replacing it is es...Read moresential. Always wait until the oven is cool and wear gloves during installation to protect your hands. This part is sold separately and does not come with extra components.
Read less

$41.51
In Stock
Range Terminal Block
Part #WPW10245259
It provides a way of connecting individual electrical wires and offers protection of the device from electrical surges (voltages and/or currents).

$256.97
In Stock
6 Inch Element with Limiter
Part #W10823704
This element can be used for the left front or right rear.

$12.77
In Stock
Appliance Scraper
Part #WA906B
Use this scraper for your ceramic/glass cooktop. It has a retractable blade and is an all-purpose tool for cooktops, mirrors, windows and tile. Use it to also remove paint, paper, dirt, stickers and more.

$83.14
In Stock
Dual Surface Burner Switch
Part #WP74003122
This part has been updated by the manufacturer. This updated part now has 7 wire terminals instead of 5. The terminals are all labeled, however, the new switch needs to be tested before connecting the pilot lamp wire (P). To test the new switch:
1) Connect the Line Wires (L1 and L2), connect the Load Wires (H1 and H2).
2) Do not connect...Read more the pilot lamp (P) wire yet.
3) Reconnect the power to the range and turn on the new switch and one other switch.
4) Connect the leads of a volt meter on L1 of the new switch and P of the other switch you turned on.
5) If the volt meter reads 220V, the L1 and L2 wires on the new switch must be reveresed.
6) Disconnect power, reverse Line Wires if needed and connect the P wire.
7) Reconnect power to the range after reassembly.
Read less
Common Symptoms of the 62946795
How this model fails, and the parts that fix it.
Little to no heat when baking
Fixed by
these parts
these parts


Show All
Element will not heat
Fixed by
these parts
these parts


Show All
Oven not heating evenly
Fixed by
these parts
these parts

Show All
Oven is too hot
Fixed by
these parts
these parts
Show All
Will Not Start
Fixed by
these parts
these parts
Show All
Door won’t close
Fixed by
these parts
these parts


Show All
Touchpad does not respond
Fixed by
these parts
these parts
Show All
Will not program
Fixed by
these parts
these parts
Show All
Little to no heat when broiling
Fixed by
these parts
these parts

Show All
Door won’t open after self cleaning cycle
Fixed by
these parts
these parts
Show All
Watch our pros, then fix it yourself.

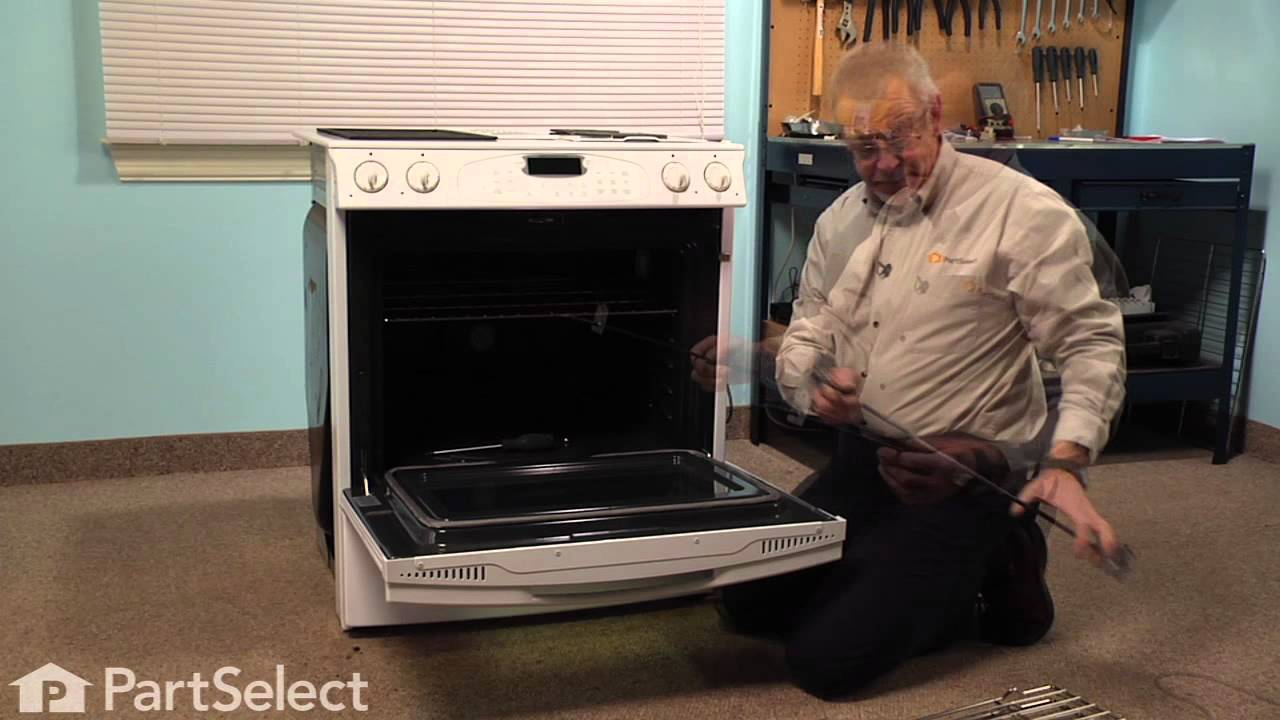
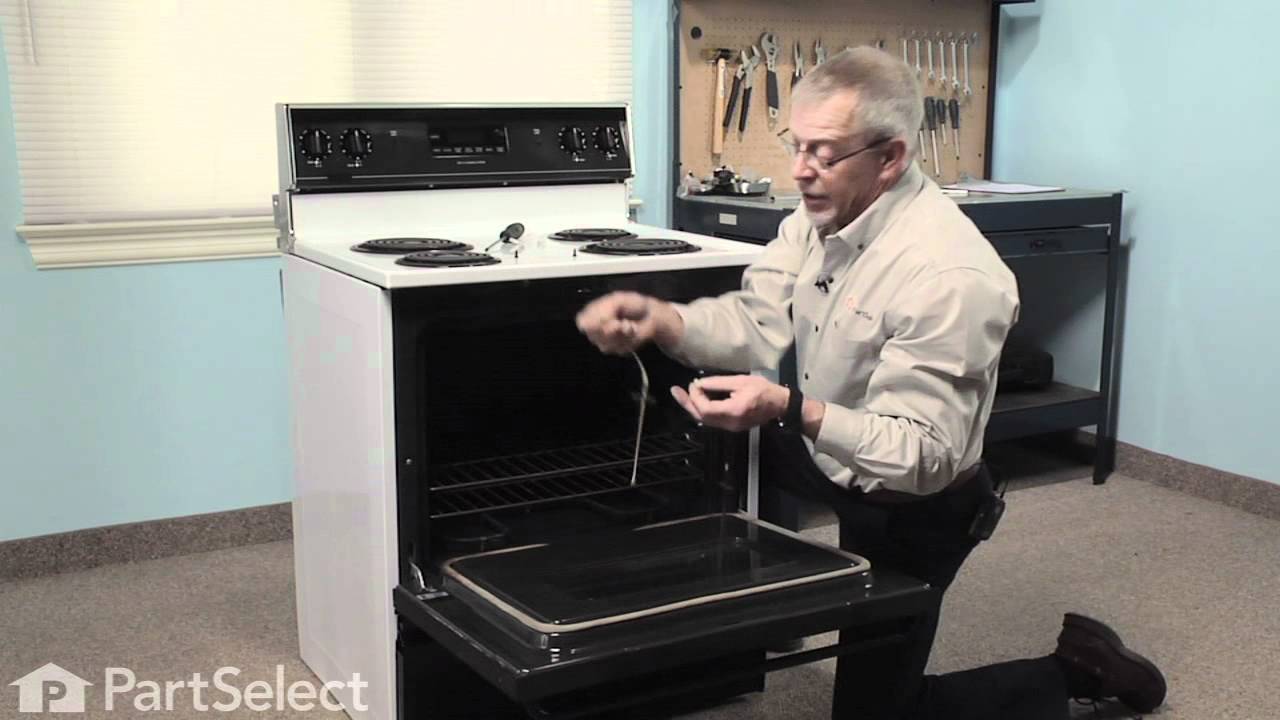
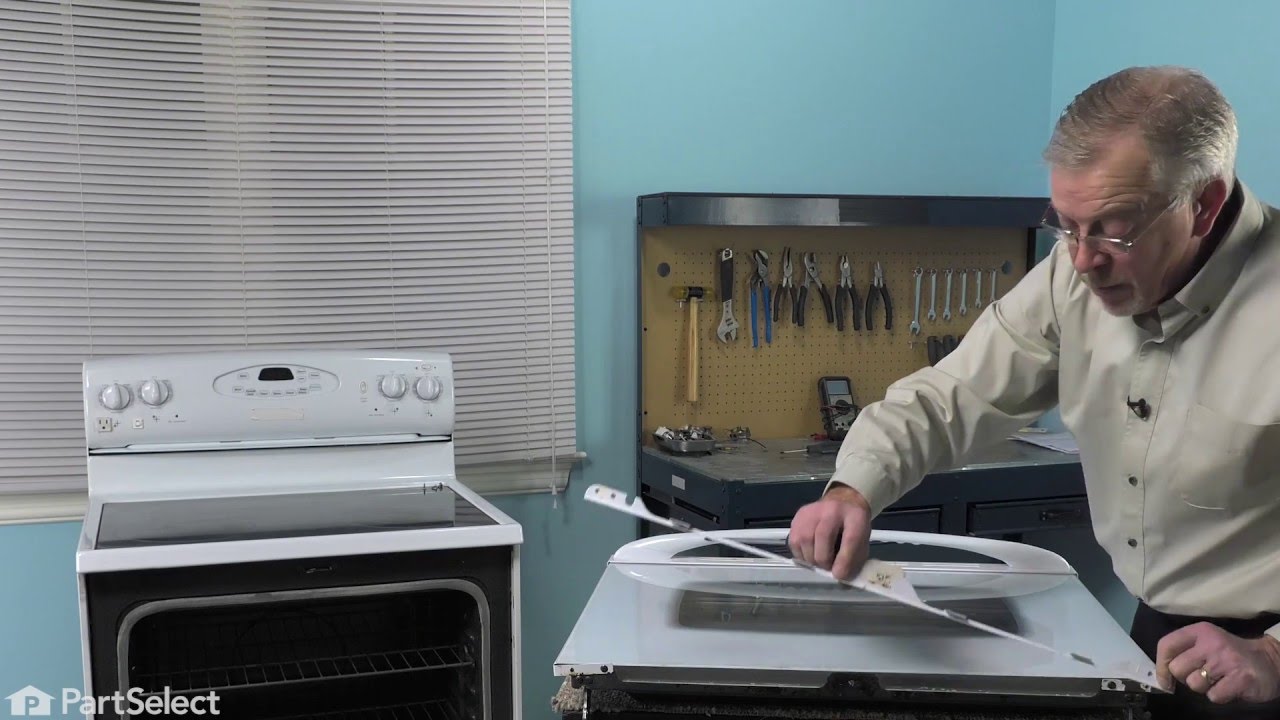
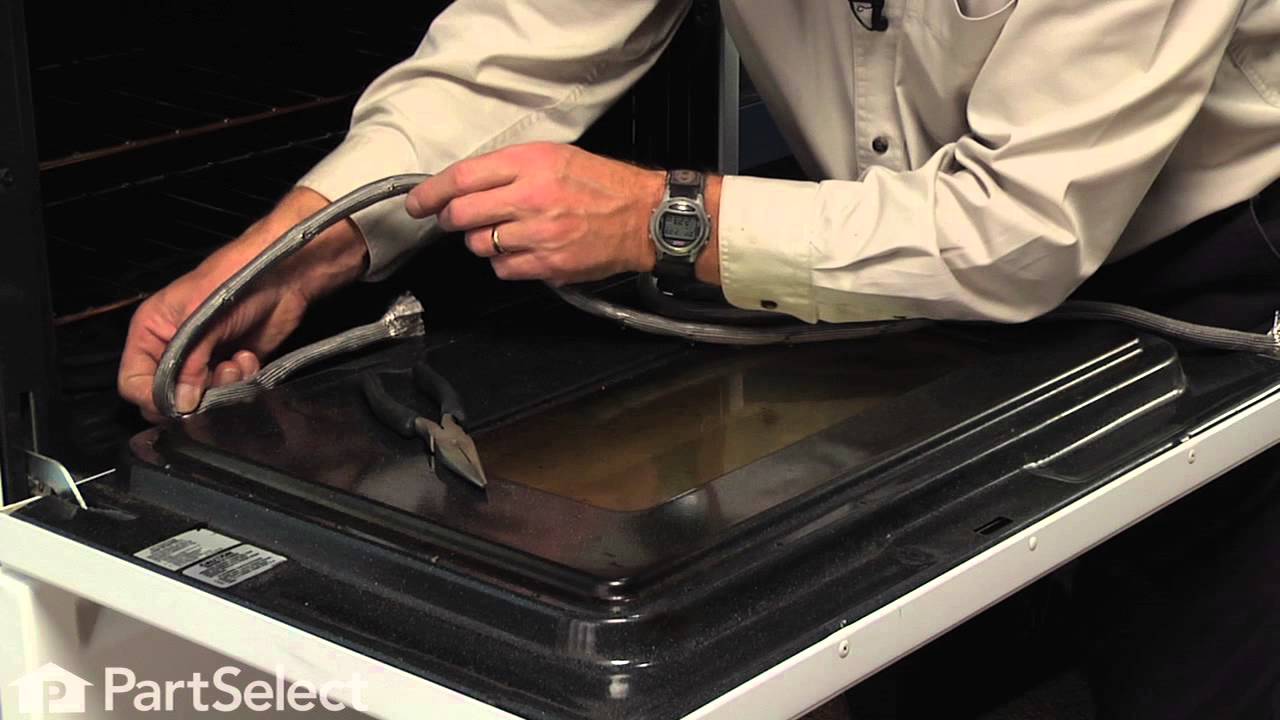
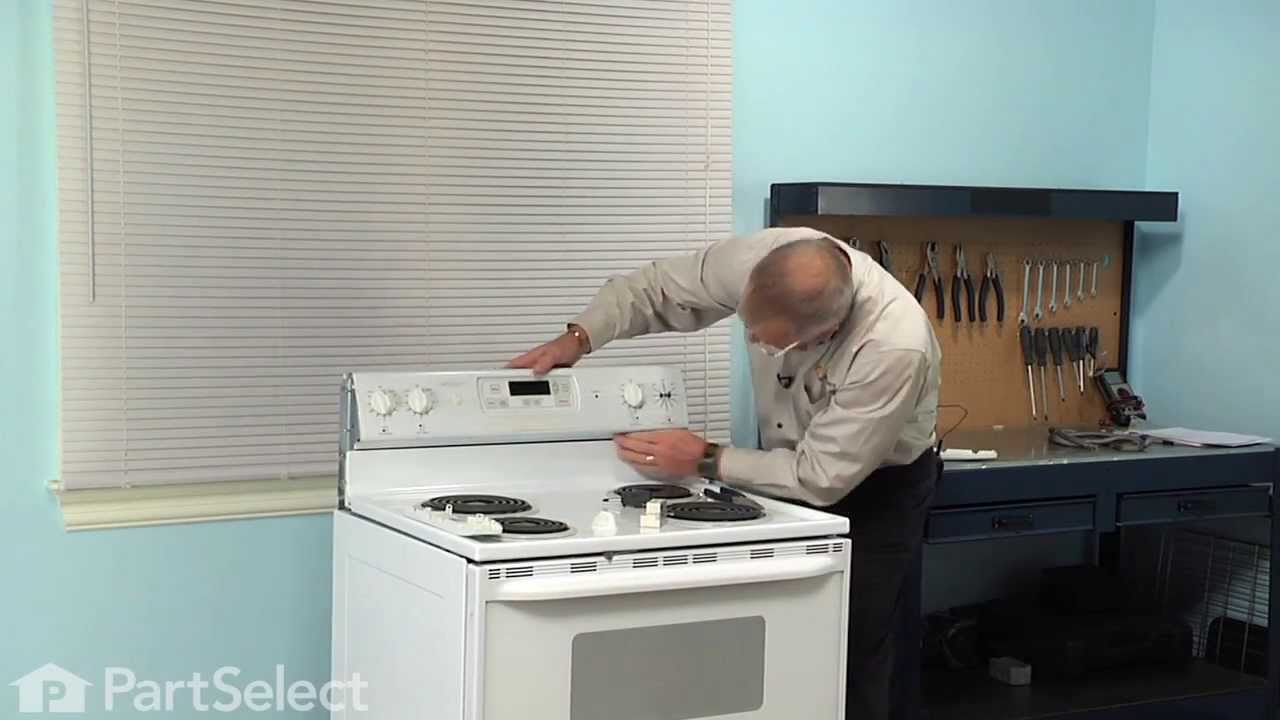
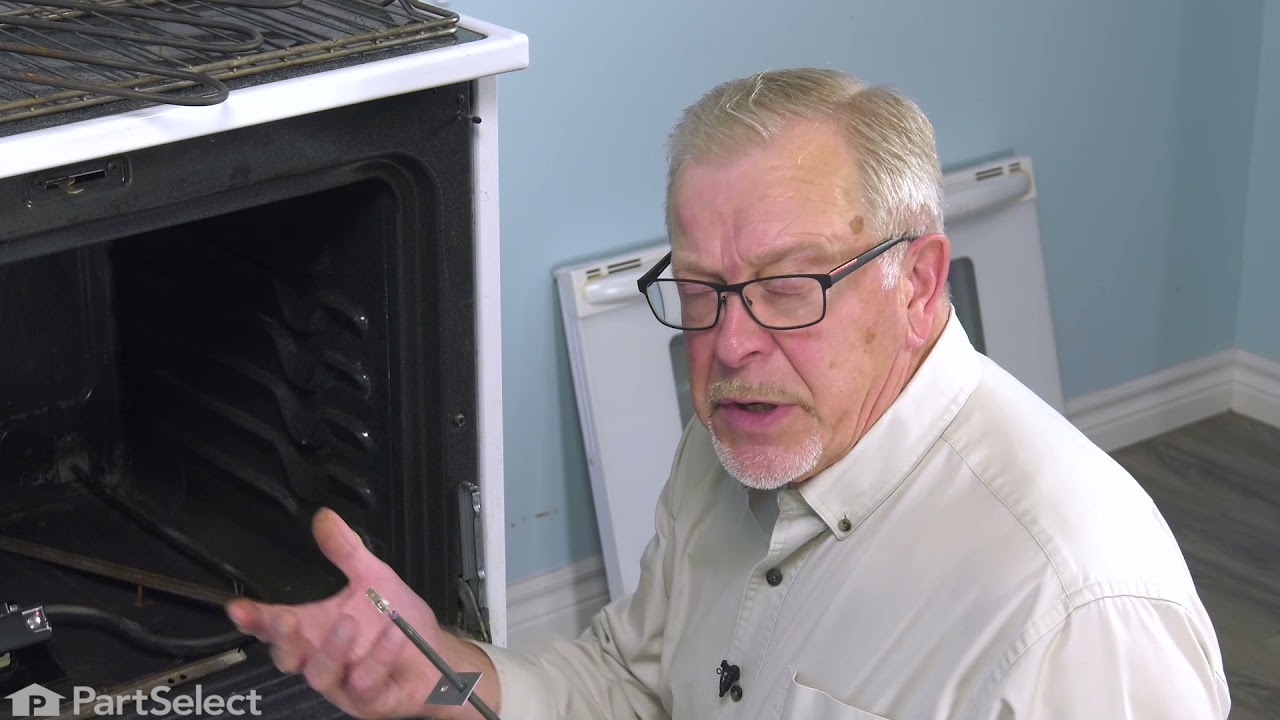
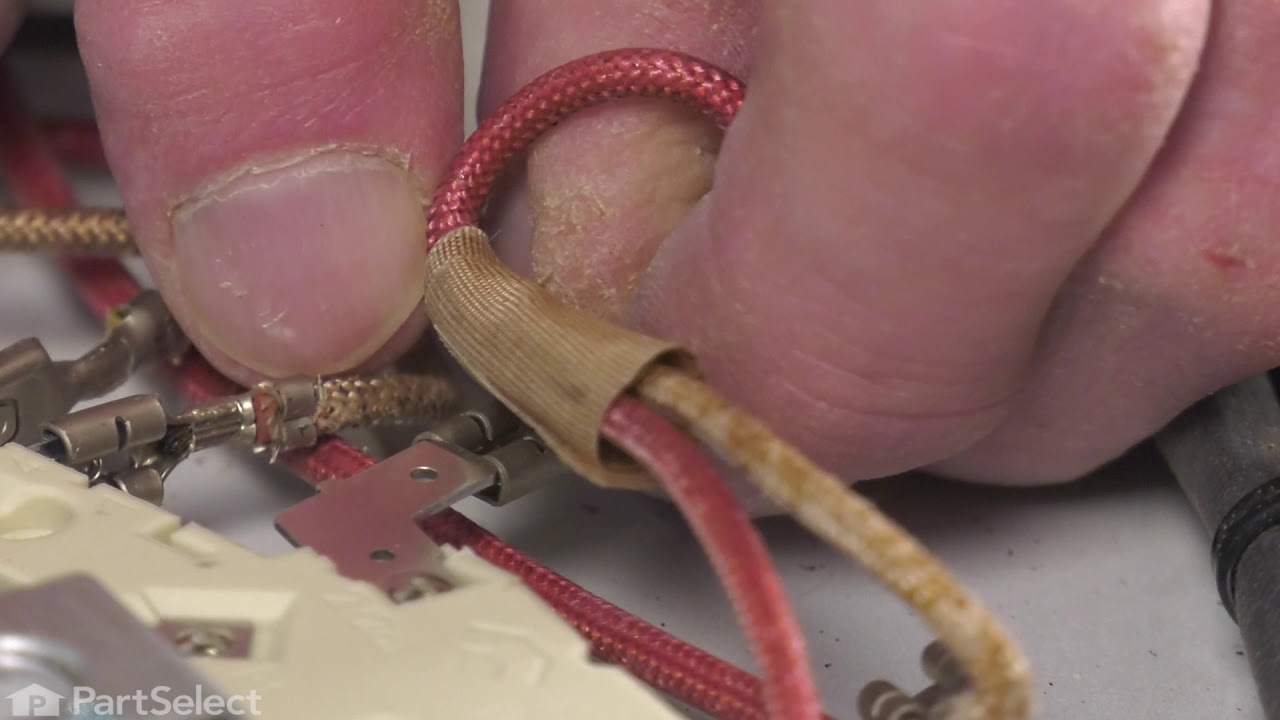
See how others fixed this model. Time, tools, difficulty, and steps that lead to victory!
View More