


 My Orders


59675934300 Kenmore Refrigerator - Overview
Diagrams for 59675934300
See every part. Know exactly what you need.

Enter a part description. DIY Heroes keep it simple, eg. "belt" or "pump".
Search filter:
Clear Filter
Your search term must have 3 or more characters.

$80.02
In Stock
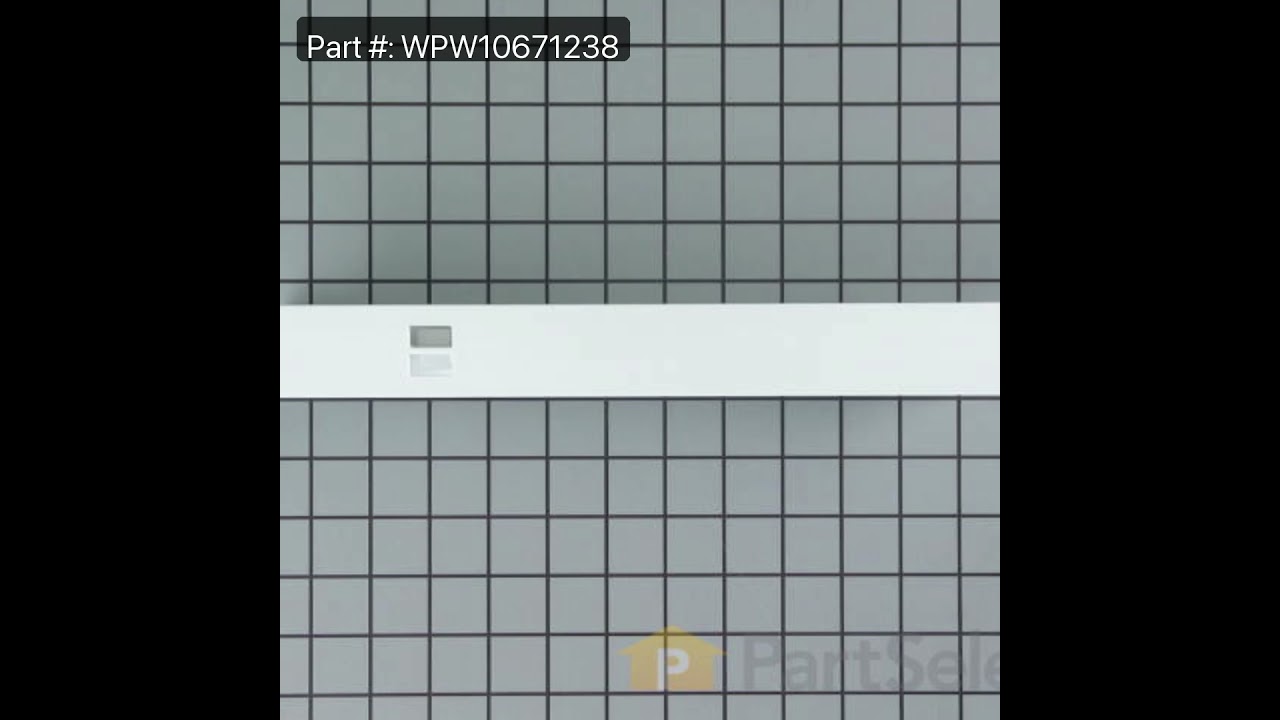
Refrigerator Center Crisper Drawer Slide Rail - White
Part #WPW10671238
This center crisper drawer rail supports the edges of refrigerator crisper drawers, ensuring smooth sliding and proper alignment. At 13.5 inches long, it fits between the drawers on the shelf frame. Quick and easy to install, this replacement restores stability and functionality to the crisper drawer system.

$169.64
In Stock
Crisper Drawer - Clear
Part #W10833528
Sold individually. This crisper drawer is for refrigerators.
Crisper drawer stores fruits and vegetables at a humidity level that helps keep them fresh longer.

$147.86
In Stock
Replacement Ice Maker
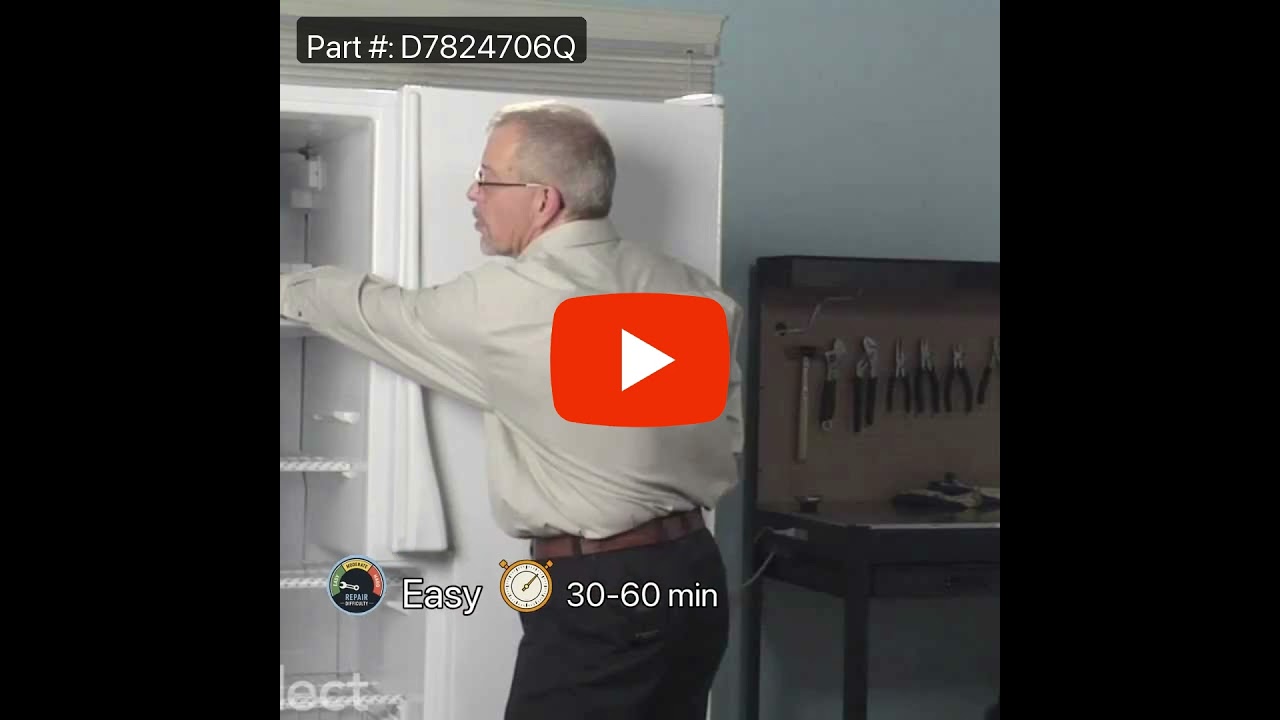
Part #D7824706Q
This modular ice maker assembly replaces worn-out units to restore ice production in refrigerators. It includes the ice mold and control device but excludes the cover, ice level arm, wire harness, and mounting hardware, which must be reused or ordered separately. Unplug the refrigerator before installation and use work gloves for safety. Check compatibility with your model number before purchase.

$43.83
In Stock

$157.31
In Stock
Crisper Drawer Cover Frame
Part #WPW10671240
This refrigerator crisper drawer frame is a durable white plastic component designed to support the crisper drawer and secure the glass shelf that serves as its lid. Engineered for long-lasting performance, it ensures the drawer remains stable and functional within the fresh food compartment. While the frame does not include the glass she...Read morelf or internal drawer components, it is compatible with select models from Whirlpool, Maytag, KitchenAid, Jenn-Air, and Amana. Installation is tool-free and straightforward—simply lift out the old frame and snap the new one into place. Replacement is recommended when the existing frame shows signs of wear, cracking, or instability, which can affect drawer alignment and usability.
Read less

$69.52
In Stock
Refrigerator Electronic Control Board
Part #WPW10503278
This electronic control board is a critical component in refrigerator systems, responsible for regulating temperature settings and managing cooling and defrost cycles. If your appliance is experiencing issues such as inconsistent temperatures, failure to start, prolonged operation, or ineffective defrosting, replacing the control board ma...Read morey resolve the problem. Installation requires a small flat blade screwdriver and should be performed with the refrigerator unplugged to ensure safety. Please note that this board must be programmed after installation to function correctly. For precise installation steps and programming instructions, refer to the manufacturer’s manual specific to your refrigerator model.
Read less

$115.19
In Stock
Refrigerator Condenser Fan Motor Kit
Part #833697
This condenser fan motor operates in a clockwise fashion and carries carries 2W and 115V. It comes with screws, a mounting nut for the blade and a cushion. This part provides forced-air cooling for the condenser coil.

$15.35
In Stock
Refrigerator Humidity Control Slide
Part #WP67005864
This part mounts on the crisper drawer cover and is used to limit the amount of air that gets into the crisper.

$78.05
In Stock
Refrigerator Run Capacitor
Part #WP65889-4
This part helps the compressor kick on and off while maintaining a constant temperature to keep things frozen in your freezer.

$107.14
In Stock
Door Shelf Trim
Part #67001139
This refrigerator door shelf trim, also known as a retainer bar, is designed to help keep items securely positioned in the door bins by preventing bottles, jars, and condiments from tipping or falling when the door is opened. Made from durable white plastic, it provides sturdy, everyday support while maintaining the refrigerator’s origina...Read morel interior appearance. The trim snaps easily into the molded door slots without the need for tools, making replacement quick and straightforward. Installing a new shelf trim restores reliable door storage, improves organization, and ensures items remain safely in place during normal refrigerator use.
Read less

$104.90
In Stock
Defrost Thermostat Kit
Part #12001937
This part is snapped onto the top portion of the evaporator. The thermostat sends temperature information to the processor. The defrost heater must be replaced when replacing the thermostat.

$40.90
In Stock
Door Switch
Part #W11396033
This light switch may also be known as a refrigerator door switch or a light switch kit, and is compatible with your refrigerator. The function of the refrigerator door switch is to turn on the light when your fridge door is open, and to make sure it is off when your refrigerator door is closed. The reason you would need to replace this p...Read moreart is if your light is not turning on when your door is open. For this repair, you will need a putty knife, and a small flat-blade screwdriver.
Read less
Common Symptoms of the 59675934300
How this model fails, and the parts that fix it.
Ice maker not making ice
Fixed by
these parts
these parts


Show All
Light not working
Fixed by
these parts
these parts


Show All
Fridge too warm
Fixed by
these parts
these parts


Show All
Leaking
Fixed by
these parts
these parts

Show All
Freezer section too warm
Fixed by
these parts
these parts


Show All
Will Not Start
Fixed by
these parts
these parts
Show All
Noisy
Fixed by
these parts
these parts

Show All
Ice maker won’t dispense ice
Fixed by
these parts
these parts
Show All
Freezer not defrosting
Fixed by
these parts
these parts

Show All
Fridge too cold
Fixed by
these parts
these parts

Show All
Fridge and Freezer are too warm
Fixed by
these parts
these parts
Show All
Door won’t open or close
Fixed by
these parts
these parts


Show All
Fridge runs too long
Fixed by
these parts
these parts
Show All
Freezer too cold
Fixed by
these parts
these parts
Show All
Ice maker dispenses too much ice
Fixed by
these parts
these parts

Show All
Clicking sound
Fixed by
these parts
these parts
Show All
Frost buildup
Fixed by
these parts
these parts

Show All
Door Sweating
Fixed by
these parts
these parts

Show All
Ice maker dispenses too little ice
Fixed by
these parts
these parts
Show All
Too warm
Fixed by
these parts
these parts
Show All
Not dispensing water
Fixed by
these parts
these parts
Show All
Door latch failure
Fixed by
these parts
these parts

Show All
Won’t start
Fixed by
these parts
these parts
Show All
Watch our pros, then fix it yourself.
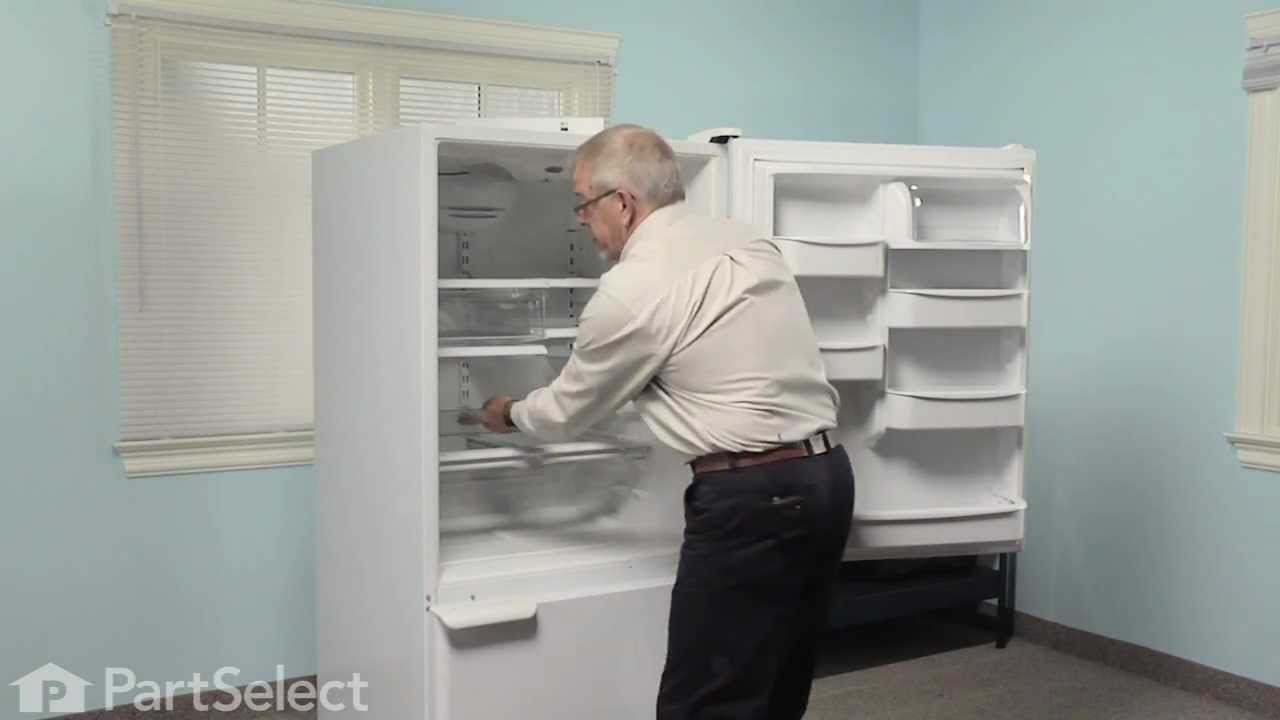
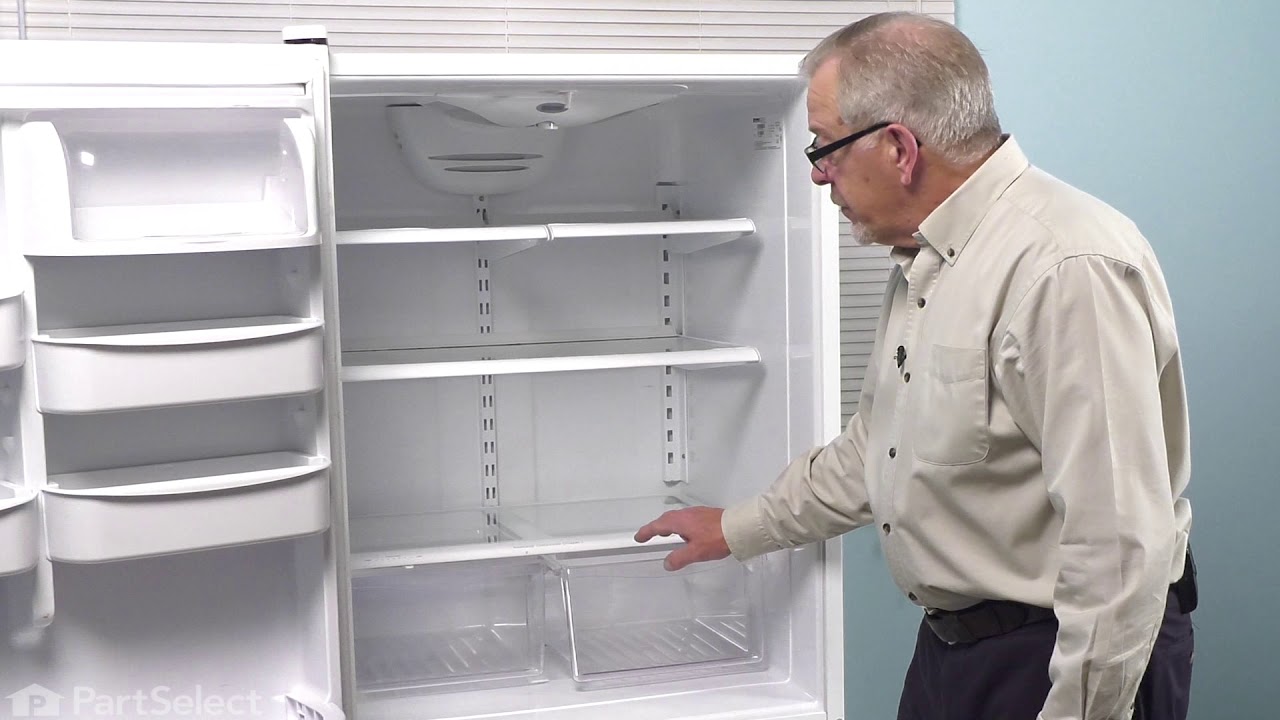
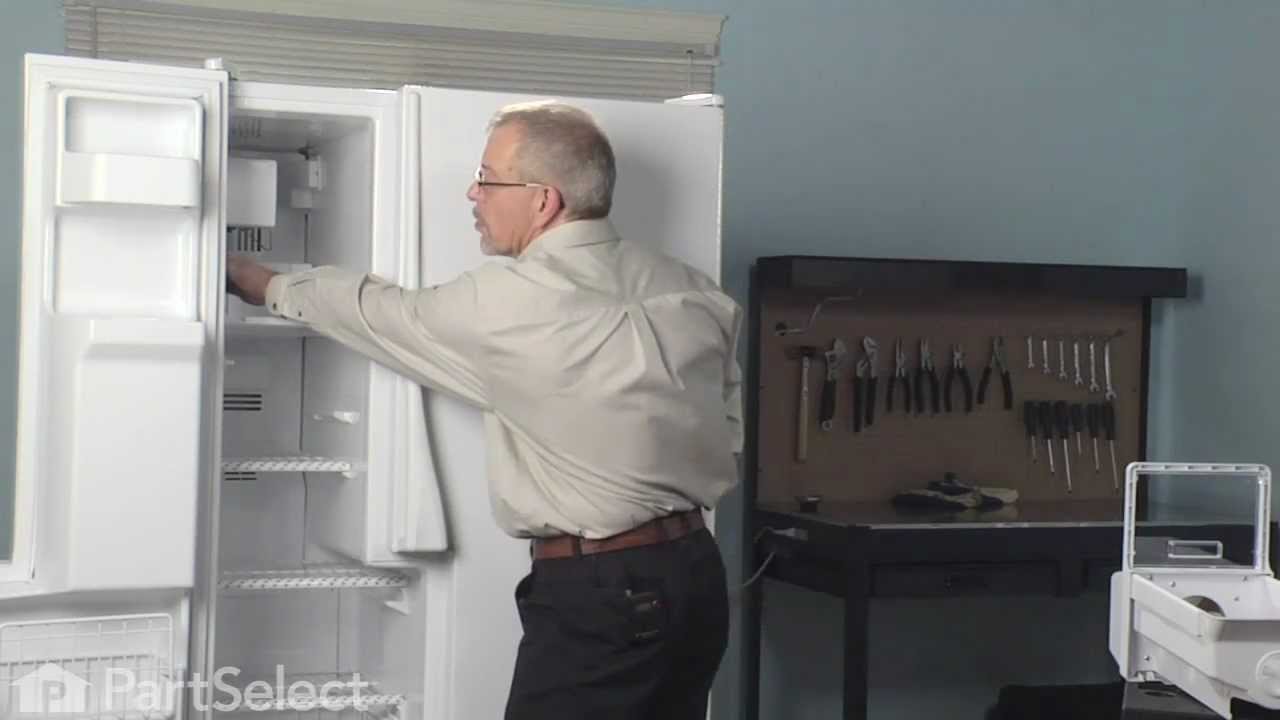
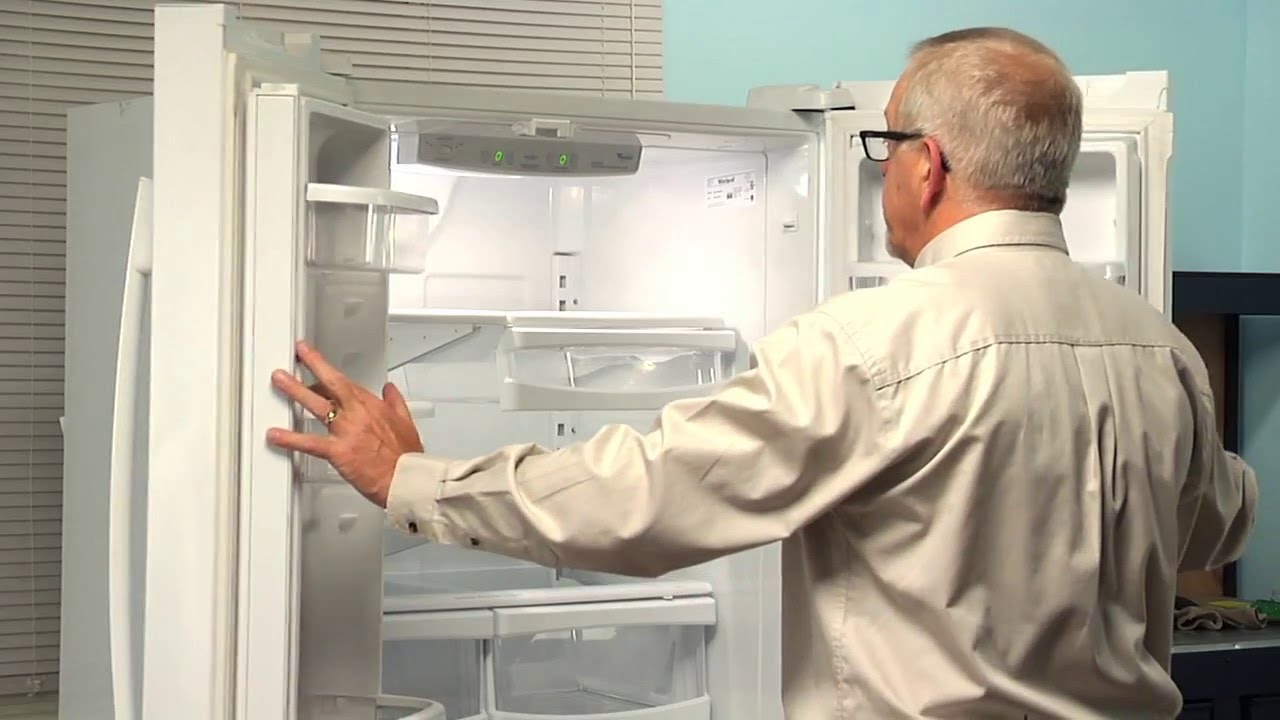
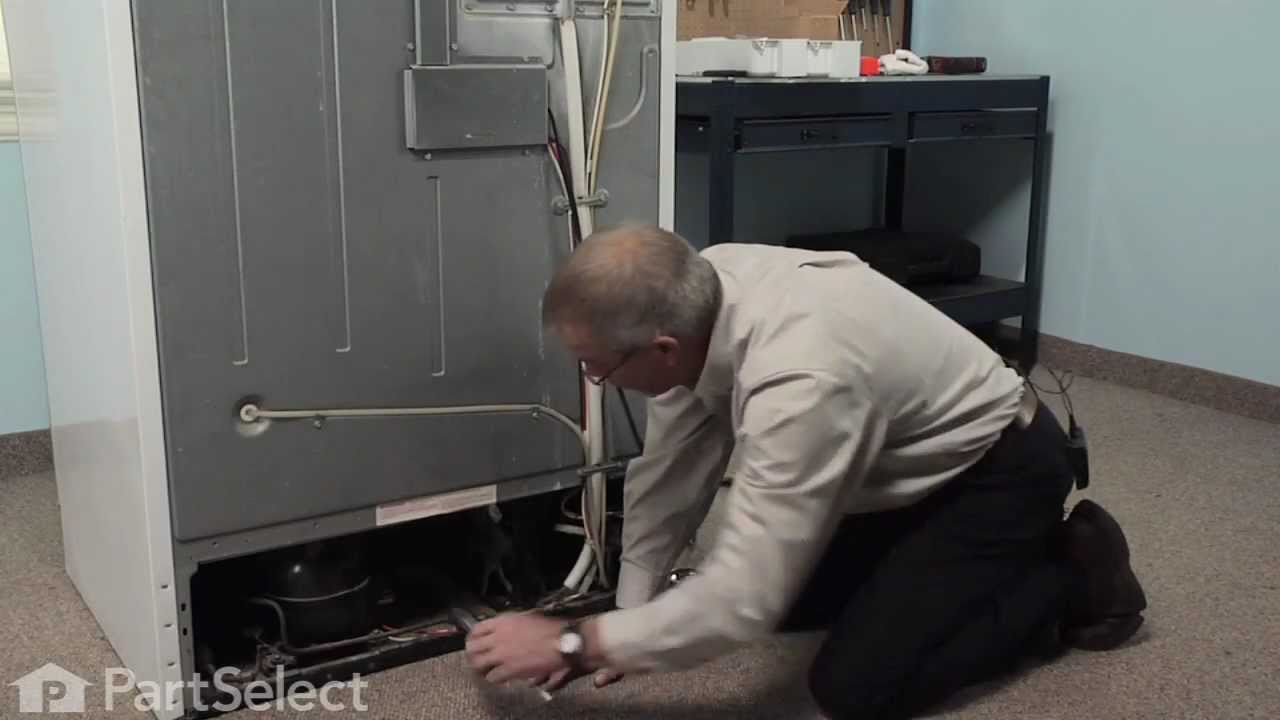
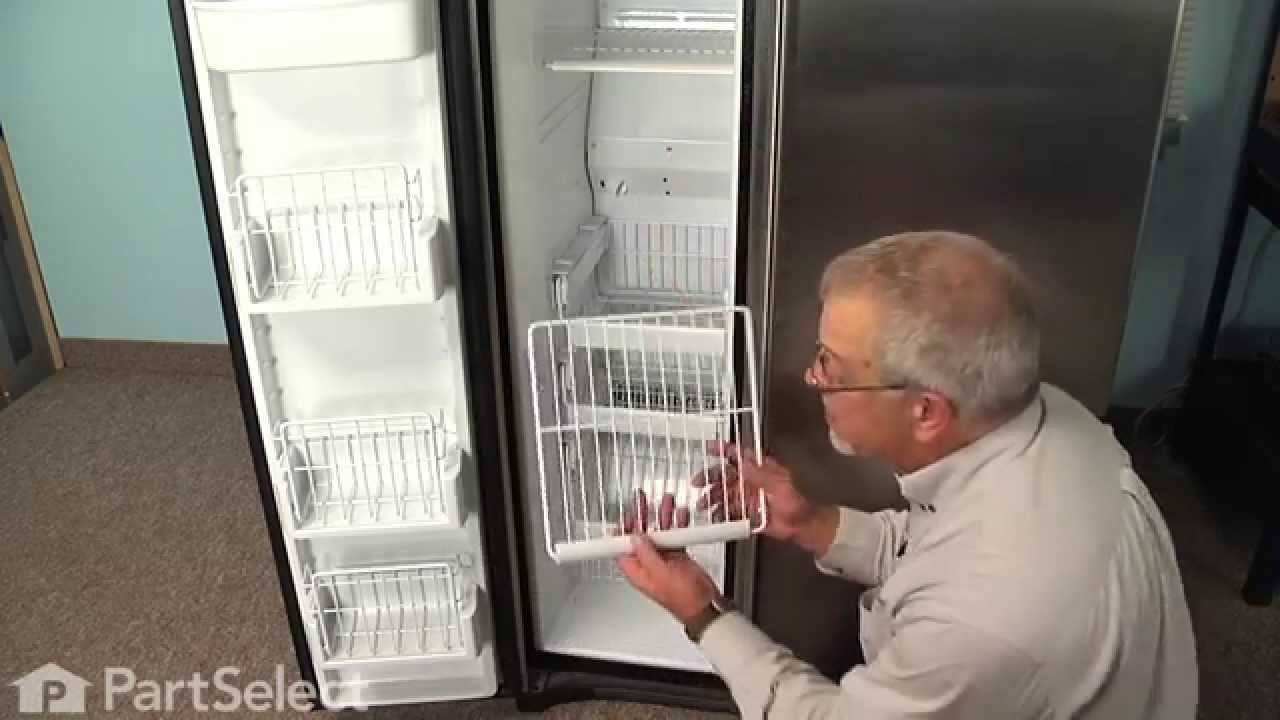
See how others fixed this model. Time, tools, difficulty, and steps that lead to victory!
View More