


 My Orders


59672003010 Kenmore Refrigerator - Overview
Diagrams for 59672003010
See every part. Know exactly what you need.

Enter a part description. DIY Heroes keep it simple, eg. "belt" or "pump".
Search filter:
Clear Filter
Your search term must have 3 or more characters.

$80.02
In Stock
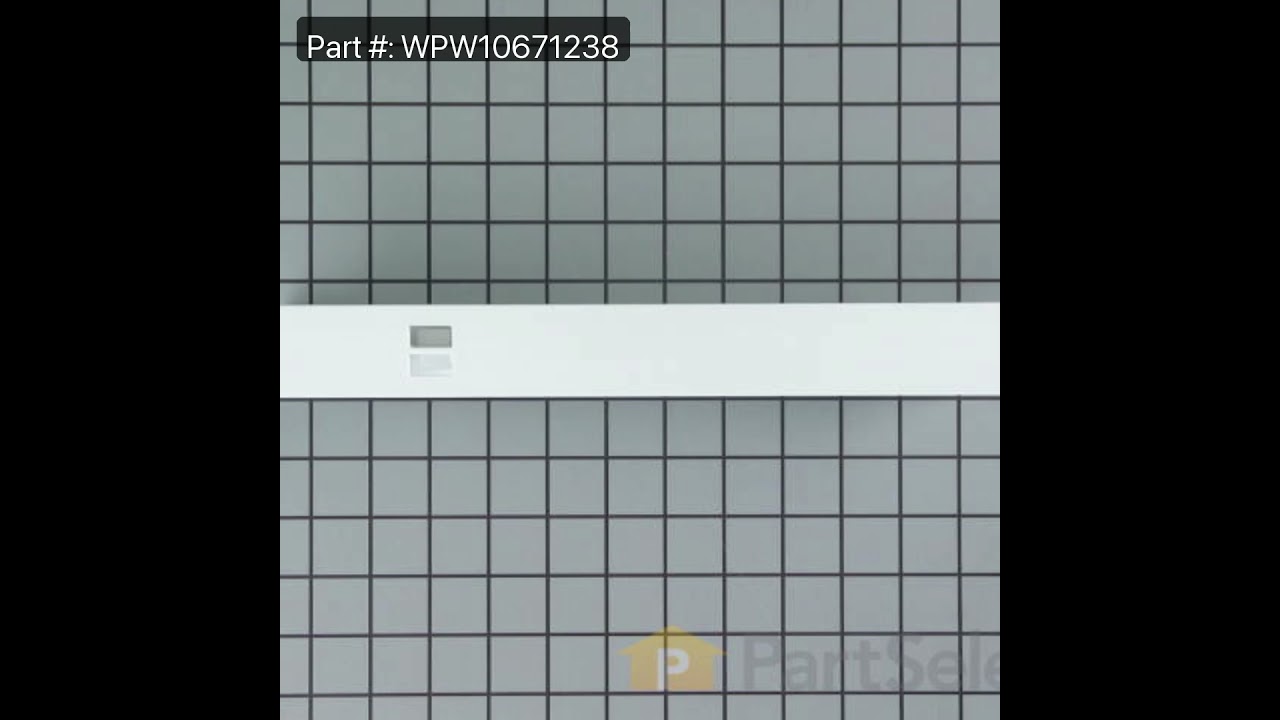
Refrigerator Center Crisper Drawer Slide Rail - White
Part #WPW10671238
This center crisper drawer rail supports the edges of refrigerator crisper drawers, ensuring smooth sliding and proper alignment. At 13.5 inches long, it fits between the drawers on the shelf frame. Quick and easy to install, this replacement restores stability and functionality to the crisper drawer system.

$213.05
In Stock
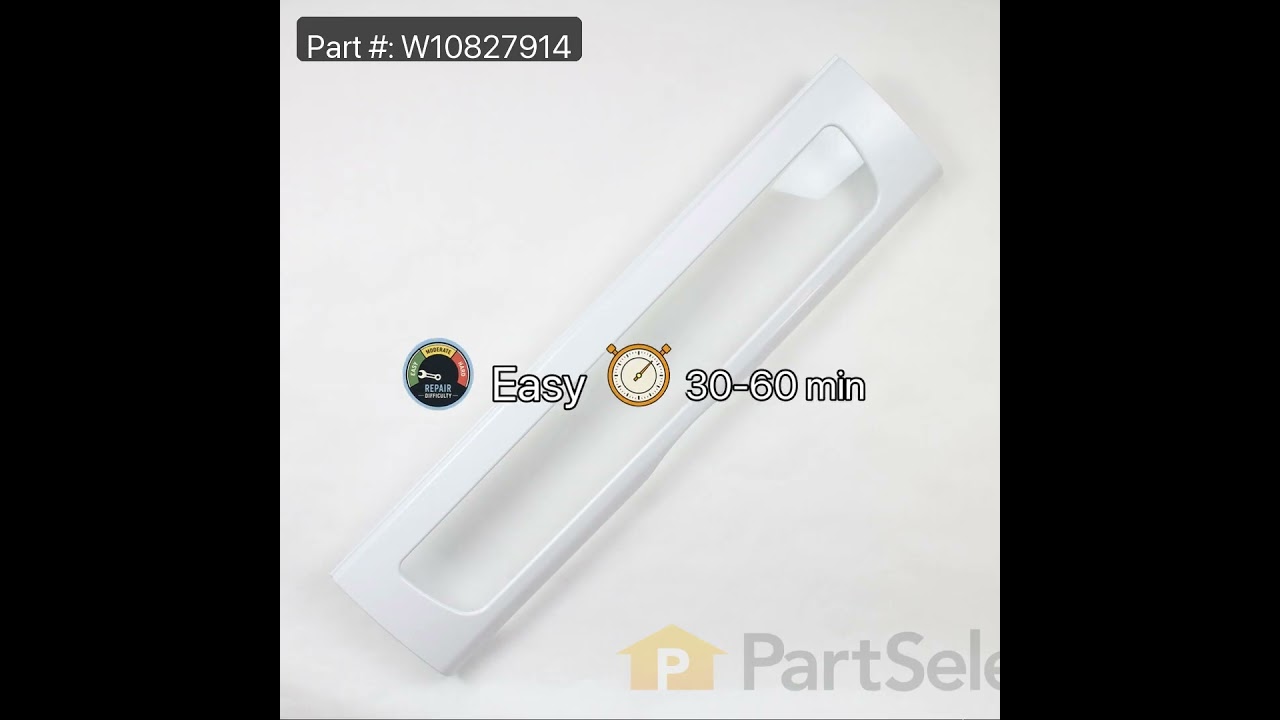
Refrigerator Pantry Drawer Lid
Part #W10827914
This OEM pantry door cover is designed to fit the pantry compartment of various refrigerator models, providing both protection and visibility. Constructed from durable white plastic, it features a transparent window that allows a clear view of the contents inside. Measuring approximately 28.5 inches wide by 6.75 inches deep, this cover he...Read morelps maintain cleanliness and organization within the refrigerator. It is ideal for replacing cracked, moldy, or missing covers and restores the compartment’s original functionality. Installation is straightforward—simply disengage the securing tabs on either side of the old cover and insert the new one into place. This component is sold individually and does not require tools or additional accessories for installation.
Read less

$52.75
In Stock
P-Trap Drain Tube Kit
Part #W10619951
Also known as a duck bill. This kit includes the tube extension piece and spacer.

$147.86
In Stock
Replacement Ice Maker
Part #D7824706Q
This modular ice maker assembly replaces worn-out units to restore ice production in refrigerators. It includes the ice mold and control device but excludes the cover, ice level arm, wire harness, and mounting hardware, which must be reused or ordered separately. Unplug the refrigerator before installation and use work gloves for safety. Check compatibility with your model number before purchase.

$58.29
In Stock
Refrigerator Capacitor
Part #WPW10662129
This part helps the compressor kick on and off while maintaining a constant temperature to keep things frozen in your freezer.

No Longer Available
Touch-Up Paint - White
Part #72017
This 18 ml bottle of white appliance touch-up paint is used to cover scratches or marks on your appliance. The white touch-up paint can be used on refrigerators, microwaves, ranges, clothes dryers, and freezers. This is a genuine OEM part and includes a brush applicator. Please remember to wear gloves to protect your hands when applying this paint.

$266.76
In Stock
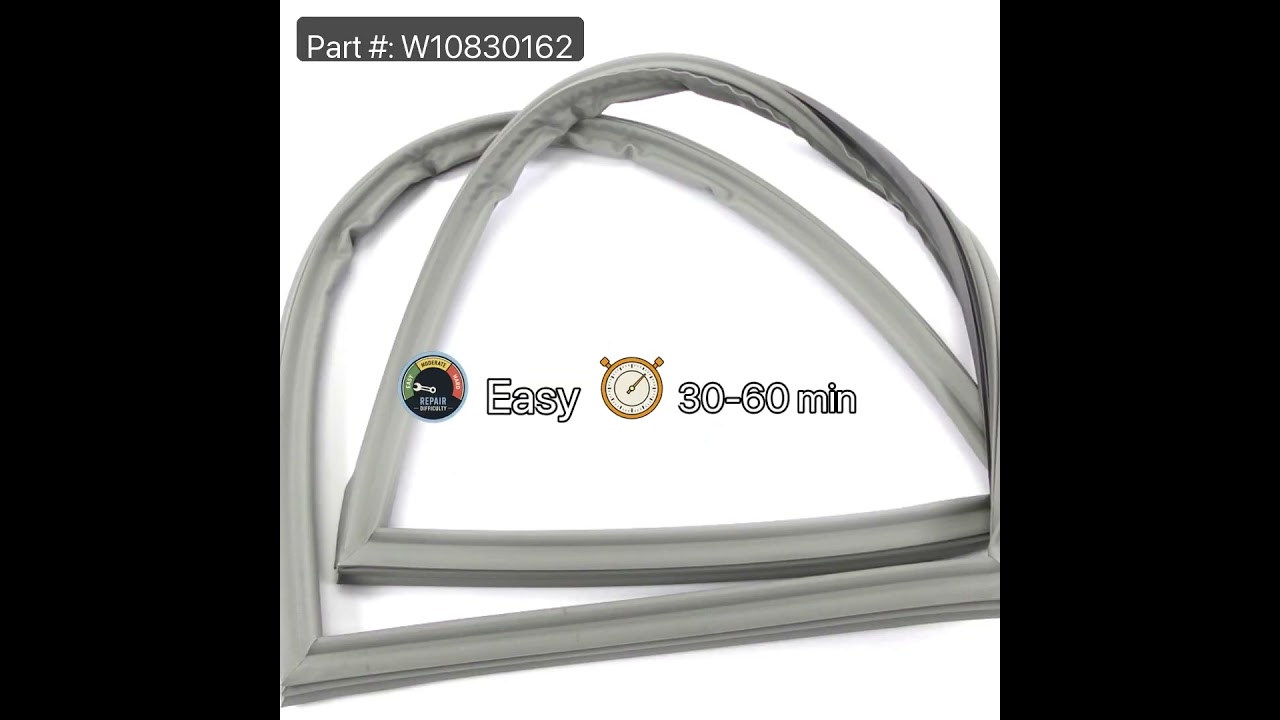
Door Gasket - Gray
Part #W10830162
If your fridge door is sweating or hard to open and close, the gasket might need replacing. This gray magnetic gasket helps seal the door tightly to keep cold air in and warm air out. It runs along all sides of the door and helps your fridge stay efficient. If it’s cracked or not sealing well, swapping it out is a simple fix that can make a big difference.

$174.34
In Stock
Refrigerator Air Damper Control Assembly
Part #WPW10594329
This part helps keep your fridge at the right temperature by controlling how much cold air flows in from the freezer. If your fridge feels too warm, too cold, or makes strange noises, this damper might be the issue. It fits several Whirlpool, KitchenAid, Maytag, and Amana models and is designed to work reliably. Before installing, unplug the fridge or turn off the circuit breaker to stay safe.

$10.95
In Stock

$239.79
In Stock
Refrigerator Crisper Glass
Part #WP67006878
If the glass shelf over your fridge’s crisper drawers is cracked or missing, this replacement is a quick fix. It’s made of strong glass and fits right into the frame above the drawers, helping you keep things neat and organized. No tools needed—just slide it into place. Works with select Whirlpool, Maytag, KitchenAid, and Amana models, so be sure to check your fridge before ordering.

$112.10
In Stock
Drip Pan
Part #WPW10655367
When your refrigerator isn't performing at its best, trust this authentic Whirlpool drain pan to help you restore it back to prime condition. This piece is more than just a part; it's the solution to maintaining a clean, tidy interior for your refrigerator. Created to fit specific models of Whirlpool, KitchenAid, Maytag, Jenn-Air, Amana,...Read more Inglis, and Magic Chef refrigerators, this drain pan assumes a critical role - it catches any water that drains out during the defrost cycle. You'll find it situated at the bottom of your refrigerator cabinet, discreetly hidden behind the toe grille. Why is this important? Because it works silently to maintain your appliance's cleanliness and prevent water damage. Just imagine your refrigerator working like new, with no messy leaks. Isn't that a relief? Before buying, please double-check that this part is indeed compatible with your specific refrigerator model. Sometimes, even small differences in size or shape can matter. You can refer to your owner's manual for installation guidance and compatibility verification. Choosing this Whirlpool drain pan is a quality, lasting investment towards the life of your refrigerator and the overall efficiency of your kitchen. Because solving your refrigerator's issues should be as convenient and hassle-free as possible.
Read less

$263.29
On Order
Refrigerator Vertical Mullion Rail - Black
Part #WP12722803B
Commonly referred to as the flapper assembly, the door mullion is an important part of a double, or triple door refrigerator.
Manuals & Care Guides for 59672003010
Click to downloadCommon Symptoms of the 59672003010
How this model fails, and the parts that fix it.
Leaking
Fixed by
these parts
these parts


Show All
Ice maker not making ice
Fixed by
these parts
these parts


Show All
Door won’t open or close
Fixed by
these parts
these parts


Show All
Fridge too warm
Fixed by
these parts
these parts


Show All
Noisy
Fixed by
these parts
these parts

Show All
Will Not Start
Fixed by
these parts
these parts
Show All
Fridge and Freezer are too warm
Fixed by
these parts
these parts

Show All
Ice maker won’t dispense ice
Fixed by
these parts
these parts
Show All
Freezer section too warm
Fixed by
these parts
these parts

Show All
Door Sweating
Fixed by
these parts
these parts


Show All
Clicking sound
Fixed by
these parts
these parts

Show All
Freezer not defrosting
Fixed by
these parts
these parts

Show All
Frost buildup
Fixed by
these parts
these parts

Show All
Fridge too cold
Fixed by
these parts
these parts
Show All
Too warm
Fixed by
these parts
these parts
Show All
Ice maker dispenses too much ice
Fixed by
these parts
these parts
Show All
Ice maker dispenses too little ice
Fixed by
these parts
these parts
Show All
Won’t start
Fixed by
these parts
these parts
Show All
Fridge runs too long
Fixed by
these parts
these parts
Show All
Not dispensing water
Fixed by
these parts
these parts

Show All
Watch our pros, then fix it yourself.
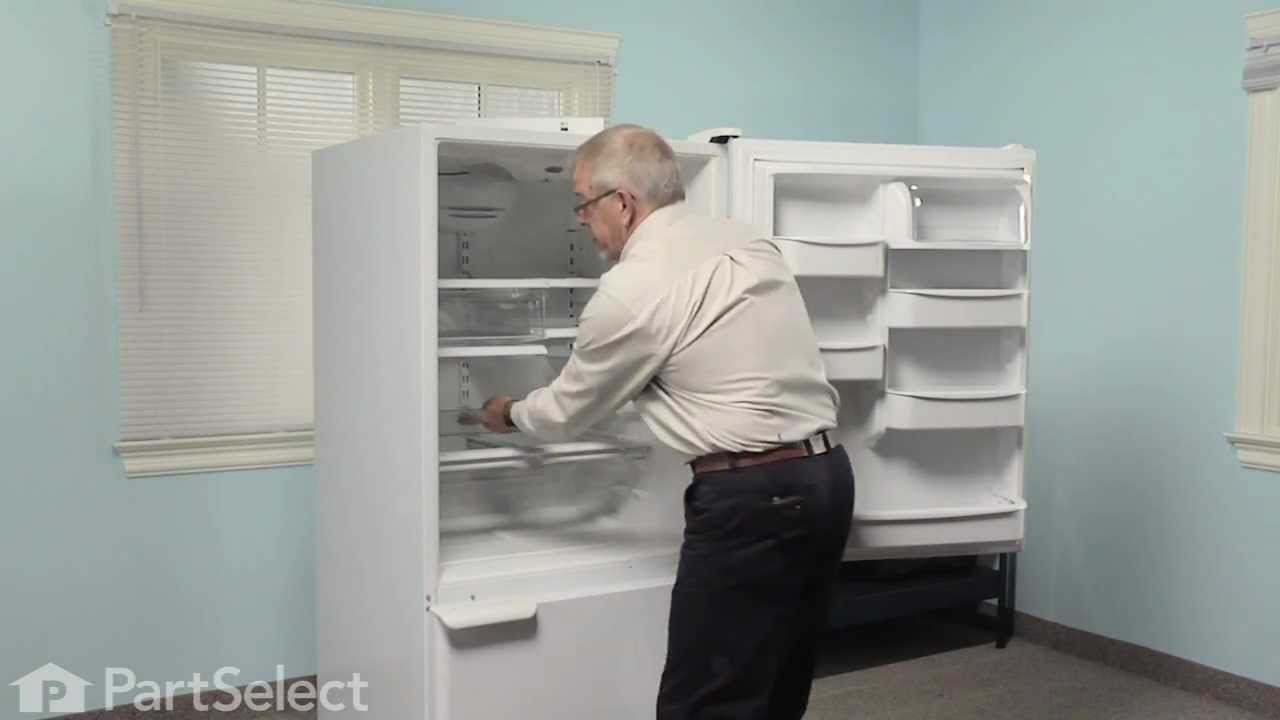

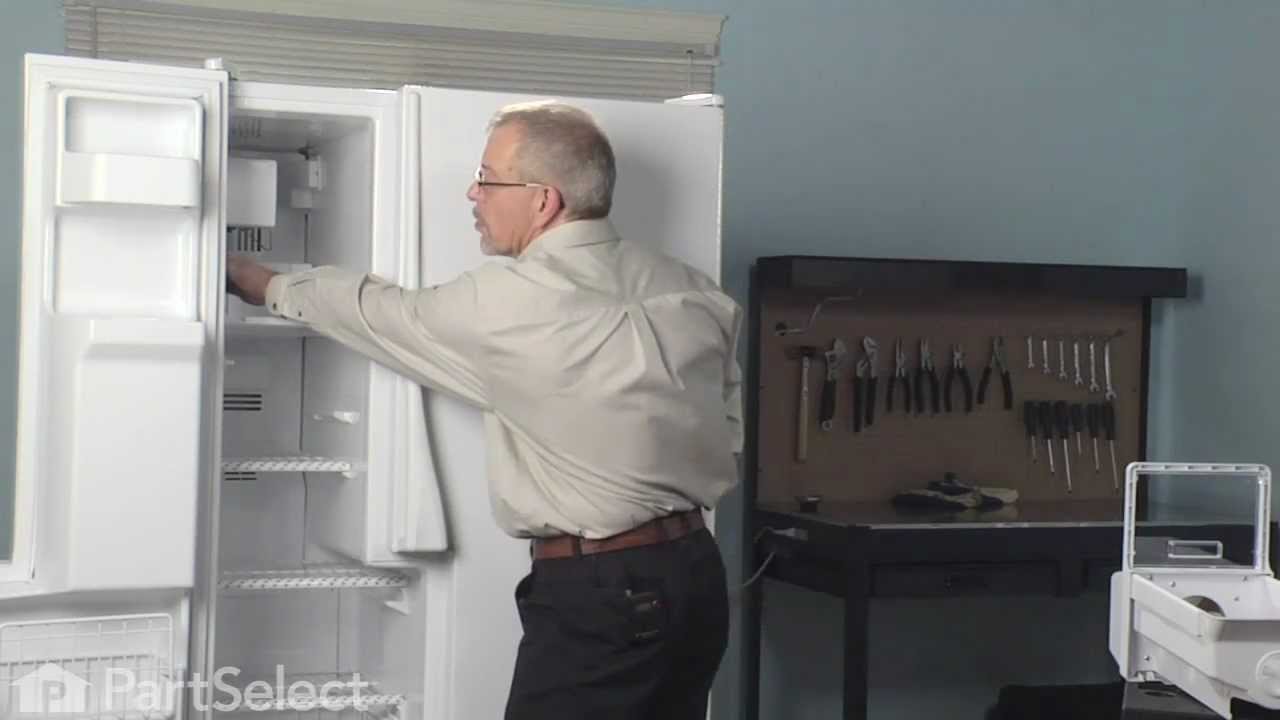
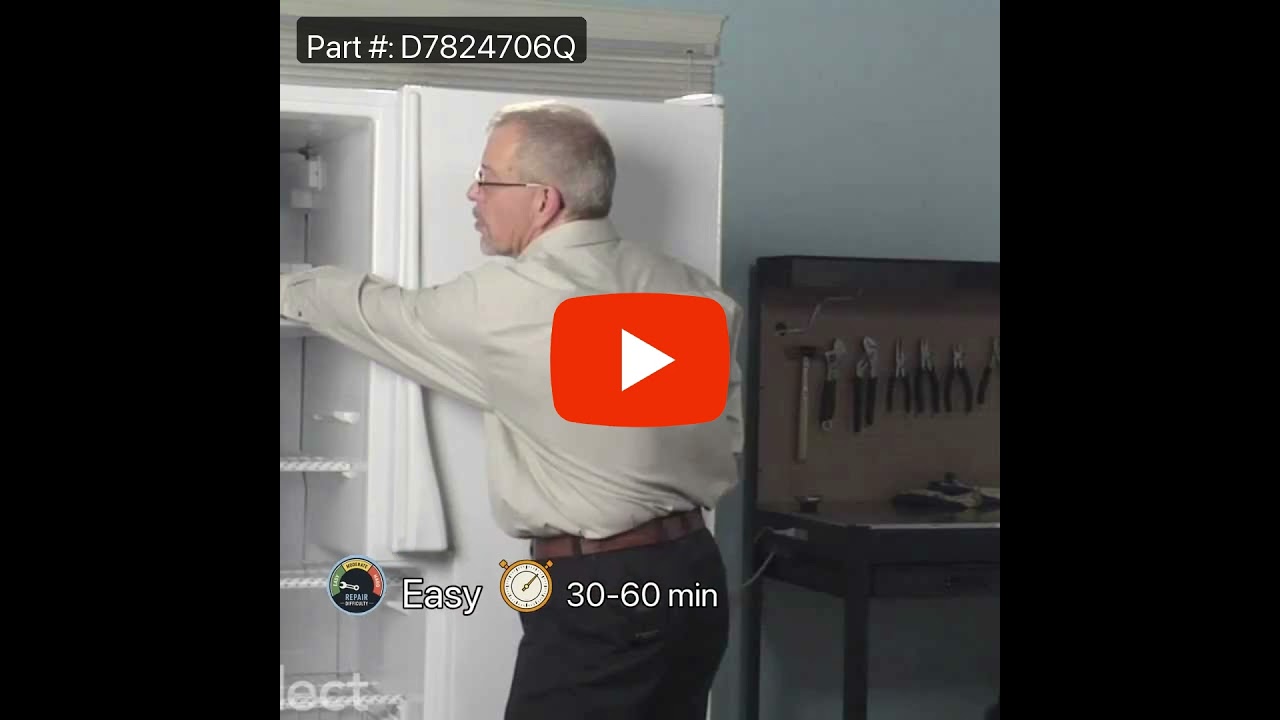
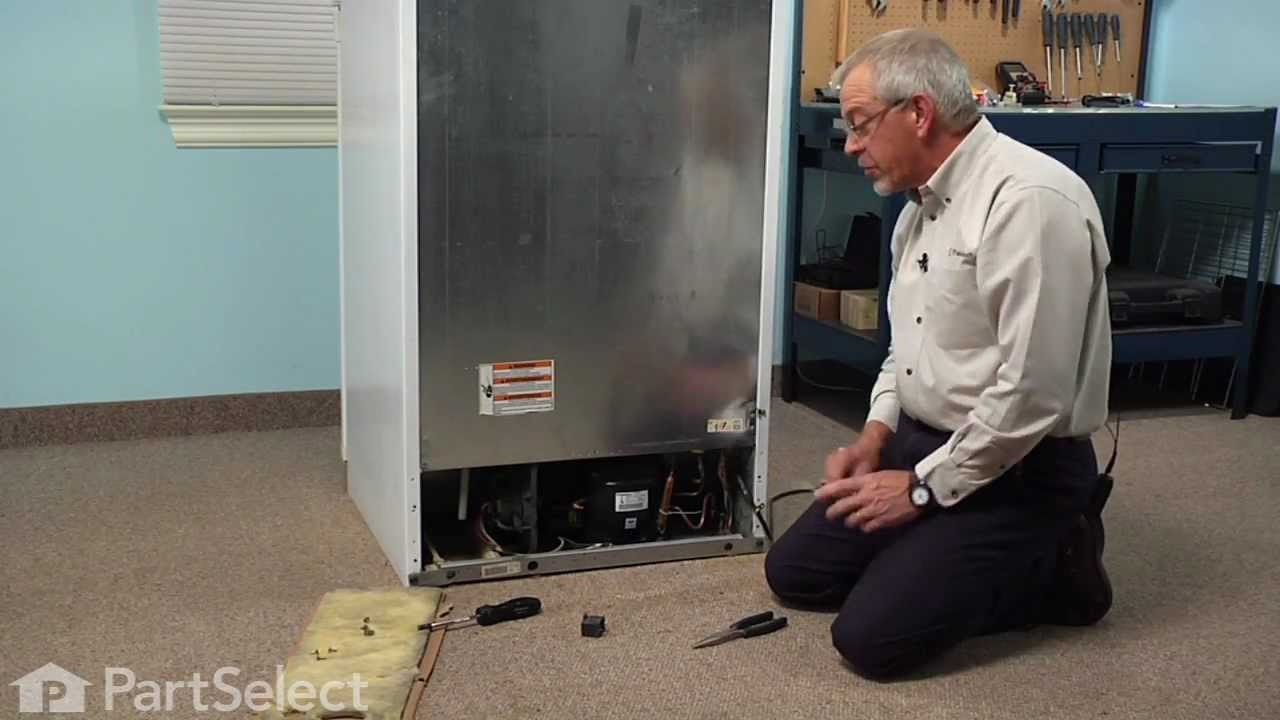
See how others fixed this model. Time, tools, difficulty, and steps that lead to victory!
View More