


 My Orders


56051A0WW General Electric Washer - Overview
Diagrams for 56051A0WW
See every part. Know exactly what you need.


Enter a part description. DIY Heroes keep it simple, eg. "belt" or "pump".
Search filter:
Clear Filter
Your search term must have 3 or more characters.

No Longer Available
DAMPENING STRAP 2PACK
Part #WH01X39337
The tub dampening straps support the wash tub and reduce vibration by keeping the tub at the center of the cabinet. If your washer shakes and moves, or is making a loud banging noise during the wash cycle, the washing machine tub could be off-balance, meaning one or more of these straps may be loose, or broken. Other symptoms include: the...Read more washer leaking, not agitating, or pumping but not spinning. These straps are sold individually. However, we recommend that you replace all 4 straps at the same time. It is also recommended that you check the tub for cracks where these straps mount.
Read less

$96.22
Special Order
Agitator Coupling Kit
Part #WH49X10042
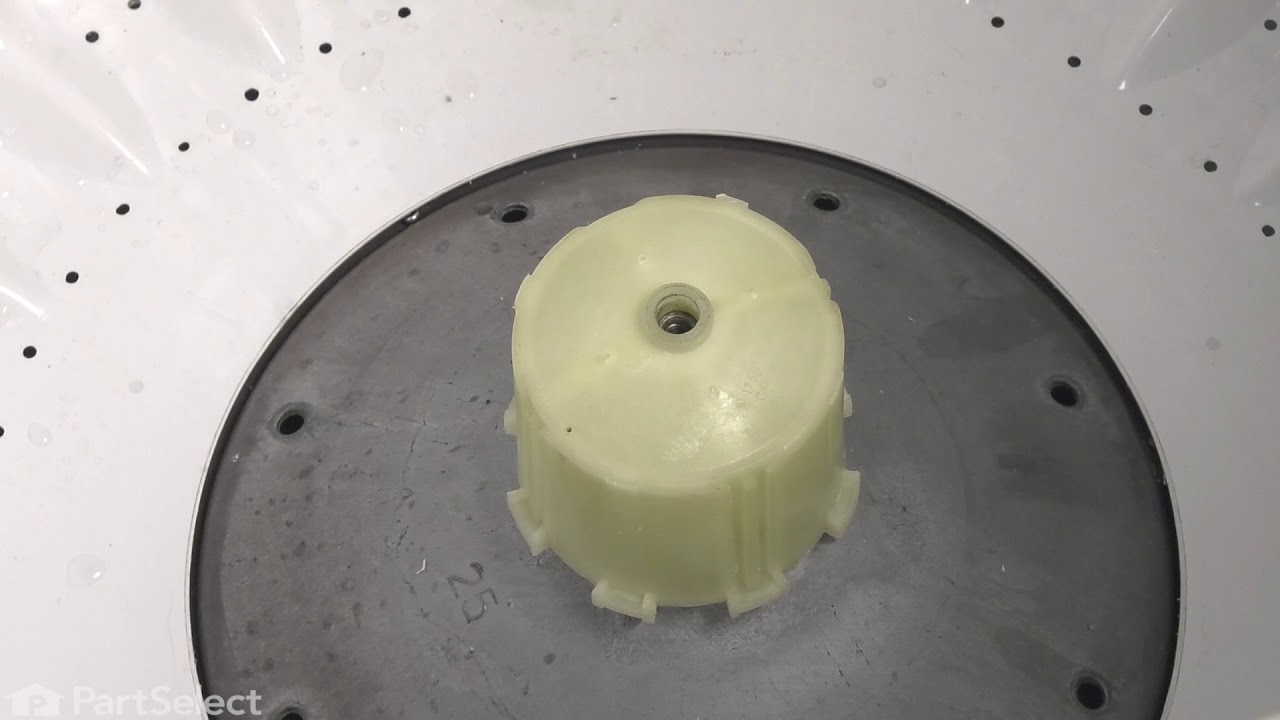
This is a washing machine agitator coupling kit. It connects the transmission drive shaft to the agitator base. It includes the couple, gasket, and bolt.

No Longer Available

$27.58
Special Order
Tub Seal
Part #WH02X10383
The main tub seal is located between the transmission and the outer tub. It's the primary water seal in the outer tub for the transmission-shaft. This seal is difficult to replace and should probably be installed by a qualified technician.

$13.95
Special Order

$13.95
Special Order
Tub Bearing Washer
Part #WH2X1197

$29.12
Special Order
Hub Nut
Part #WH2X1193
This part is the hub nut, or lock down nut for your washing machine. It is designed to hold the inner tub on to the transmission. If your hub nut is stripped or damaged, it may need to be replaced. This hub nut is approximately 1.5 inches in diameter. This is an OEM part sourced directly from the manufacturer. You will need a hub nut wrench and some WD40 to loosen the nut and remove it from the agitator shaft.

No Longer Available

$79.66
Special Order
Drain Hose
Part #WH41X10096
This drain hose is a replacement part for your top-loading washer. The hose measures 57 inches in length.

$137.13
Special Order
Drain Pump and Motor Assembly
Part #WH23X10030
This pump helps expel water from the washing machine and is activated after the spin speed is maintained for a specific period of time.

$42.54
Special Order

$17.70
Special Order
Hub Washer
Part #WH2X1199
This is a replacement hub washer for your washing machine. If your washer is noisy, leaking, shaking, or pumping without spinning, you may need to replace the hub washer. The hub washer is found under the washer tub, beneath the split ring. You will need to remove the tub to access it. Before doing so you should disconnect the power and w...Read moreater sources from washer. The washer is made of metal and is a little more than an inch in diameter. It is sold individually, and is an OEM part.
Read less
Common Symptoms of the 56051A0WW
How this model fails, and the parts that fix it.
Leaking
Fixed by
these parts
these parts


Show All
Will not agitate
Fixed by
these parts
these parts


Show All
Will not drain
Fixed by
these parts
these parts

Show All
Burning smell
Fixed by
these parts
these parts

Show All
Will Not Start
Fixed by
these parts
these parts


Show All
No hot or cold water
Fixed by
these parts
these parts

Show All
Shaking and Moving
Fixed by
these parts
these parts
Show All
Spins slowly
Fixed by
these parts
these parts
Show All
Spinning Issues
Fixed by
these parts
these parts

Show All
Marks left on clothes
Fixed by
these parts
these parts
Show All
Noisy
Fixed by
these parts
these parts

Show All
Water Filling Issues
Fixed by
these parts
these parts
Show All
Draining Issues
Fixed by
these parts
these parts
Show All
Noisy and Marks Left on Clothes
Fixed by
these parts
these parts

Show All
Touchpad does not respond
Fixed by
these parts
these parts
Show All
Watch our pros, then fix it yourself.
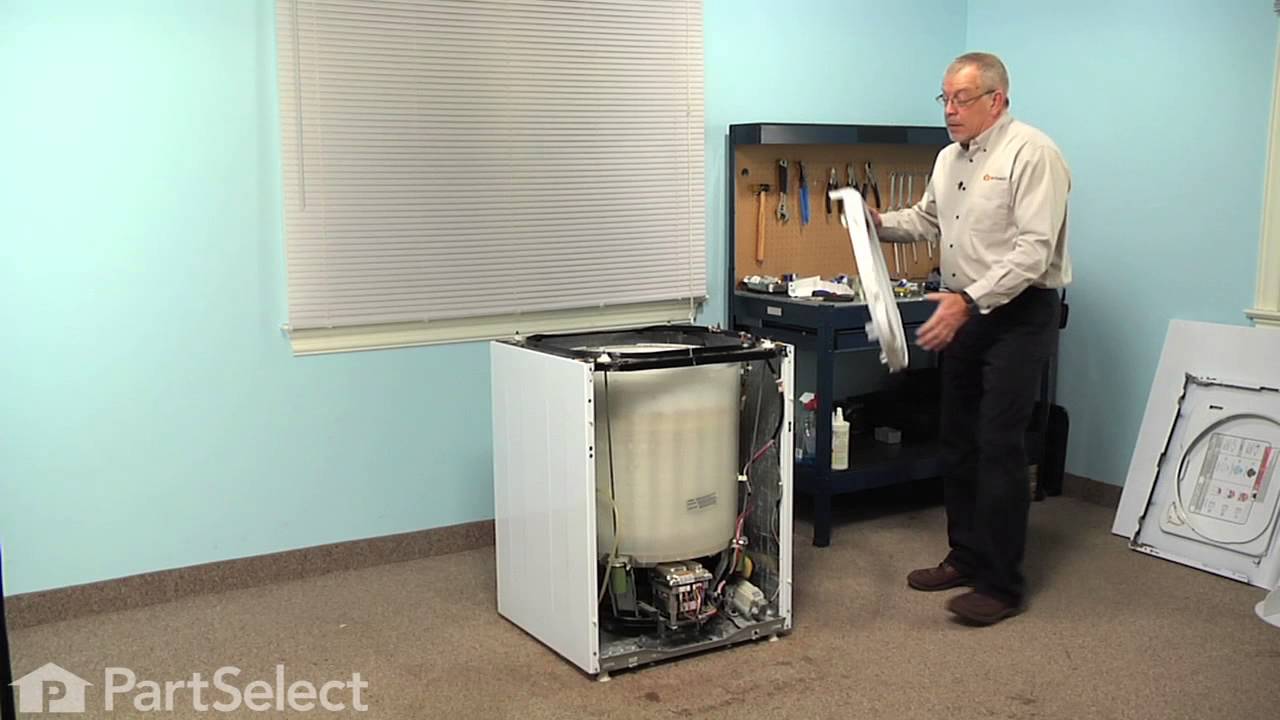
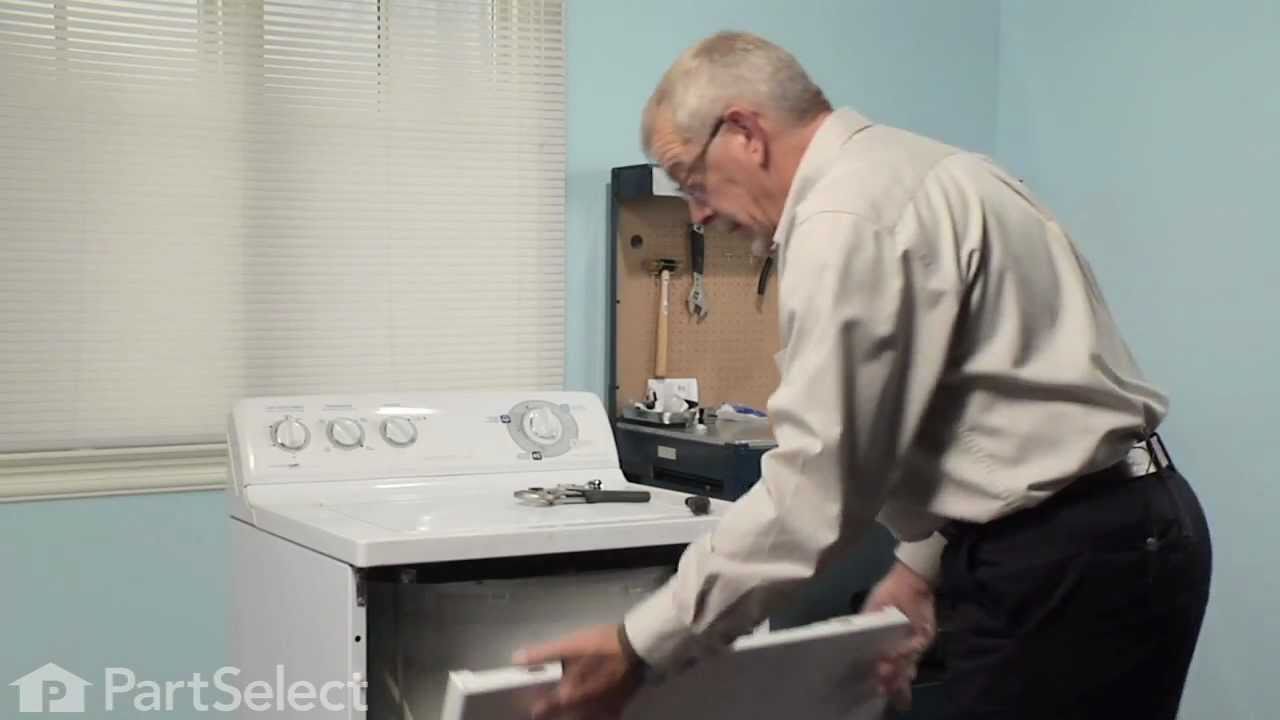

See how others fixed this model. Time, tools, difficulty, and steps that lead to victory!
View More
Search repair tips from other customers using simple keywords like "replace", "fit", "remove", "inspect". DIY doesn't mean you have to do it alone!
Search filter:
Clear Filter
Your search term must have 3 or more characters.
Washing Machine was not draining water from tub.
304 of 334 people
found this instruction helpful.
1. Drained the wash tub by taking the drain hose from the back of the washing machine and dropping it below the tub - water flowed out of hose a lot easier than trying to suck water out of tub using a pump (tried this on the first time I tried to fix washer). (Washing machine on 2nd floor of house and didn't want water running on floor)<
... Read more
br />2. Removed the 2 bolts holding the Pump/Motor assembly to the machine.
3. Removed both hose clamps on the Pump/Motor assembly and removed Pump.
4. Attached the new drain inlet hose to the pump and then to the tub with the original hose clamps.
5. Attached the drain hose to the pump and then plugged in the 2 wires for the pump.
6. Plugged in the washing machine and everything worked.
NOTES:
1. Hardest part was working with hose clamps (spring type clamps) in the tight space under the machine.
2. Easier to fix since I pulled machine apart a few days before - removing the clog in the pump/motor assembly only to get everything back together to find out that the motor was dead. Still well worth the time and effort due to not having to go out and buy a new Machine...
Read less
Other Parts Used:


Was this helpful?
Thank you for voting!
broken dampening strap and loose agitator
286 of 308 people
found this instruction helpful.
first remove the front washer cover by finding the two pressure clips that hold it to the top lid. gently push the putty knife into the clips one at a time. this will raise and separate them from the front panel. the panel will tilt forward and u can now remove it from the bottom clips by sliding it up and out. to open the top cover u rem
... Read more
ove the two 1/4 in screws on the sides of the front panel and lift the top. make sure to secure it in place or unplug the single electrical connection at the rear and remove the whole top from the clips, its really simple and the most convenient mehtod. to remove the straps u can now get to all four without much interference. there are two size screw heads so make sure u have a nut driver or small socket set. after changing the straps i went to change the agitator coupling. the agitator pulled directly up without a problem. just put your two hands under and pull straight up with one good jolt. the plastic coupler has one bolt in the middle that came out easily with a small socket set. my problem arose when the plastic coupler would not come off the metal shaft. after a short time of pulling and prying i finally decided to cut it off. using a small hacksaw and taking my time i put two cuts into the coupler. they were on opposite sides and where vertical, running along the steel shaft. i could now split it in two and it came off very easily and quickly. now when putting on the new one make sure the splines line up. push as far down as u can then use the center bolt to seat the gear all the way down. the agitator also has to be lined up just right. it also has splines on the interior that allow it to line up with the coupler and merely push down until it reseats itself in place. replace the top of the washer and then the front panel. don't forget to rebolt the top panel to the frame. push the front panel in until it snaps into place. full replacement time was about 40 minutes and actually not bad with the right tools.
Read less
Other Parts Used:


Was this helpful?
Thank you for voting!