


 My Orders


5275 - Overview
Models starting with 5275
Click on the best match to narrow your results.
Enter a part description. DIY Heroes keep it simple, eg. "belt" or "pump".
Search filter:
Clear Filter
Your search term must have 3 or more characters.

$69.78
On Order
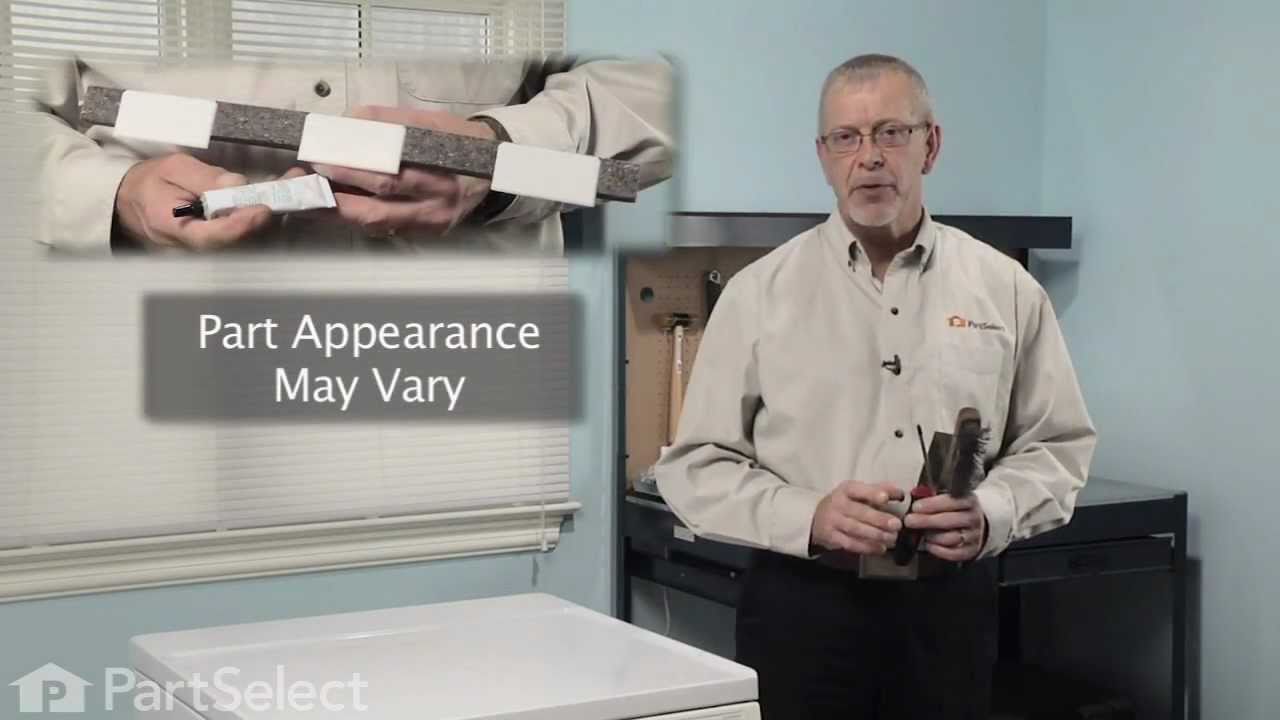
Upper Drum Glide
Part #5303937139
The upper drum felt glide kit helps to support the front drum as it rotates smoothly and quietly while operating. This kit includes three glides with the adhesive. If your dryer won’t tumble or is noisy, the glide could be worn down causing you to hear a metal on metal noise and will need to be replaced. The drum glide is a genuine OEM pa...Read morert and sold individually. Please remember to disconnect the power to the dryer before starting your repair.
Read less

$49.95
Special Order
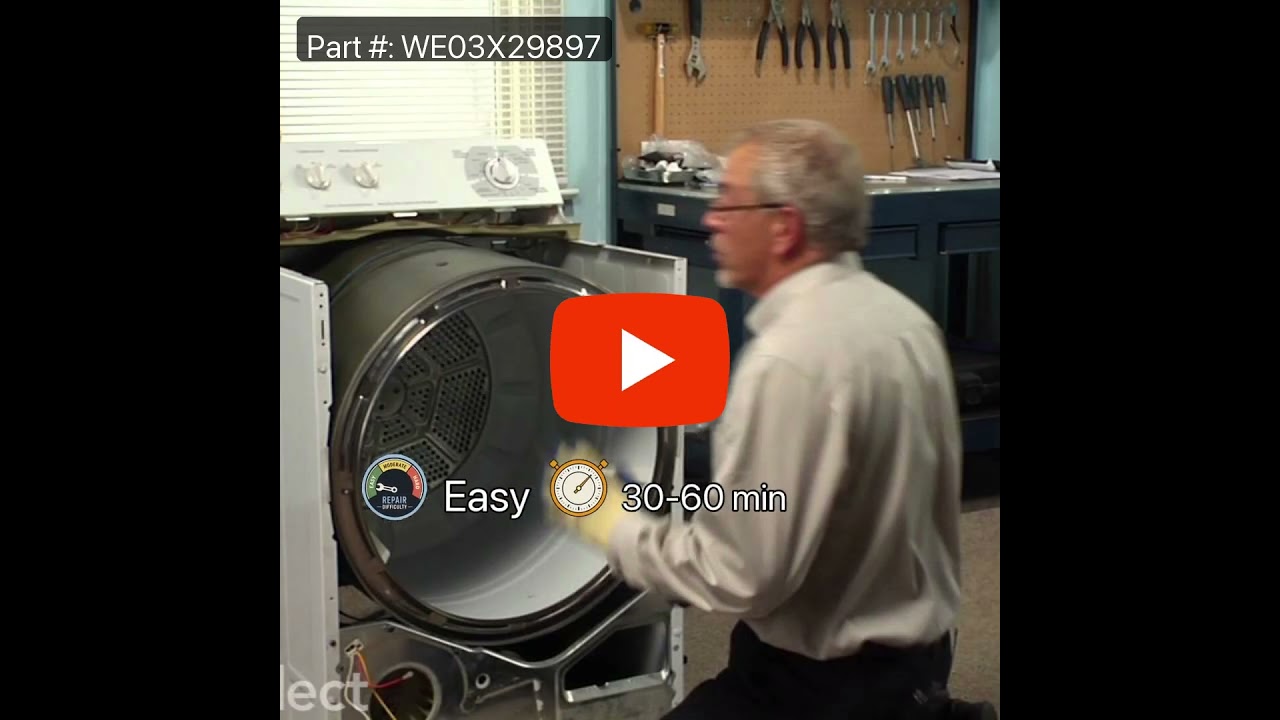
Drive Belt
Part #WE03X29897
This Drive Belt is 89.5" long and comes in black, featuring four ribs on the inside for a better grip. This is a long belt that wraps all the way around the dryer drum, around a tension pulley, and then around the drive motor pulley, allowing all the parts to work together, spinning the drum as the motor rotates. If the drum will not turn...Read more when the dryer is turned on the belt is likely broken. It is common for belts to stretch or become brittle over time, which is what leads to the breakage. If broken, it should be replaced; the drum simply cannot spin without this belt. Refer to your model number and user manual to check if this part is right for you. Ensure you use work gloves to protect your hands from sharp internal parts during this repair. Please note: When comparing the length of your old belt to the length of the belt as stated here, remember that a small amount of stretching and contortion may occur with belts over time for a range of different reasons. Unless your belt is drastically different in length, this belt is what you are looking for despite any small inaccuracies. You will need to remove power to your appliance, remove the main panel, and access the motor drive to slip your new belt back into place.
Read less

$77.18
In Stock

$36.73
In Stock

$350.27
In Stock
Remote Style Pump with Motor
Part #131268401
Use this with either a top load or front load washer. This pump has an horizontal mount.

$28.95
In Stock
Screw
Part #131302800
This is a replacement screw for your washer or dryer. The screw is approximately half an inch in length and is a Phillips-head screw. It screws in from the outside of the drum, into the vane/baffle. The main reason you would replace this screw is if the old screw is missing or damaged. This part is sold individually and is an OEM part sourced directly from the manufacturer.

No Longer Available

$131.11
In Stock

No Longer Available
Washer Lid Lock with External Safety Switch
Part #134101800
Mounting bracket on this part replaces old style ( You may need to drill off old bracket before mounting new lock).

$58.25
In Stock
IDLER ARM Assembly
Part #5304507499
This idler pulley assembly is a manufacturer-approved replacement part for your washer/dryer. The assembly includes the idler pulley and arm. The idler pulley provides tension for the belt to rotate the drum. You may notice your idler pulley making a sqeaking or squealing noise, signalling that it needs to be replaced.

$29.95
In Stock

No Longer Available
Exact Part matches for your search term

No Longer Available
No Longer Available
No Longer Available
Common Symptoms of models starting with 5275
How this model fails, and the parts that fix it.
Noisy
Fixed by
these parts
these parts


Show All
Marks left on clothes
Fixed by
these parts
these parts
Show All
Drum Not Spinning
Fixed by
these parts
these parts
Show All
Leaking
Fixed by
these parts
these parts


Show All
Will not drain
Fixed by
these parts
these parts


Show All
Door won’t close
Fixed by
these parts
these parts

Show All
Won’t Start
Fixed by
these parts
these parts
Show All
Will not agitate
Fixed by
these parts
these parts


Show All
Burning smell
Fixed by
these parts
these parts
Show All
Not Heating
Fixed by
these parts
these parts

Show All
Will Not Start
Fixed by
these parts
these parts
Show All
Spins slowly
Fixed by
these parts
these parts
Show All
Heat stays on after drum has stopped
Fixed by
these parts
these parts
Show All
Door Pops Open
Fixed by
these parts
these parts
Show All
Watch our pros, then fix it yourself.
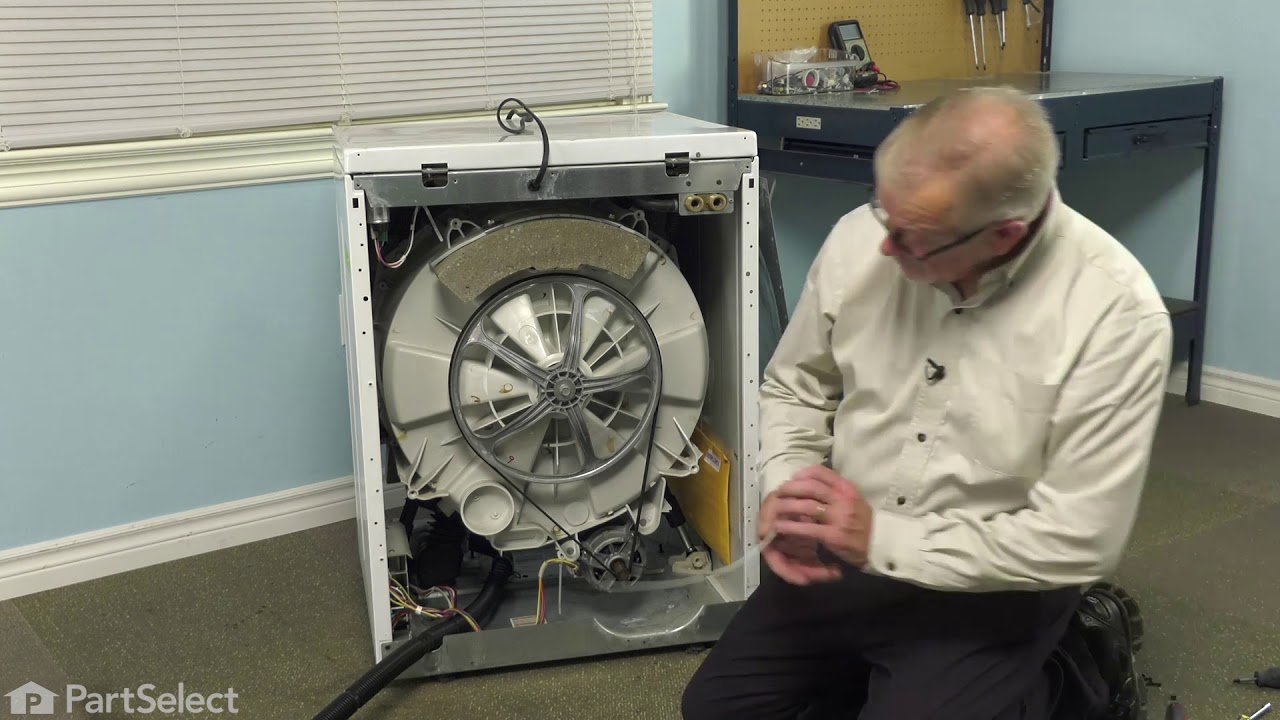
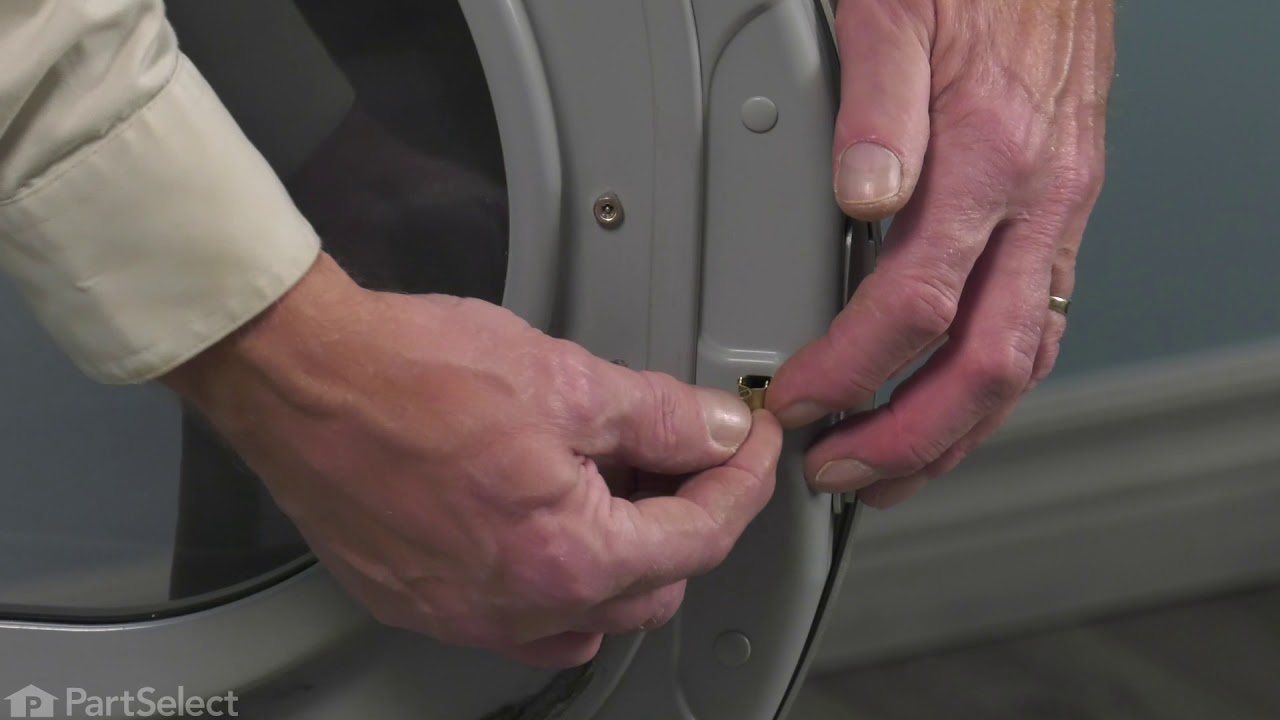
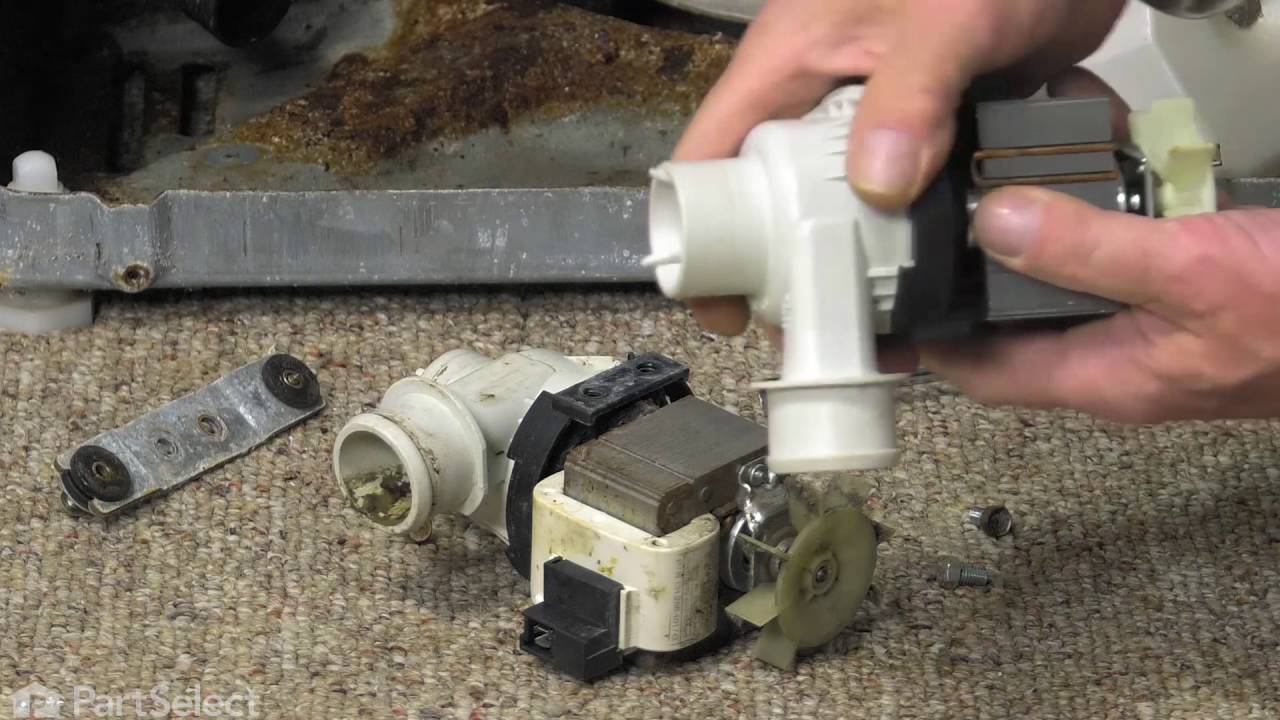

See how others fixed this model. Time, tools, difficulty, and steps that lead to victory!
View More