


 My Orders


39631UGXAWW General Electric Refrigerator - Overview
Diagrams for 39631UGXAWW
See every part. Know exactly what you need.


Enter a part description. DIY Heroes keep it simple, eg. "belt" or "pump".
Search filter:
Clear Filter
Your search term must have 3 or more characters.

$94.45
Special Order
Refrigerator Ice and Water Filter
Part #MWFP
This ice and water filter helps reduce impurities in select side by side and bottom freezer refrigerators. Replace it about every six months, or when water flow slows, ice production drops, or the filter light turns red. Some older filter setups may need an adapter. Place a cloth under the filter before removal. Check the exact refrigerator model before ordering.

$64.23
Special Order
Module Shelf Insert - Clear
Part #WR71X10761
The Module Shelf Insert is a complete assembly for the module shelf. This repair is rated as "Easy" by users. Simply remove the old shelf insert and snap the new one into place using the locking tabs. This part is used to hold items in the fridge, and if broken it should be replaced. Refer to your user manual and model number to ensure this part is right for you.

$23.79
Special Order
Union Connector - 5/16 Inch to 5/16 Inch
Part #WR02X11330
Quick connector for plastic water line - 5/16" to 5/16"

No Longer Available
Main Control Board Assembly
Part #WR55X10942C
This electronic board (Main Control Board Assembly, Control Board, Motherboard) controls the temperature and defrost functions of the unit. This control board is located on the back of the refrigerator, and measures 8 inches by 5 inches. It’s constructed of metal and plastic, and comes in green. This kit includes one main control board wi...Read moreth built in defrost controls. If broken due to electrical surges or normal use, your fridge may experience temperatures that are too warm or too cold, or inconsistent defrost cycles. If this happens, the part should be replaced.
Read less

No Longer Available
WATER VALVE WITH GUARD
Part #WR57X33326
This double inlet water valve has quick connections. This valve has 1/4 and 5/16 John Guest fittings for the outlet lines and a 1/4 compression fitting for the inlet line.

$16.74
Special Order
Evaporator Fan Grommet - Red
Part #WR02X12008
This evaporator fan grommet is red in color, and is about 1 inch in diameter.

$134.81
Special Order
Refrigerator Door Shelf Bin
Part #WR71X10973
Sold individually. This door bin is for refrigerators.
Door bin attaches to the inside of the refrigerator door and typically holds jars and bottles.
Follow the instructions in the owner's manual for installing this part.

$267.74
Special Order
Ice Maker
Part #WR30X10093
This ice maker assembly is used to make ice in your refrigerator. The ice maker receives water from the water inlet valve and will freeze until ice cubes are formed. Once the water has been frozen the cubes will be ejected from the mold into the ice bucket. The ice maker will continue the process until the ice bucket has reached the limit...Read more. If your ice maker is not making ice you may need to replace this part. This kit includes the fill cup, 4-pin wire harness adapter, and a tube. Disconnect the power and water supply before starting your repair. This ice maker is a genuine OEM part.
Read less

No Longer Available
DISPENSER LIGHT
Part #WR01X37886
This twelve volt dispenser light bulb is a little under two inches long.

$88.24
Special Order
Dispenser Door Solenoid Assembly
Part #WR62X10055
This genuine OEM solenoid is designed for use with GE refrigerators and controls the opening and closing of the ice chute door. It serves as a direct replacement for a worn or faulty solenoid, helping to restore proper ice dispenser function. Constructed from durable metal, this part includes all necessary wiring for installation and is s...Read moreold individually.
Installation requires a Phillips screwdriver. Always refer to your appliance’s manual or diagram to ensure proper placement and compatibility before beginning the repair.
Read less

$21.80
Special Order
REFRIGERATOR DOOR LIGHT SWITCH
Part #WR23X31507
This is the light switch that goes in your refrigerator. If the light is not working or stays on, you may need to replace the switch. It is made of mainly white plastic, and is an OEM part, directly from the manufacturer. Be sure to disconnect the refrigerator from the power source before you begin this repair. To remove the switch, simpl...Read morey use a flathead screwdriver to pop the switch out from the refrigerator wall, then disconnect the wires. Reconnect the wires to the new switch, snap it into place, and the repair is complete.
Read less

$13.95
Special Order
Evaporator Fan Grommet - Grey
Part #WR02X11331
This is a replacement evaporator fan grommet for your refrigerator. The fan grommet absorbs the vibration from the evaporator fan motor for quiet operation while it runs. If your evaporator fan is unusually noisy, it could be because the grommet is damaged. This grommet is made of grey plastic and is approximately one inch in diameter. To...Read more access the fan grommet and complete this repair, you will need to remove the evaporator fan motor assembly. This part is sold individually.
Read less
Common Symptoms of the 39631UGXAWW
How this model fails, and the parts that fix it.
Not dispensing water
Fixed by
these parts
these parts


Show All
Leaking
Fixed by
these parts
these parts


Show All
Noisy
Fixed by
these parts
these parts


Show All
Ice maker not making ice
Fixed by
these parts
these parts
Show All
Light not working
Fixed by
these parts
these parts


Show All
Fridge too warm
Fixed by
these parts
these parts


Show All
Will Not Start
Fixed by
these parts
these parts

Show All
Ice maker won’t dispense ice
Fixed by
these parts
these parts


Show All
Freezer section too warm
Fixed by
these parts
these parts

Show All
Fridge too cold
Fixed by
these parts
these parts

Show All
Clicking sound
Fixed by
these parts
these parts
Show All
Door won’t open or close
Fixed by
these parts
these parts


Show All
Fridge and Freezer are too warm
Fixed by
these parts
these parts
Show All
Door Sweating
Fixed by
these parts
these parts
Show All
Ice maker dispenses too little ice
Fixed by
these parts
these parts
Show All
Fridge runs too long
Fixed by
these parts
these parts
Show All
Freezer not defrosting
Fixed by
these parts
these parts
Show All
Frost buildup
Fixed by
these parts
these parts
Show All
Too warm
Fixed by
these parts
these parts
Show All
Ice maker dispenses too much ice
Fixed by
these parts
these parts
Show All
Freezer too cold
Fixed by
these parts
these parts
Show All
Won’t start
Fixed by
these parts
these parts
Show All
Touchpad does not respond
Fixed by
these parts
these parts
Show All
Watch our pros, then fix it yourself.
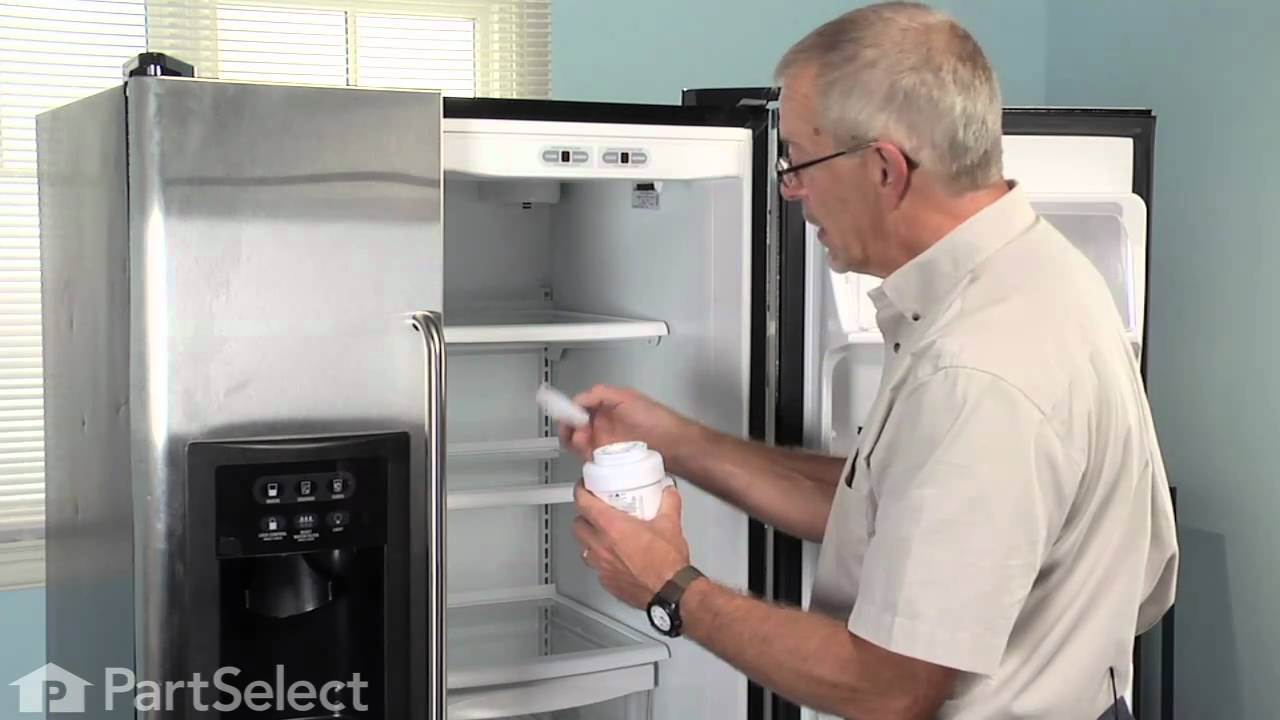
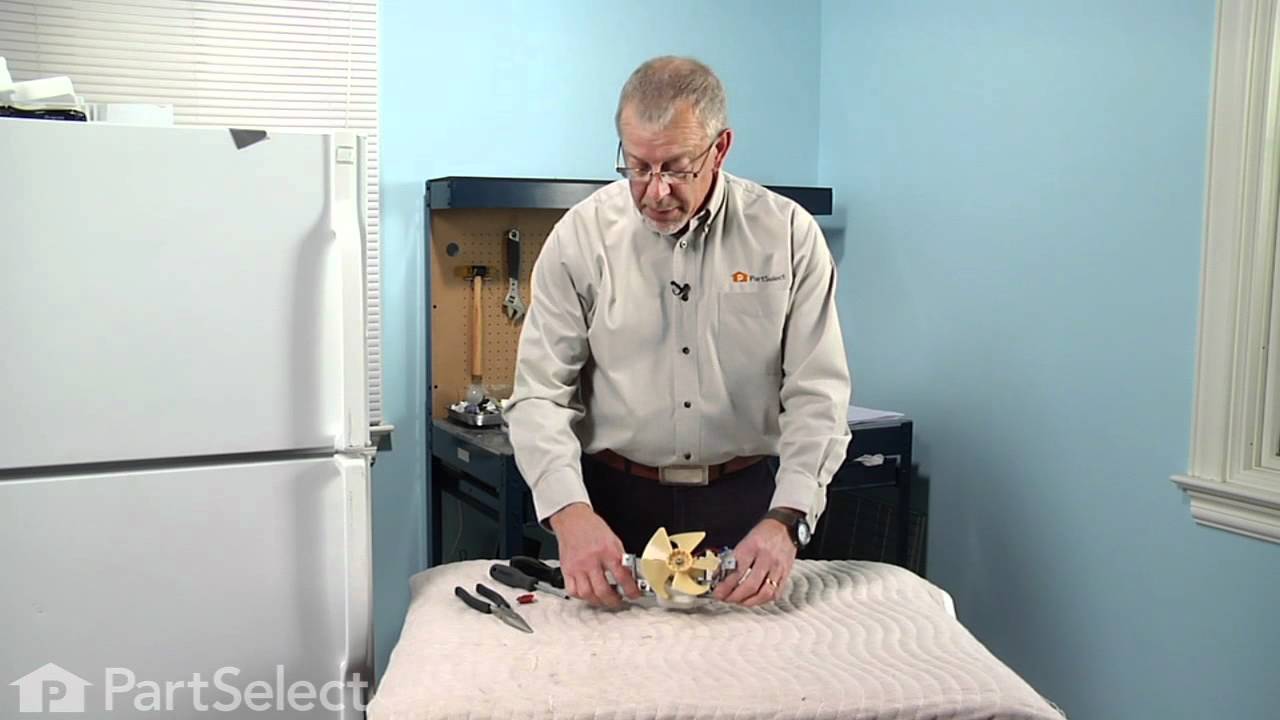
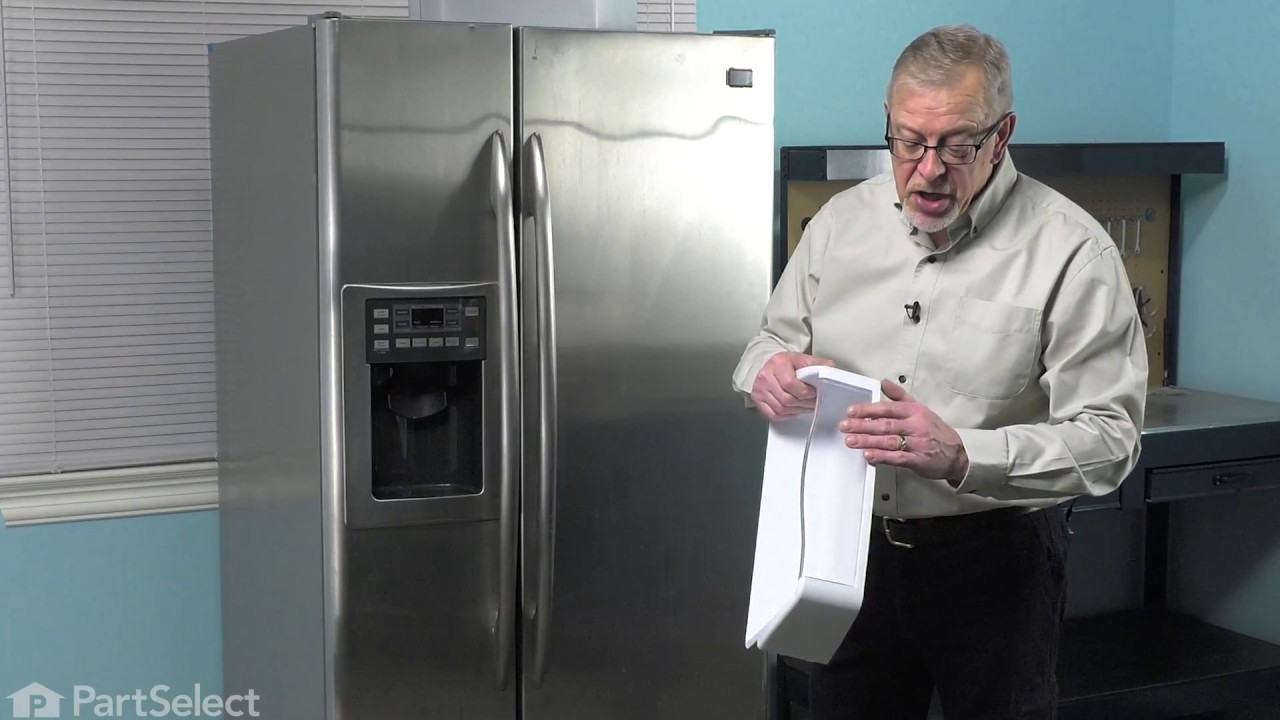
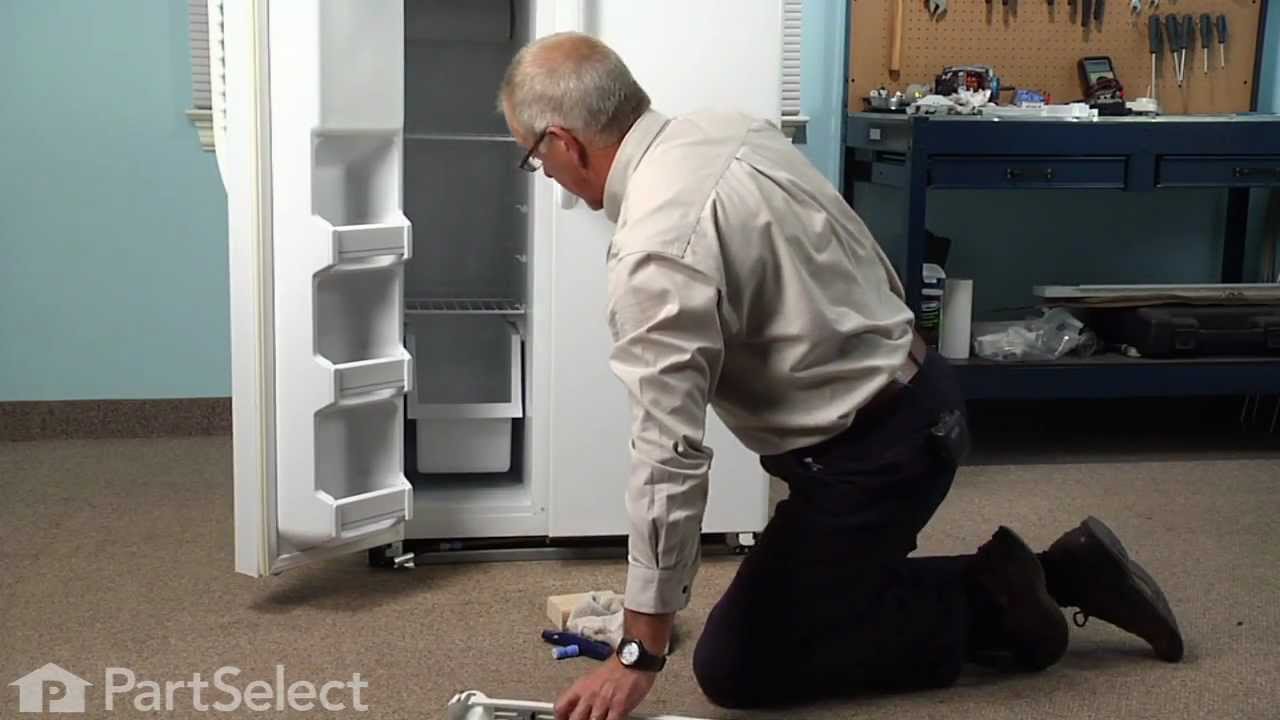
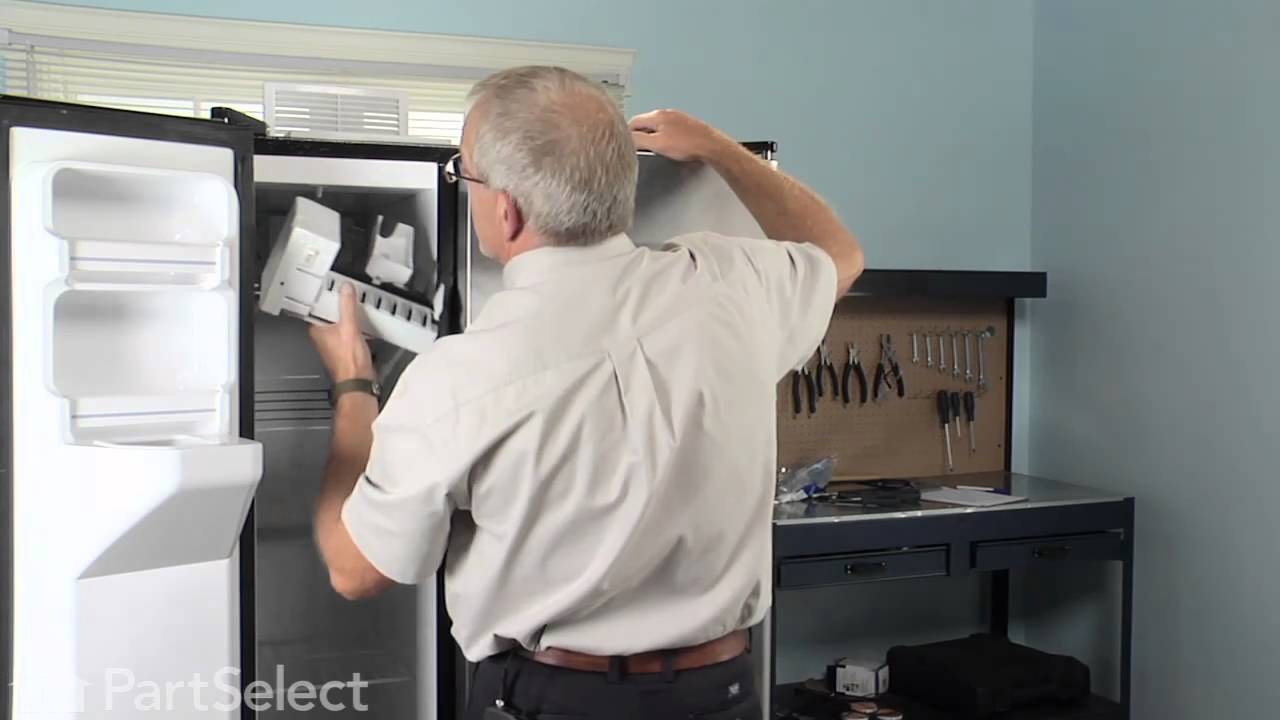
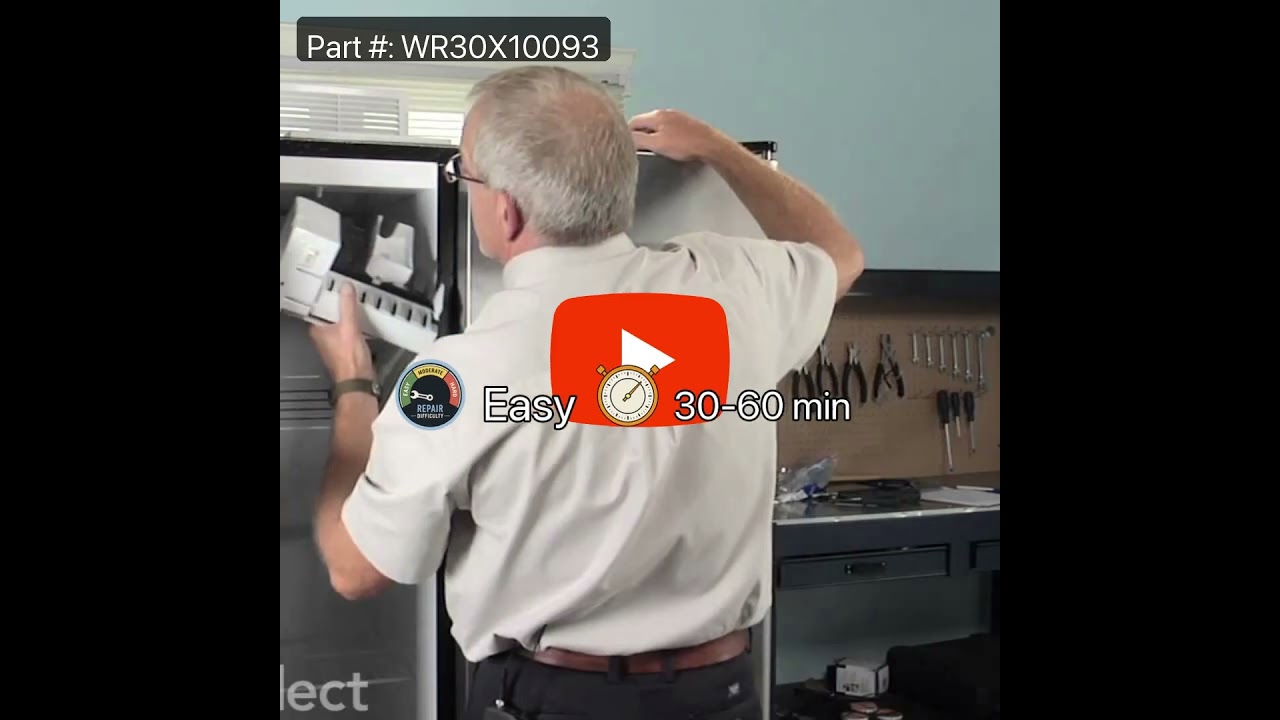
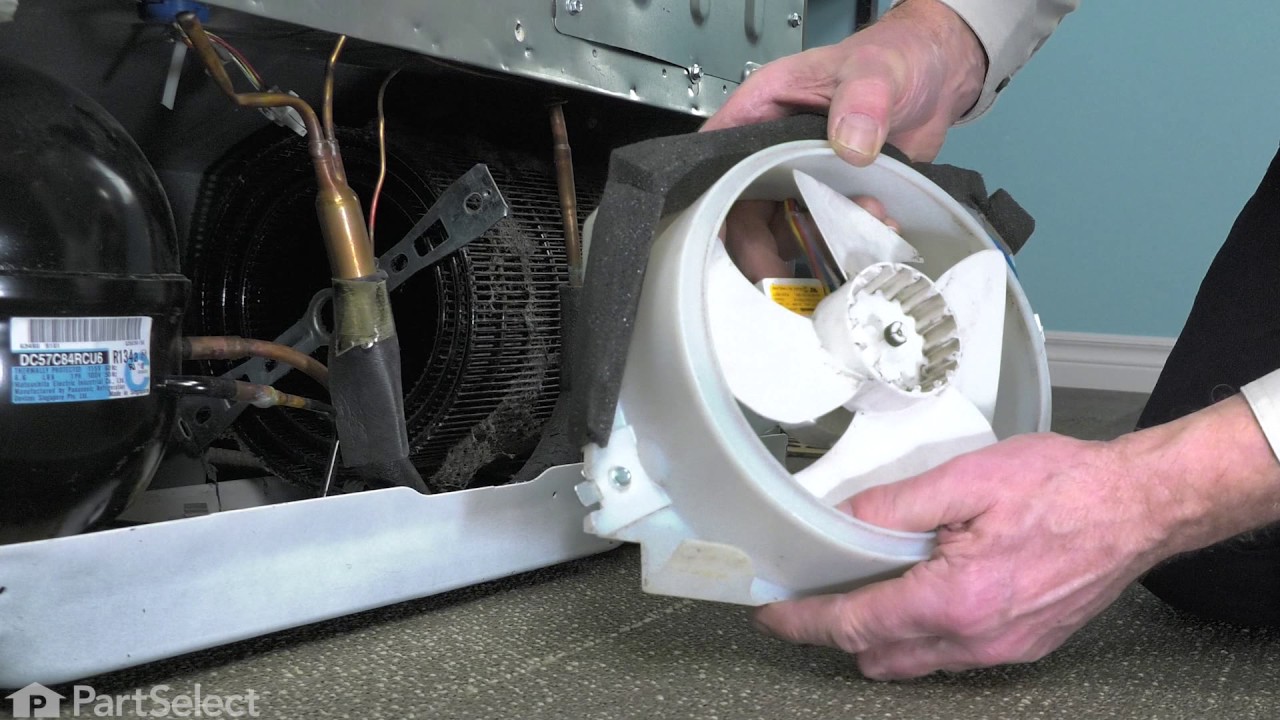
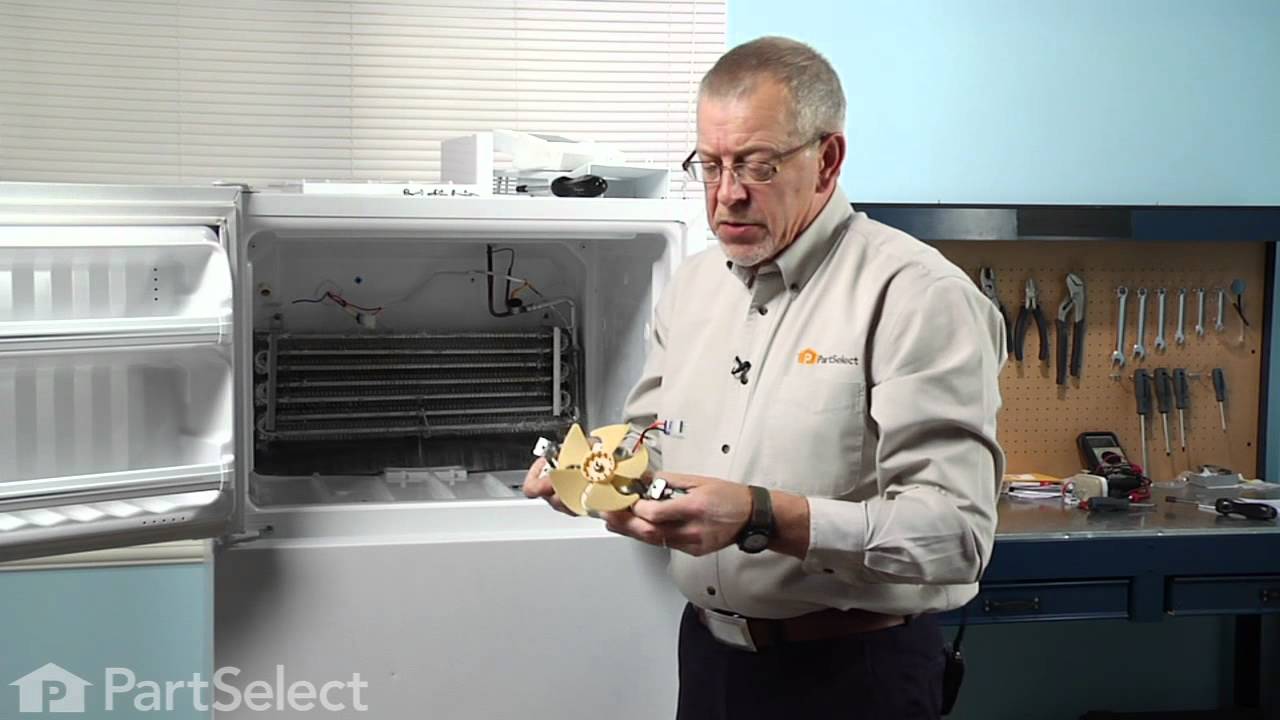
See how others fixed this model. Time, tools, difficulty, and steps that lead to victory!
View More
Search repair tips from other customers using simple keywords like "replace", "fit", "remove", "inspect". DIY doesn't mean you have to do it alone!
Search filter:
Clear Filter
Your search term must have 3 or more characters.
No power to the fan and compressor
222 of 302 people
found this instruction helpful.
I have a fridge in my garage. I have found that a glass of ice water or a cold drink outside is very important to me. When I discovered melting ice dripping onto the garage floor I was very upset. I spun the fridge and found that the compressor and fan weren't starting. I got out my multi-meter and discovered that power was not makin
... Read more
g it to these components. I did some research and found the wiring diagram online. There really isn't too much going on with a fridge and the most likely candidate seemed to be the run capacitor. I ordered the part, replaced it in a few minutes and the fridge began working again.
Read less
Other Parts Used:


Was this helpful?
Thank you for voting!