


 My Orders


3639637284 Kenmore Refrigerator - Overview

Enter a part description. DIY Heroes keep it simple, eg. "belt" or "pump".
Search filter:
Clear Filter
Your search term must have 3 or more characters.

No Longer Available
LIGHT SWITCH
Part #WR23X37285
The interior light of your refrigerator is controlled by a switch that is activated when the door is opened and closed. If your refrigerator light will not turn on, there could be an issue with the switch. The switch is spring loaded and is a generally closed type of switch meaning there should be no continuity when the button is depresse...Read mored, and continuity through the switch when the button is not depressed. This plastic, white, OEM switch is sourced directly from the manufacturer, is sold individually and is easy to replace. The repair usually takes less than 15 minutes and requires a flat blade screwdriver and needle nose pliers.
Read less

$39.60
Special Order
Refrigerator Defrost Timer
Part #WR9X483
This refrigerator defrost timer will cycle for thirty minutes after every ten hours of run time.

$23.24
Special Order
Light Socket
Part #WR2X9391
This part is a replacement light socket for your refrigerator. It connects to the power source, and holds the light bulb. If the light in your refrigerator is not working, you could have a faulty socket. It is important to determine if the light bulb is simply burned out, or if the socket is causing the issue. Be sure to disconnect your r...Read moreefrigerator from the power source before you begin this repair. This socket is black in color and is sold individually. This is an OEM part sourced directly from the manufacturer.
Read less

$164.22
Special Order
Freezer Shelf
Part #WR71X2086

$133.75
Special Order
Freezer Door Gasket
Part #WR24X10228
This white door gasket is used to seal the freezer door when closed.

$393.22
Special Order
Stationary Wire Shelf
Part #WR71X10378
This part is the replacement stationary wire shelf for your refrigerator. It is white in color and is approximately 24 1/2 inches by 14 3/8 inches. The stationary wire shelf rests on grooves in the refrigerator side wall and allows you to store food. The reason you would want to change out this shelf, is if it is bent, broken, or missing....Read more This is an OEM part sourced directly from the manufacturer and is sold individually.
Read less

No Longer Available
Package of 12 Screws
Part #WZ4X244D
This is a package of twelve Phillips-head screws. They can be used as replacement screws in refrigerators, ice makers, or freezers. Be sure to check that your appliance model is compatible with these screws. The screws are approximately ¾ of an inch in length.

$142.65
Special Order
Vegetable Pan
Part #WR32X1455
If your fridge drawer is cracked or your veggies aren’t staying fresh, this replacement crisper drawer could help. It’s made to hold fruits and vegetables at the right humidity so they last longer. It fits into the lower section of select GE, Hotpoint, and Haier refrigerators and slides in easily. Just make sure it matches your model before ordering.

$74.23
Special Order
Door Shelf Retainer Bar End Cap - Left or Right Side
Part #WR2X7975
This end cap can be used for the right or left side of the refrigerator door shelf or the freezer door shelf.

No Longer Available
Evaporator Fan Blade Kit
Part #WR60X114

No Longer Available
Access Cover
Part #WR82X10111

$14.95
Special Order
Refrigerator Screw
Part #WR01X10448
Common Symptoms of the 3639637284
How this model fails, and the parts that fix it.
Light not working
Fixed by
these parts
these parts


Show All
Noisy
Fixed by
these parts
these parts


Show All
Fridge too warm
Fixed by
these parts
these parts


Show All
Door Sweating
Fixed by
these parts
these parts

Show All
Door won’t open or close
Fixed by
these parts
these parts
Show All
Leaking
Fixed by
these parts
these parts

Show All
Freezer section too warm
Fixed by
these parts
these parts
Show All
Frost buildup
Fixed by
these parts
these parts
Show All
Will Not Start
Fixed by
these parts
these parts

Show All
Freezer not defrosting
Fixed by
these parts
these parts
Show All
Watch our pros, then fix it yourself.
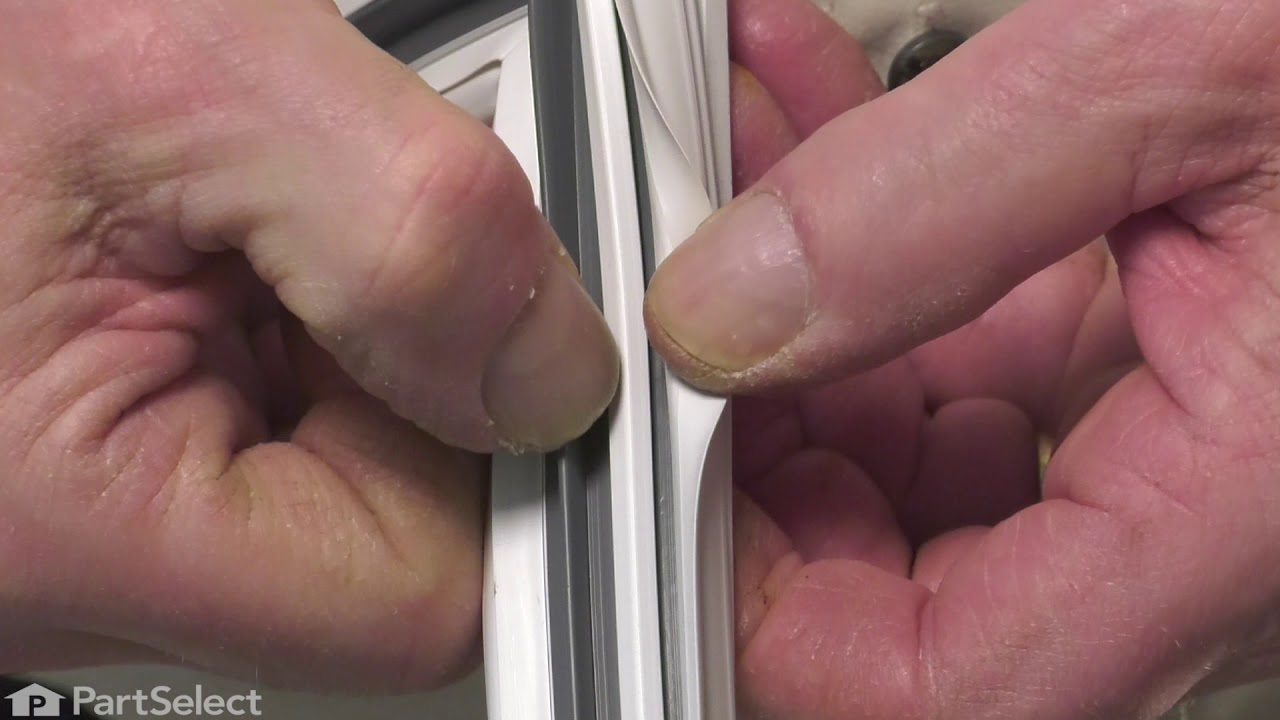

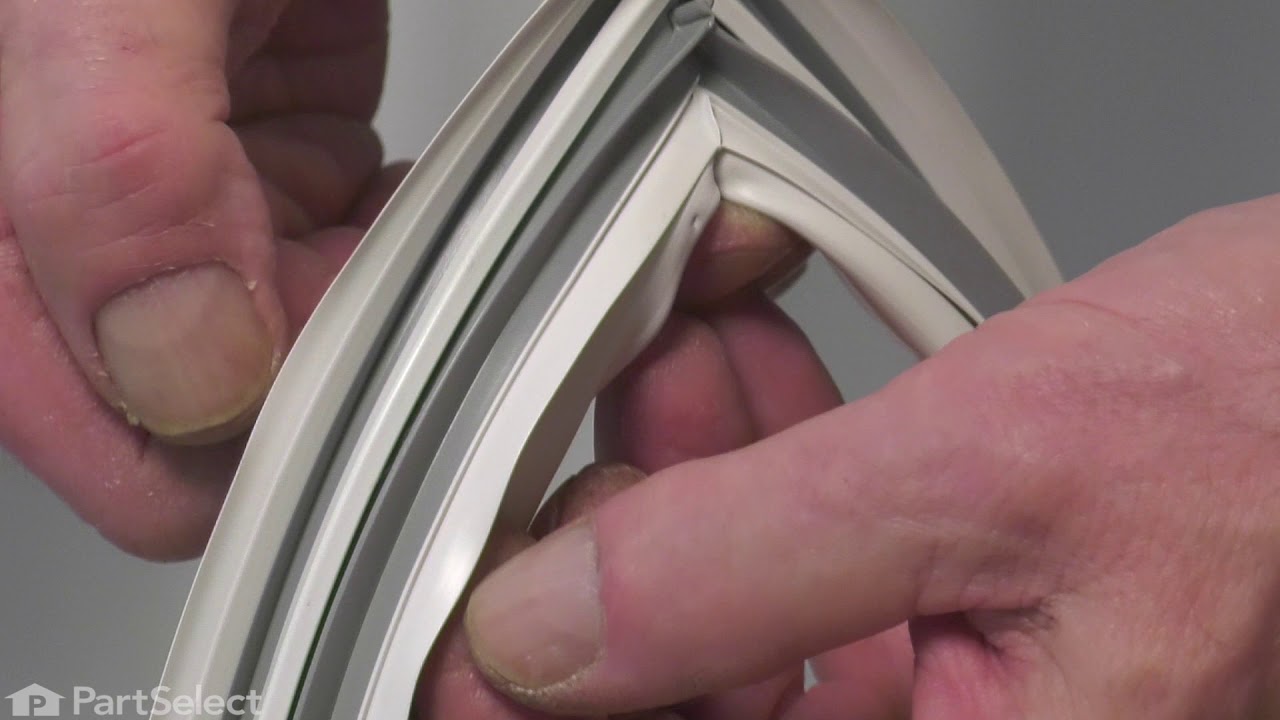

See how others fixed this model. Time, tools, difficulty, and steps that lead to victory!
View More